Chris Vernell
Three score and nineteen
After a false start, I have started work on my Thorley Miniatures goods shed.
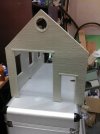
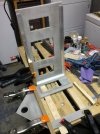
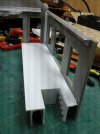
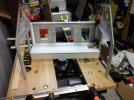
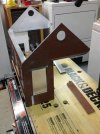
I had these walls together, but botched the CA joint, so I broke it apart, cleaned up the mating surfaces, applied CA more carefully and ...
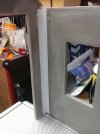
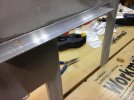
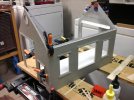
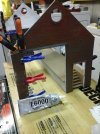
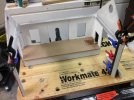
... reinforced the butt joint with styrene angle and 5-minute epoxy. I shall do the same at the three other corners. I shall apply 1/2" alumin(i)um angle along each wall to keep the resin straight, having learned from my engine shed (from another maker) how resin walls can bend -- the engine shed will also be getting the alumin(i)um treatment.
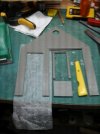
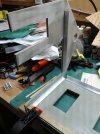
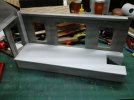
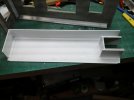
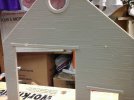
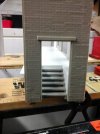
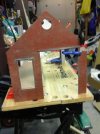
I moved the small door at the other end so it will be level with the loading dock inside and outside the shed. The shed kit comes as an empty shell: I shall build an interior loading floor from styrene I have to hand, along with a dock outside that will have a crane.
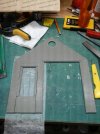
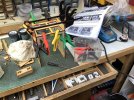
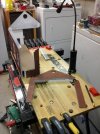
I was worried about how this door-moving would go, but the resin proved easy to cut with the groover/styrene cutter (the yellow-handled device) and straight edge, followed by razor saws. The section of wall that was above the door is now below it: It doesn't matter that the brick courses don't line up as the exterior loading dock will hide this bit of wall.
I should put in a good word for Thorley's kit: The parts are well moulded and have remarkably little flash, and a spot of kitbashing is good for the soul .
.

I had these walls together, but botched the CA joint, so I broke it apart, cleaned up the mating surfaces, applied CA more carefully and ...

... reinforced the butt joint with styrene angle and 5-minute epoxy. I shall do the same at the three other corners. I shall apply 1/2" alumin(i)um angle along each wall to keep the resin straight, having learned from my engine shed (from another maker) how resin walls can bend -- the engine shed will also be getting the alumin(i)um treatment.

I moved the small door at the other end so it will be level with the loading dock inside and outside the shed. The shed kit comes as an empty shell: I shall build an interior loading floor from styrene I have to hand, along with a dock outside that will have a crane.

I was worried about how this door-moving would go, but the resin proved easy to cut with the groover/styrene cutter (the yellow-handled device) and straight edge, followed by razor saws. The section of wall that was above the door is now below it: It doesn't matter that the brick courses don't line up as the exterior loading dock will hide this bit of wall.
I should put in a good word for Thorley's kit: The parts are well moulded and have remarkably little flash, and a spot of kitbashing is good for the soul
Last edited:

