viaEstrecha
Spanish metre gauge in G scale (on the cheap)

It'll be some fiendish way to ensure a continual top-up to the brew mugInteresting clamp setup, my curtiosity is aroused.


It'll be some fiendish way to ensure a continual top-up to the brew mugInteresting clamp setup, my curtiosity is aroused.

Hanging something out to dry or some fiendish racking contraption ? Confess !


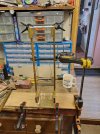
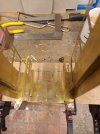
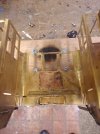
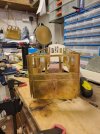
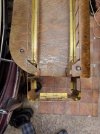
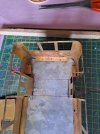


Novel I like it. As I mentioned elsewhere have been riveting, originally started drilling micro holes for wntamalogical pins but hand got tired of that so the old backstop of Cambrian Rivets come back into play, this time the super glue not playing nicely so having to plastic glue them in place. Not finished one side yet, then the other side and ends to do. This may take some time!Miss Artois, The clamps please
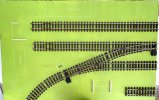
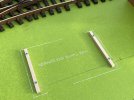
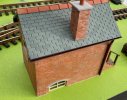
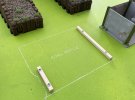
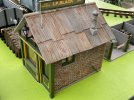
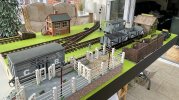
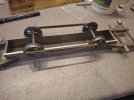
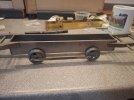
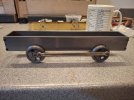
I could put a rambling description, but a picture paints a thousand words, so....
View attachment 362284View attachment 362285View attachment 362286
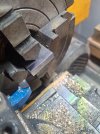
View attachment 362287View attachment 362288View attachment 362289
I was dreading this bit, so I now feel throughly chuffed to the nackers
I shall not tempt fate and nowt for the rest of the day!!
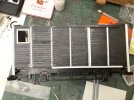

Well, there's a modeller in there somewhere, trying to get out !Miss Artois, The clamps please
I could put a rambling description, but a picture paints a thousand words, so....
View attachment 362284View attachment 362285View attachment 362286
View attachment 362287View attachment 362288View attachment 362289
I was dreading this bit, so I now feel throughly chuffed to the nackers
I shall not tempt fate and nowt for the rest of the day!!

I know a Bachmann chassis when I see oneNovel I like it. As I mentioned elsewhere have been riveting, originally started drilling micro holes for wntamalogical pins but hand got tired of that so the old backstop of Cambrian Rivets come back into play, this time the super glue not playing nicely so having to plastic glue them in place. Not finished one side yet, then the other side and ends to do. This may take some time!
View attachment 362290


Sir, you are not supposed to be looking at a lady’s chassis.I know a Bachmann chassis when I see one


Miss Artois, The clamps please
I could put a rambling description, but a picture paints a thousand words, so....
View attachment 362284View attachment 362285View attachment 362286
View attachment 362287View attachment 362288View attachment 362289
I was dreading this bit, so I now feel throughly chuffed to the nackers
I shall not tempt fate and nowt for the rest of the day!!

Some of us get by at a pinch.I own alot of tools, but clamps of all types and sizes hold the record in my shop. They are one tool that you can never have enough of.
Says the retired policemanSome of us get by at a pinch.
David


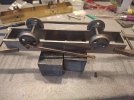
 . Fortunately, the broken part was removed without a fuss.
 but I now have a rolling chassis which can be pushed along with one finger...