Work on my kit is has now been completed so a final post to show the effects. But a few pointers to building these and any other G Scale Kits.
- Remove parts from the Sprue with care, it is easy to damage the parts by just bending them off. I prefer to cut with either a craft knife or razor saw. Clean the parts up after with a fine file or sandpaper.
- Always worthwhile to remove any other surplus moulding lines or pips as described above.
- Joints, clean these up where the glue will go, quite likely some kits have a sort of residue that discourages proper joins using glue.
- Use an appropriate glue, I normally use Builders Pipeweld but for this kit have used UHU Power.
- Use enough but not too much glue, it is best to ensure that the complete surface being glued has sufficient covering to make a good join. Any access that smears out should be removed quickly with a screwdriver, coffee stirer or cocktail stick as apropriate.
- Follow the instructions in the correct order, it is also worthwhile to mark off the parts and instruction set of the instruction leaflet as you use/do them. After all you may not get back to the kit for a few days if you are busy doing other things.
- Do not worry too much if parts are left over, check your marked instructions it is likely that they are spare parts as the sprue may be used in other kits.
Sorry if some of this sounds like teaching granny etc, but there are I am sure some newcommers that will find these notes of use.
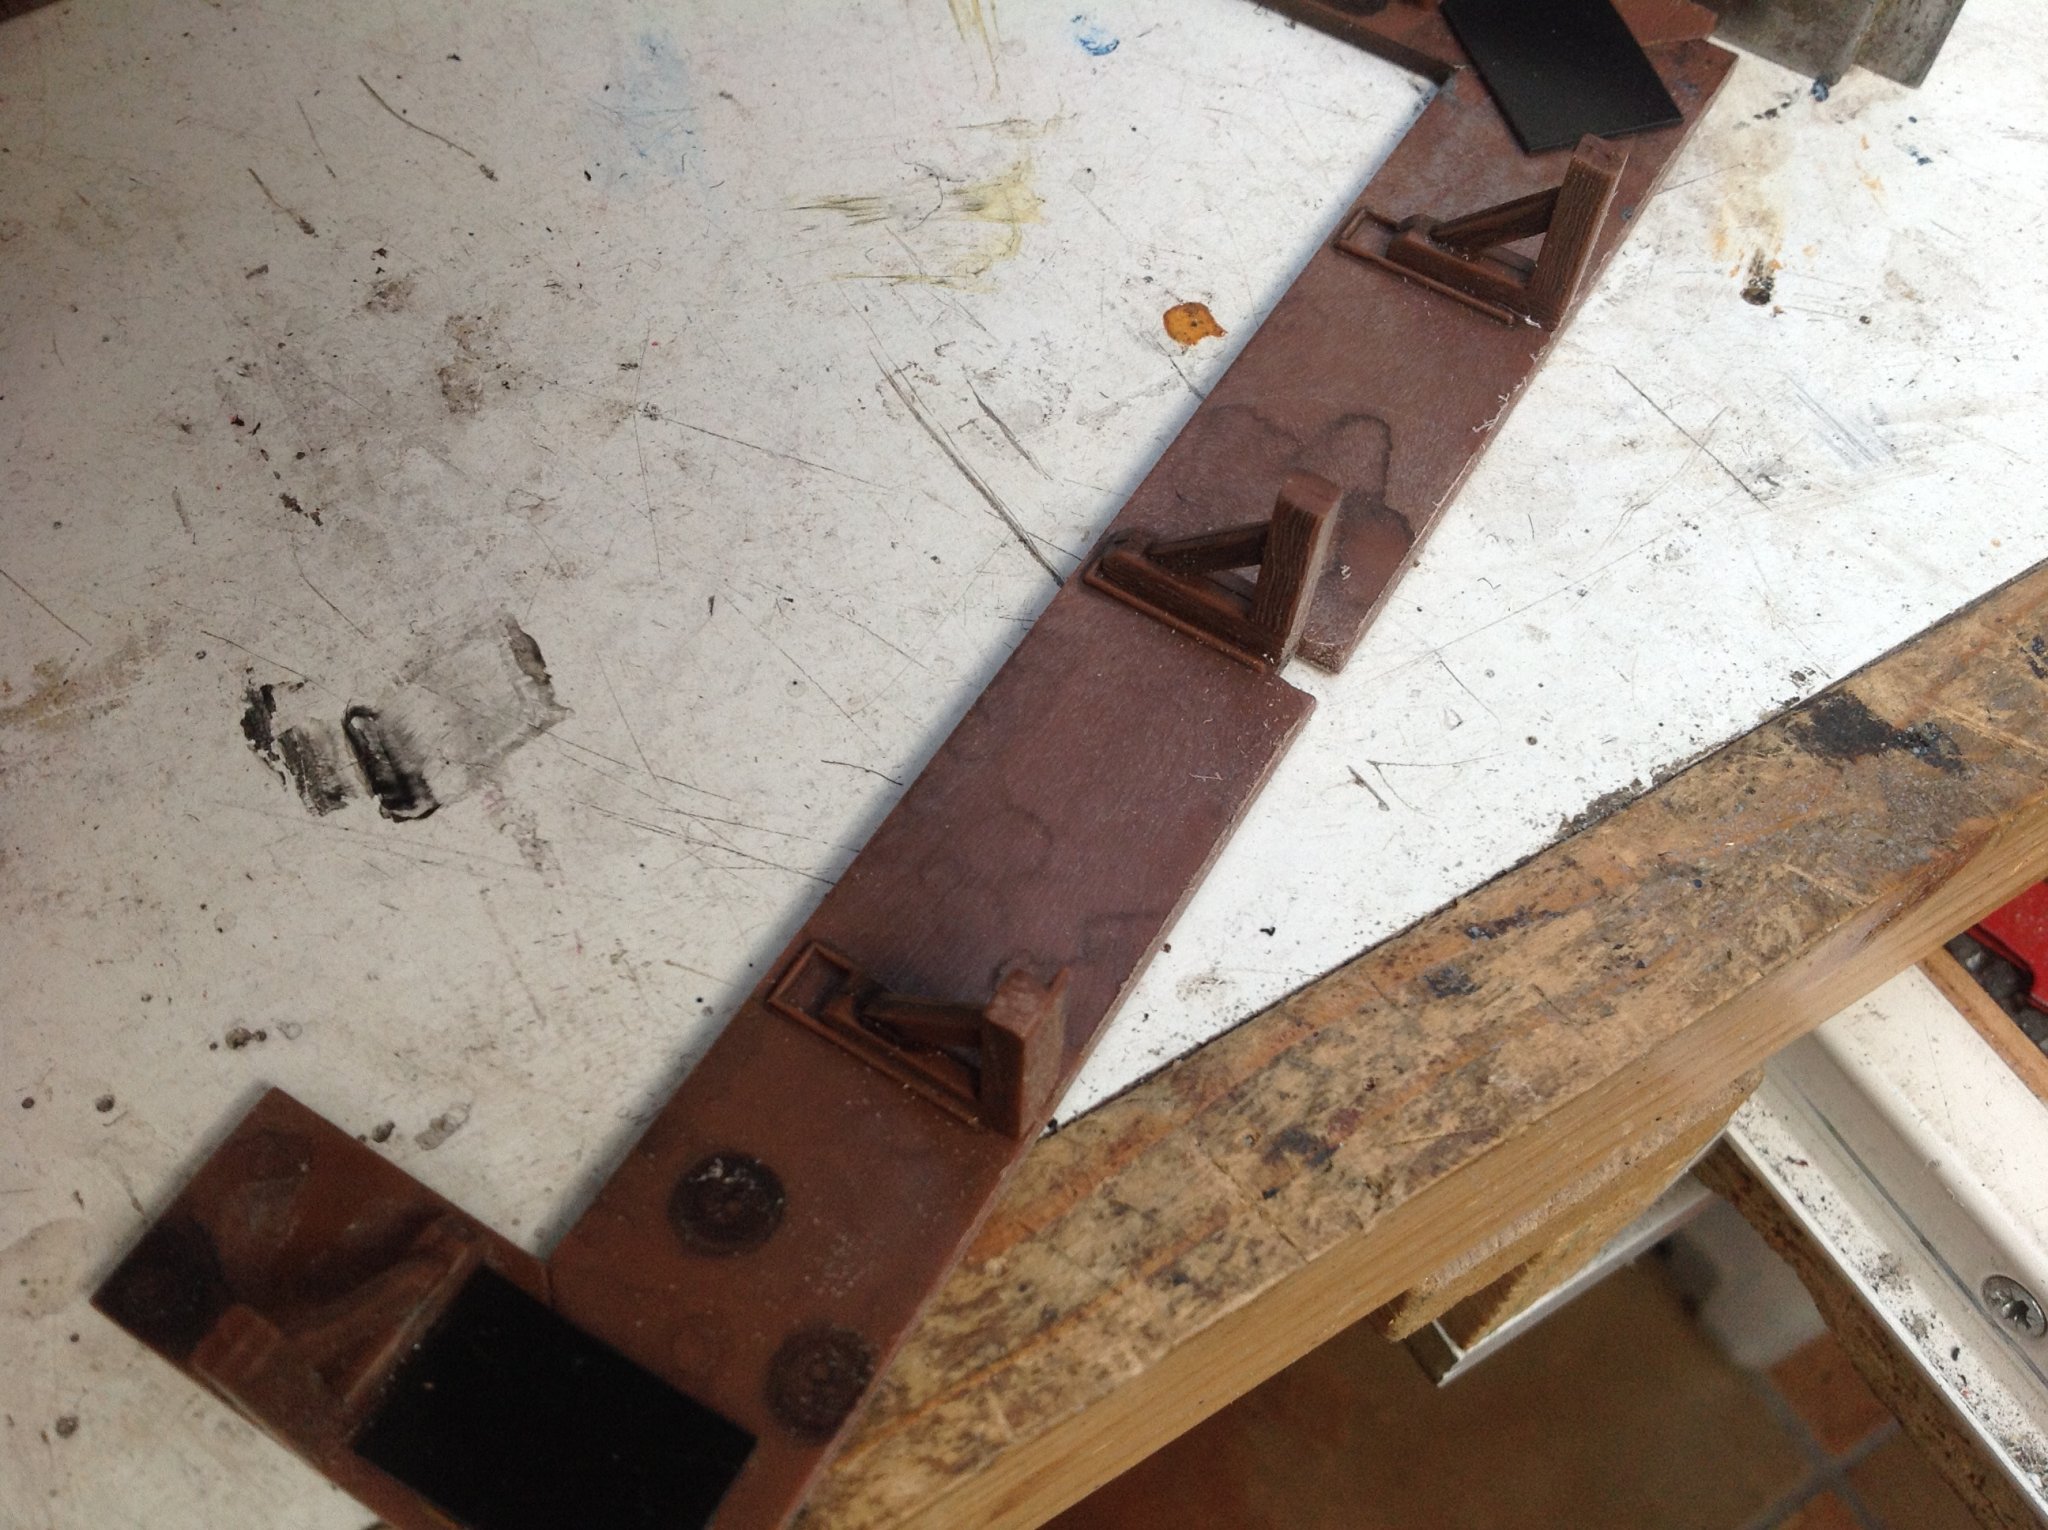
The next couple of pictures show additional rusting being carried out, the wood blocks are to support the glued ends. The setsquare is helping the Plastic Detail set in place while the glue dries.


I needed a platform for the Station to sit on, so a piece of 2mm Plastic Glazing Material was cut to shape, sanded rough then sprayed with cheepo Gloss Black. Whilst still wet this was covered with Silica Dried Sand. When this had dried the excess was knocked off and followed by another coat of the Gloss Black. Finally a coat of Matt Black and a loose spray of Brown to tone things down a bit.


Next I caried on with the build using some Plasticard to strengthen the joints in the seats. The Set Square is to keep the Seat Supports in place at the edge of the seat bottoms other than the one the fits by the wooden detailing inside the building..

Here I have glued the detail to the ends using Clamps to hold in place while the glue dries.

. All the inside detail has now been added, nearly time for the roof.

But next it is time to make more surface area for the Station to sit. This HIPS was recovered from a friends skip, amazing what gets chucked out. I cut it to fit between the Railway and the Fence, screwing a plank for it to sit on next to the fence, the additional base has not been screwed to the fence as that is not a good plan.


Next was to detail up the area with Ballast and some Astro Turf to give a bit of interest, always difficult to get things looking good next to a fence, one can only do so much. The clingfilm is to stop scatter detail from glueing the Building permanently the the Platform. But I did want an edge to the building rather than a gaping gap. 4 nails have been mounted in the Platform from below to hold the Building in place, cutting off the sharpe pointy bits if course.


A couple of pictures if the real Osterteich that I am using this building to represent. As you can see a Garden Shed would have been more appropriate but I like to pamper my Customers a little. The real Station is but a short 1.5k out of Gernrode. Mine is on my 0.3K marker, suitably close to my Gernrode I think you will agree. This picture is of the only time in tens of visits to the line that I have ever stopped here.


3 final pictures if the completed project with my Sticky Paper name board on the sign. The sign bottom parts were drilled through so that the post could pass through into a couple of holes in the Platform. The Astro Turf has been bent up to the fence but not glued in a vain attempt to represent the banking behind the real Halt.


. Finaly finaly the Bus Stop sign has been used at the next halt down the line.


")
")