playmofire
Registered
Yes, it is. I have a number of the two-way connectors which allow LGB track and Playmobil RC track to be joined.Pardon my ignorance but Playmobil track appears to be 45mm guage am I correct?
Yes, it is. I have a number of the two-way connectors which allow LGB track and Playmobil RC track to be joined.Pardon my ignorance but Playmobil track appears to be 45mm guage am I correct?

Correct.As far as I can tell the plastic track is exactly the same gauge as the original playmobil brass track and is interchangeable with LGB track.
Those look neat! I'd be interested to see a bit more about how the switch works. (I wonder if it has the similar "springiness" when switching tracks like the brass version has. Lots of ways to print functional spring mechanisms so it's definitely possible.That's good to know I am planning on using something like this for a storage area expansion on my layout.
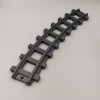
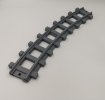
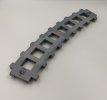
I have this R5 set that I downloaded from Thingaverse
LGB Weichen R1 (45mm) by cammon
Für die Ansteuerung der Weiche s. https://www.thingiverse.com/thing:3098395Das Modell beruht auf den Model train sleepers (1:32, OpenRailway) https://www.thingiverse.com/thing:38609 und den Model Railway Tracks (1:32, OpenRailway) https://www.thingiverse.com/thing:507264. Für den Weichenantrieb...www.thingiverse.com

45mm Turnout for Garden Railway Track System by arockStone
After att total rebuild off my Turnout 32mm it's finally here.Turnout for 45mm gauge tracks (SM45) common used in Garden railways (16mm and LGB scale).The turnout radius are 1150mm and a steeper radius curved track is included .I will be very glad if you publish pictures off your printings.www.thingiverse.com
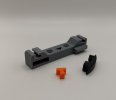
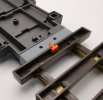
I'm experimenting with these; an "omega" shaped control rod should provide some "springiness"Those look neat! I'd be interested to see a bit more about how the switch works. (I wonder if it has the similar "springiness" when switching tracks like the brass version has. Lots of ways to print functional spring mechanisms so it's definitely possible.
