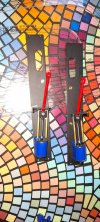
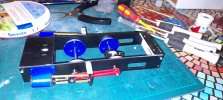
For Christmas, I was lucky to receive a PDF Ruby kit.
Having started it, I thought I'd post my progress.
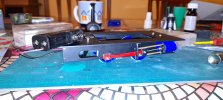
This is the state of play after 3 coats of filler primer spray, Halfords, although there must be other makes. It was as hard as I imagined, the print lines were apparent, but not bad, so it was just a case of wet and dry and some elbow grease. Of course the proof will be when another coat of standard primer goes on!
Having started it, I thought I'd post my progress.
This is the state of play after 3 coats of filler primer spray, Halfords, although there must be other makes. It was as hard as I imagined, the print lines were apparent, but not bad, so it was just a case of wet and dry and some elbow grease. Of course the proof will be when another coat of standard primer goes on!