Cheap & Cheerful

Chris Vernell

45.29 N, 75.75 W
Country flag
Moving slowly onward with my battery/RC conversion of a Bachman L’il Big Hauler tender loco.
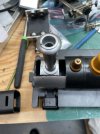
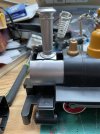
Today I decided to do something about the chimney, which Bachman placed aft of the cylinders — probably to accommodate the enormous headlamp. Since I like neither the lamp nor the chimney position, I got out the saws
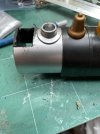
IMG_0167.jpeg
and removed first the lamp

IMG_0171.jpeg
And then the chimney

IMG_0169.jpeg
which can now be lined up with the cylinders. Much bodging and filling to come.
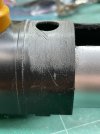
I also plan to remove that horrible bell.
IMG_0172.jpeg
And I did.
 
Last edited:
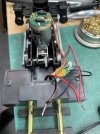
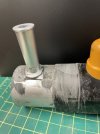
First step in filling the holes in the boiler / smoke box.

IMG_0173.jpeg
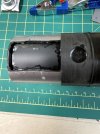
10 thou styrene sheet applied inside the boiler.

IMG_0174.jpeg
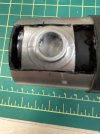
Checking that the chimney base fits. I’ll glue it in place tomorrow and start filling in the holes with black Milliput.
 
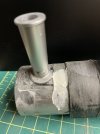
Puttying up:

IMG_0179.jpegIMG_0182.jpegIMG_0180.jpeg
Black Milliput applied, dried and sanded, plus a spot of Vallejo white putty to fill in a slight dip; easier than mixing more Milliput.
I sawed the fancy cap off the chimney because a plain stovepipe is more suited to an impecunious branch line.
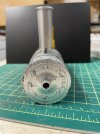
I removed the number “button” from the smokebox door; the hole will fit an LED headlamp nicely.
Rattle-can primer will reveal my errors and omissions. Eventually the loco will be black.
 
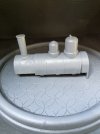
Boiler primered.

IMG_0184.jpeg
Looks so much better in one colour.
I have noted places where more filling and sanding is needed. I’ll do that Saturday after the primer has cured.
Meanwhile …
 
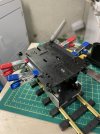
Rain has stopped outdoor play, so I descended to the crypt and took up the r/c project tender.
I plan to use Peter Binnie coupling hooks, so the tender needs a deeper buffer beam to hold one. Out with the black styrene sheet and the cutter and …

IMG_0187.jpeg
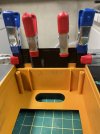
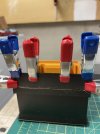
Reinforcing plate glued to tender body.

IMG_0189.jpegIMG_0188.jpeg
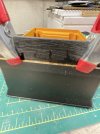
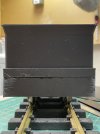
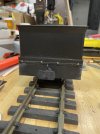
Full-width beam glued on.

IMG_0190.jpeg
Right way up.

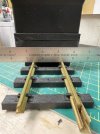
IMG_0191.jpeg
1-inch coupler mounting height established (yes, the rule is one inch wide; cunning, eh?).
However, I am not going to rely on the glue joints to take the coupling strain. Small hex-head bolts are on order to hold the reinforcing plates to the tender body. Naturally, I don’t have the right ones in stock.
 
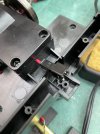
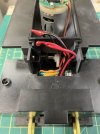
Soldered up the loco connection:

IMG_0194.jpeg

IMG_0195.jpeg

I am tempted to scrag the loco’s previous owner. Apart from the burnt-out motor, several bits are missing, such as the hook to connect the loco to the loop on the tender.
The motor has been replaced. Other bits will be fabricated.
Dark thoughts will be thought.
 
Tiptoeing onward:

IMG_0201.jpeg
“Liquid tape” insulation on the soldered wires.

IMG_0200.jpeg
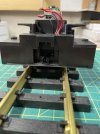
Connector in place. I sliced off the footboard; the remnant supports the connector.

IMG_0198.jpeg
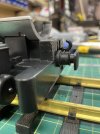
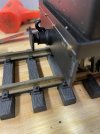
Peter Binnie buffer/coupler temp fitted to the sliced remnant of the front footboard.

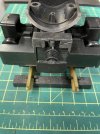
IMG_0199.jpeg
Front view.

Tested the mech on rollers with a 4S li-on battery; runs nicely.
Monday is supposed to be dry day, which gives me a chance for more rattle-canning before re-assembling the loco body.
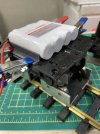
Meanwhile, I have to piece together the battery/rc gubbins in the tender.
 
More rattling:

IMG_0202.jpeg
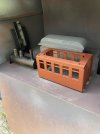
I must visit the craft store to see what they might stock in the way of coach colours. My ancient allegiances say chocolate and cream, but an overall maroon would be easier. With apologies to Zorro, masking is not my forte, nor even my piano.
 
More rattling:

View attachment 317050
I must visit the craft store to see what they might stock in the way of coach colours. My ancient allegiances say chocolate and cream, but an overall maroon would be easier. With apologies to Zorro, masking is not my forte, nor even my piano.
Watching with interest! I have a few of these floating around. (Engines and assorted wagons/coaches)
 
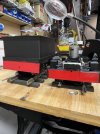
My order of 00-90 bolts arrived and I was able to reinforce the adhesive joint on the tender buffer beam.

IMG_0206.jpeg
IMG_0205.jpeg
I’ll rattle the black can on Sunday when the rain will supposedly go away.

IMG_0206.jpeg
I’ll remove the Peter Binnie coupler before painting. I have to find my bottle of red paint that I carefully put away. Where, oh where can it be?
 
I have to find my bottle of red paint that I carefully put away. Where, oh where can it be?
oh, yeah...
To put something, where it is safe and easily found.
It doesn't disturb me, that it then will be found in the last place, where i look - what disturbs me is the number of wrong places i look before.
 
oh, yeah...
To put something, where it is safe and easily found.
It doesn't disturb me, that it then will be found in the last place, where i look - what disturbs me is the number of wrong places i look before.
I resemble that remark! :(:rolleyes:

PhilP
 
Nice work Chris. I should have snatched up some of those L'l Big Haulers when Al Kramer was selling them at very good prices.
 
Little bit of paint:


IMG_0224.jpeg
Inside cab.

IMG_0225.jpeg
And front end.
Next task is to assemble and mount the r/c gubbins in the tender. This requires a soldering iron, steady hands, and eyeballs that focus. I have the soldering iron.
 
Back
Top Bottom