sdelaroque
Registered
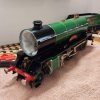
Hello! As I said in my presentation I recently bought an Aster Schools class in non working condition
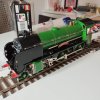
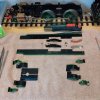
I started dismantling it to understand why it didn't run
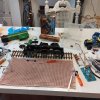
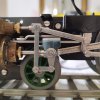
It appeared the left crosshead was not straight: the sliding part and the nut were misaligned. We can see on the photo below the sliding part "going up":
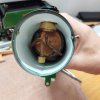
While waiting for a solution I continued the dismantling to make sure there's no other issue. I found the left side was also binding because there was too much graphited yarn in the piston groove. I reasswmbled the piston without anything to fill the groove but I read some folks add a cotton wire with copper grease
About graphited yarn, there was nothing in any gland, so I wrapped teflon tape to replace the graphited yarn where the manual says we have to add it
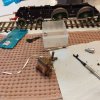
I then assembled the two cylinders and air tested them by blowing and manually acting on the valves
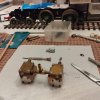
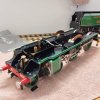
I then mounted the cylinders and links, trying to make the left cylinder work by not screwing the left slider but this didn't make it
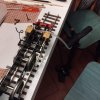
What do you think about the cylinder groove? Do I have to make it vapor-tight with a greased cotton wire, or get graphited yarn?
Thanks for reading

I started dismantling it to understand why it didn't run

It appeared the left crosshead was not straight: the sliding part and the nut were misaligned. We can see on the photo below the sliding part "going up":

While waiting for a solution I continued the dismantling to make sure there's no other issue. I found the left side was also binding because there was too much graphited yarn in the piston groove. I reasswmbled the piston without anything to fill the groove but I read some folks add a cotton wire with copper grease
About graphited yarn, there was nothing in any gland, so I wrapped teflon tape to replace the graphited yarn where the manual says we have to add it

I then assembled the two cylinders and air tested them by blowing and manually acting on the valves

I then mounted the cylinders and links, trying to make the left cylinder work by not screwing the left slider but this didn't make it

What do you think about the cylinder groove? Do I have to make it vapor-tight with a greased cotton wire, or get graphited yarn?
Thanks for reading

