The "Patio Central" Railroad

Highball18

I'm New, Please Be Gentle
Country flag
image_zps5ajkw8oi.jpg


image_zpsrhzeb7kl.jpg


My first real attempt at a garden railroad. I live in an apartment, so I can't do anything permanent, but I do have space on the patio for some track. The "garden" part of the garden railroad will have to be in flower pots, but that's ok.

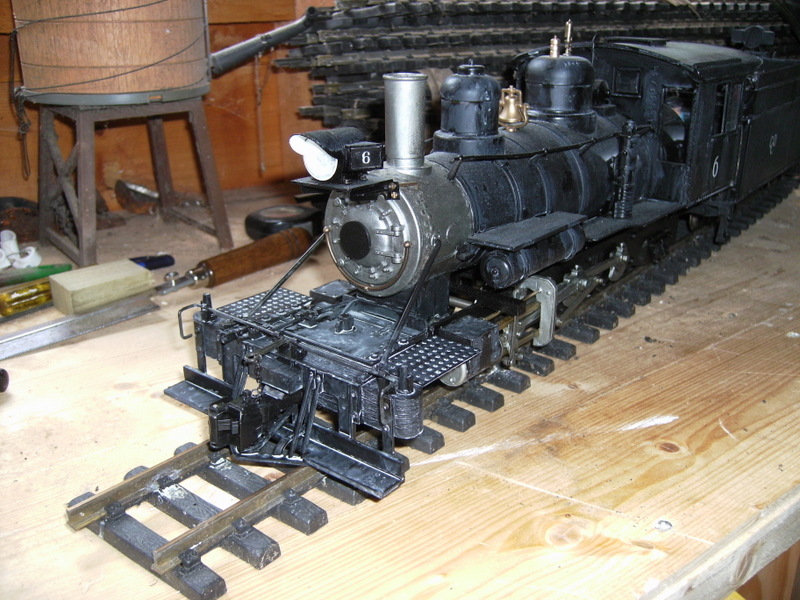
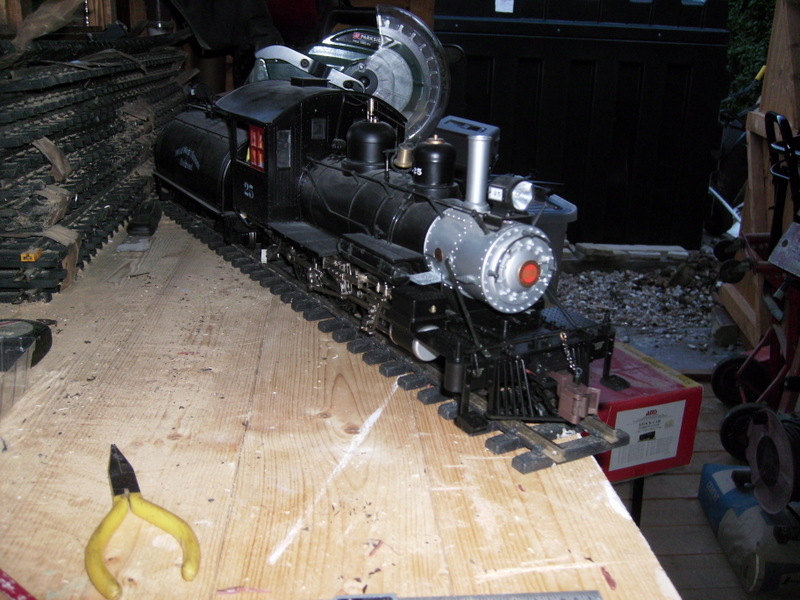
I am looking to add a few buildings, probably scratch built, but not too fancy... Current rolling stock is bachmann bug mauler stuff: ten-wheeler, boxcar, flatcar, and baggage/coach combine...

Motive power plans call for converting the bug mauler to manual control battery, and hopefully adding an accucraft ruby steamer. The plan is to stick to an "American narrow gauge" theme...

I will post updates here as progress is made...

Thanks for looking!
 
Highball18 said:
The "garden" part of the garden railroad will have to be in flower pots, but that's ok.
Some imaganitive planting, say with flowing plants, could be interesting. I can see that 'landgrab' might be an issue ???
 
How far does the patch of grass extend beyond the concrete patio? Just wondering if there is any way you could lay some blocks round the grass at the same level as the patio, and thus have a considerably larger oval going right round whatever area you have....?

Jon.
 
Unfortunately expanding isn't an option, I have briefly considered doing some trestle work out past the patio, but then I would have to deal with probable damage from the lawnmower... Best option is to stay on the patio...
 
Highball18 said:
... probable damage from the lawnmower... Best option is to stay on the patio...

;) Eliminate the lawnmower. Turn the grass into rock garden. Rock gardens are just screaming out to have a railway in them. :-\
 
Problem is that it's not my lawnmower to eliminate, and not my grass to replace with rocks- I'm renting. I'm happy with my little loop! I do appreciate the suggestions!
 
First big project will be converting the ten-wheeler to battery power. I've already messed with the power pickups, moved them from the drivers to the tender, so removing them altogether will be easy. My plan for speed control is to find a suitable rheostat or similar device and mount it to the backhead similar to a throttle on a live steamer. Battery pack will be mounted in the tender, with power leads to engine ran as if they were the water feed lines to the injectors. I will post in-progress pictures as I make the conversion...
 
That should work but a rheostat will waste battery power. You are effectively running the loco at full power but using the rheostat to absorb some of that power to reduce speed. It may cost a little more but a speed controller will waste far less battery power.
 
Will be using a speed controller, instead of a rheostat. Bought a $25 cordless drill, ripped it apart to salvage the battery and speed control, broke the speed control from the drill trying to remove the return spring on the trigger. Oh well, at least I have the battery...
 
Highball18 said:
Will be using a speed controller, instead of a rheostat. Bought a $25 cordless drill, ripped it apart to salvage the battery and speed control, broke the speed control from the drill trying to remove the return spring on the trigger. Oh well, at least I have the battery...
Pretty sure you should be able to salvage it.. As long as you did not split the board??

If beyond your know-how, perhaps see if there is a local model railway club?? Loiter, and find their 'master of the dark arts'.. My guess they would be able to help you..
 
One more...

image_zpssxupzxlc.jpg


You may notice that while she was in the shops for the battery conversion she also lost all her white trim... Looks much better to me...
 
Yes it does look better - might do that mine!
 
I agree (looks better) never understood the American fashion of 'white-walls' on tyres of any persuasion.. ;) :D ;D ;D
 
Reminds me of the wide eyed wonder when I first started! (running trains that is, before some smutty b****r gets in!)
 
Yes, they can look a bit better with the bling removed.

Here`s a couple  :D :D


Attachments

  • PIN0036.JPG
    PIN0036.JPG
    194.5 KB · Views: 21
  • PICP003.JPG
    PICP003.JPG
    171.4 KB · Views: 21
Back
Top Bottom