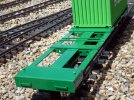
Pipalya
White Pass, SAR (South Australian Railways)
As mentioned in my thread in Freight Wagons, the discovery and purchase of 1/24 scale container models from China which although not marketed as railway models are very close to the scale railways I collect (i.e. LGB / Piko 1:22.5 mainly White Pass and Yukon locos and rolling stock). In another thread I discuss the scale issues I found with container models of 20'containers produced by these makers being out of scale regarding the length of the container.
Piko G containers
However the models I found were accurate to 1/24 in every respect and therefore desirable.
Intermodal Shipping Containers
My next problem was that I did not have suitable flat wagons to carry them. As there seem to be no solutions, second hand or new, I decided to construct my own. The photographic story continues below.
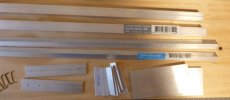
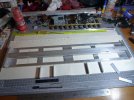
After looking at styrene extrusions and not finding any suitable sizes I was taken by aluminium at my local hardware. After sketching out some possible solutions and guided by various photographs of container wagon types used in Australia I decided on trying aluminium pieces bonded with superglue. Extrusions included; channel, flat and angle.
It worked very well.
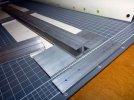
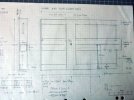
I used an LGB WP&Y container flat wagon as a guide for dimensions and bogie placement.

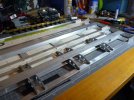
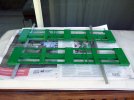
The main frame finished with bogie pegs made from aluminium tube fitted.
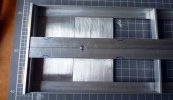
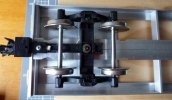
Part of the centre frame cut away to enable bogies to swing further. As it turned out this was not necessary as the radius of the track curves did not require it.
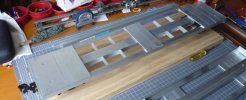
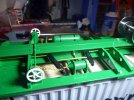
Completed bar fitting of the container posts, brake system and painting. Note second wagon under construction.

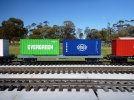
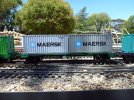
Two wagons, painted with 2 TEU containers each on a successful test run to check that bogies did not foul and that couplers worked correctly. Also tested that their weight did not inhibit running.
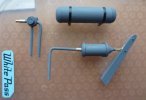
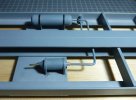
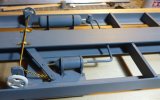
A friend kindly printed some parts for the brakes; air tank ends and supports, AB unit and brake cylinder. With some printed steps this completed the units.
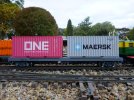
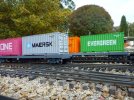
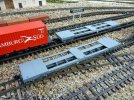
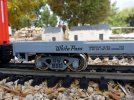
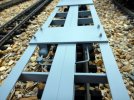
Container flat wagons now operational.
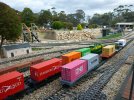
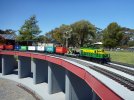
A view of the Garden Railway at Penfield, Adelaide, South Australia. The shunting yard.
Next projects:
2 redesigned 2xTEU flat cars to add to my rolling stock.
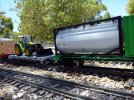
Build a Tanktainer.
Piko G containers
However the models I found were accurate to 1/24 in every respect and therefore desirable.
Intermodal Shipping Containers
My next problem was that I did not have suitable flat wagons to carry them. As there seem to be no solutions, second hand or new, I decided to construct my own. The photographic story continues below.

After looking at styrene extrusions and not finding any suitable sizes I was taken by aluminium at my local hardware. After sketching out some possible solutions and guided by various photographs of container wagon types used in Australia I decided on trying aluminium pieces bonded with superglue. Extrusions included; channel, flat and angle.
It worked very well.


I used an LGB WP&Y container flat wagon as a guide for dimensions and bogie placement.

The main frame finished with bogie pegs made from aluminium tube fitted.


Part of the centre frame cut away to enable bogies to swing further. As it turned out this was not necessary as the radius of the track curves did not require it.

Completed bar fitting of the container posts, brake system and painting. Note second wagon under construction.

Two wagons, painted with 2 TEU containers each on a successful test run to check that bogies did not foul and that couplers worked correctly. Also tested that their weight did not inhibit running.


A friend kindly printed some parts for the brakes; air tank ends and supports, AB unit and brake cylinder. With some printed steps this completed the units.


Container flat wagons now operational.

A view of the Garden Railway at Penfield, Adelaide, South Australia. The shunting yard.
Next projects:
2 redesigned 2xTEU flat cars to add to my rolling stock.
Build a Tanktainer.
Last edited:

