Part 1 of 3
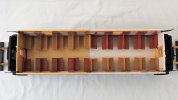
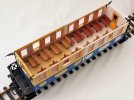
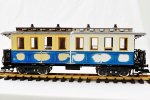
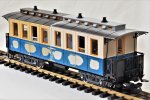
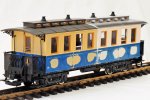
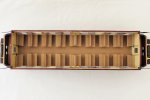
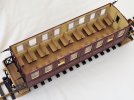
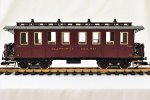
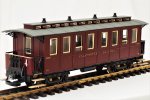
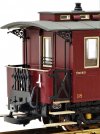
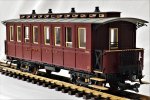
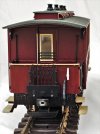
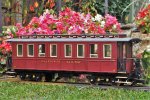
This coach is anticipated to be the last passenger coach to be built for the Claptowte Railway as there are no plans for any future builds of passenger stock. This build is one that I have wanted to try for some time, but it needed a reorganisation of the rakes of coaching stock before I could justify it. Apart from being a different design, to further enhance the mix and match appearance of the narrow gauge coaching stock, it has the merit of freeing up Coach No14, the four wheel Director’s Coach, to enable it to be added to any of the rakes of passenger coaches on an ad hoc basis, as was originally intended, or, if required, to be run on its own as a one coach train.
Previous coach conversions, if not based on LGB bogie passenger coaches, have been constructed using pairs of 4-wheel vehicles, from the LGB Toytrain range, joined together in different ways, and mounted on bogies.
For this conversion I am using a pair of LGB 4-wheel starter set coaches. The coaches were acquired separately from eBay, both being old versions, one in particular being very old.
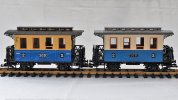
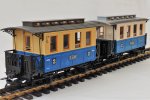
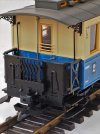
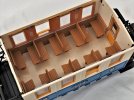
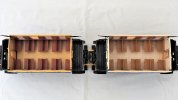
The first step is to dismantle the coaches into their component parts. More recent offerings by LGB are held together with clips and screws and the dismantling is relatively easy and straight forward. Being older models, some of the parts, in particular the window frames and glazing material, are glued into place making dismantling virtually impossible without causing a certain amount of damage. In removing the glazing material, some damage was done to the surrounding plastic but fortunately without damage to the actual window-pains, so they were good to use again. The window frames were more of a problem, in order to re-use the mouldings some surgery had to be undertaken to remove damaged areas and graft repairs using plasticard. Once the repaired mouldings were spray primed with plastic primer, prior to painting, the repairs were un-noticeable.
The first stage of actual modifications concerns the coach bodies. There are raised mouldings on each side, two number ‘2’ and ‘LGB’.
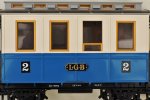
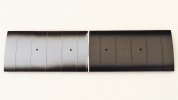
I wanted to remove these raised areas and there was no alternative other than slowly and very carefully carving away at them with a scalpel, followed by a final sanding down with fine wet or dry paper.
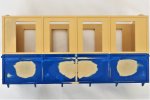
Because I wanted to join the two bodies together to form a single open compartment, the next step was to remove an end wall from each compartment. The mouldings at each end are different, one having moulded pipework, the other being plain. As I wanted both ends of the finished coach body to be plain, I had to saw off the moulded ends with the pipework.
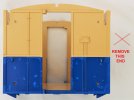
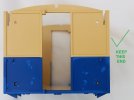
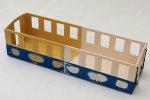
The result of this work was that I ended up with two halves of the new coach body.
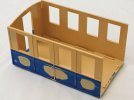
Before the two halves could be joined, the new under-frame had to be created from the two 4-wheel under-frames.
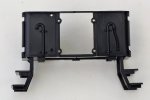
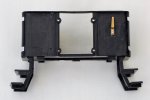
The two tanks that hang below the centre of the under-frame simply unclip, so their removal is straightforward. The moulded ‘W’ irons incorporating the axel boxes and leaf springs are then sawn off and the cuts cleaned up with a file and wet or dry paper.
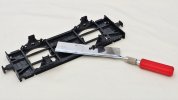
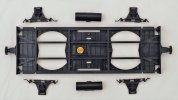
The modified ‘Half body can then be replaced on its under-frame so that the position of the saw line can be determined, flush with the sawn end of the body, and the unwanted balcony end can be removed from the under-frame.
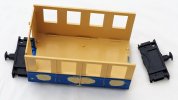
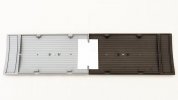
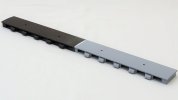
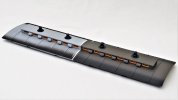
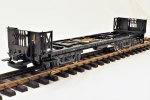
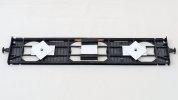
The two halves of the new under-frame can now be glued together. I glued strips of brass along each of the longitudinal members to strengthen the joints.
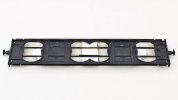
On the underside of the under-frame, I glued a piece of plasticard across the centre. As well as further reinforcing the join, it gave a surface onto which I could glue two of the tanks, dismantled from the original model, having first cut off the locating tabs. I then created the mounting plates for the bogies, using plasticard and a plastic tube of the appropriate diameter for pivots.
David
This coach is anticipated to be the last passenger coach to be built for the Claptowte Railway as there are no plans for any future builds of passenger stock. This build is one that I have wanted to try for some time, but it needed a reorganisation of the rakes of coaching stock before I could justify it. Apart from being a different design, to further enhance the mix and match appearance of the narrow gauge coaching stock, it has the merit of freeing up Coach No14, the four wheel Director’s Coach, to enable it to be added to any of the rakes of passenger coaches on an ad hoc basis, as was originally intended, or, if required, to be run on its own as a one coach train.
Previous coach conversions, if not based on LGB bogie passenger coaches, have been constructed using pairs of 4-wheel vehicles, from the LGB Toytrain range, joined together in different ways, and mounted on bogies.
For this conversion I am using a pair of LGB 4-wheel starter set coaches. The coaches were acquired separately from eBay, both being old versions, one in particular being very old.


The first step is to dismantle the coaches into their component parts. More recent offerings by LGB are held together with clips and screws and the dismantling is relatively easy and straight forward. Being older models, some of the parts, in particular the window frames and glazing material, are glued into place making dismantling virtually impossible without causing a certain amount of damage. In removing the glazing material, some damage was done to the surrounding plastic but fortunately without damage to the actual window-pains, so they were good to use again. The window frames were more of a problem, in order to re-use the mouldings some surgery had to be undertaken to remove damaged areas and graft repairs using plasticard. Once the repaired mouldings were spray primed with plastic primer, prior to painting, the repairs were un-noticeable.
The first stage of actual modifications concerns the coach bodies. There are raised mouldings on each side, two number ‘2’ and ‘LGB’.

I wanted to remove these raised areas and there was no alternative other than slowly and very carefully carving away at them with a scalpel, followed by a final sanding down with fine wet or dry paper.

Because I wanted to join the two bodies together to form a single open compartment, the next step was to remove an end wall from each compartment. The mouldings at each end are different, one having moulded pipework, the other being plain. As I wanted both ends of the finished coach body to be plain, I had to saw off the moulded ends with the pipework.


The result of this work was that I ended up with two halves of the new coach body.

Before the two halves could be joined, the new under-frame had to be created from the two 4-wheel under-frames.
The two tanks that hang below the centre of the under-frame simply unclip, so their removal is straightforward. The moulded ‘W’ irons incorporating the axel boxes and leaf springs are then sawn off and the cuts cleaned up with a file and wet or dry paper.


The modified ‘Half body can then be replaced on its under-frame so that the position of the saw line can be determined, flush with the sawn end of the body, and the unwanted balcony end can be removed from the under-frame.

The two halves of the new under-frame can now be glued together. I glued strips of brass along each of the longitudinal members to strengthen the joints.

On the underside of the under-frame, I glued a piece of plasticard across the centre. As well as further reinforcing the join, it gave a surface onto which I could glue two of the tanks, dismantled from the original model, having first cut off the locating tabs. I then created the mounting plates for the bogies, using plasticard and a plastic tube of the appropriate diameter for pivots.

David
-
3
- Show all


