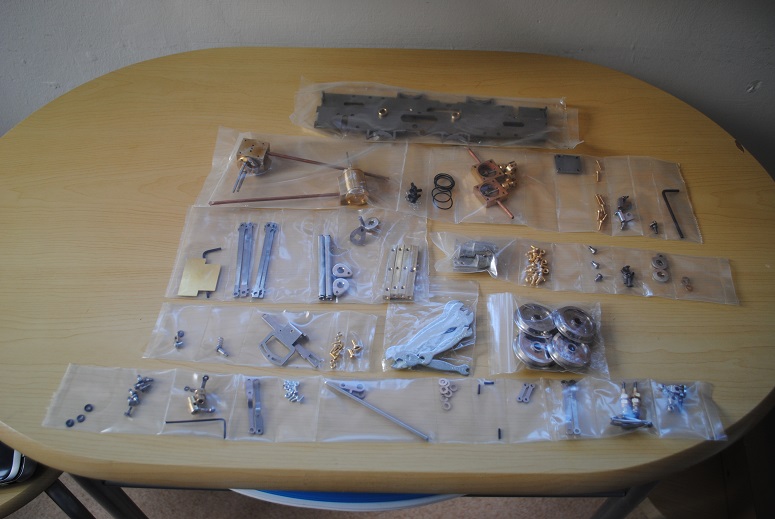
I bught a RoundHouse Billy kit at the recent Exeter Garden Railwy Show. I had contacted Simon at Anything Narrow Gauge who brought it along and supplied some very good advice as well as the kit. I had downloaded the manual some weeks before so had had a good read of that, but it still looked like a lot of bits when I looked in the box. For your £367, this is what you get.
You are using an out of date browser. It may not display this or other websites correctly.
You should upgrade or use an alternative browser.
You should upgrade or use an alternative browser.
Building Billy
- Thread starter UKSGR
- Start date

green park
Registered
i tend to put a drop of oil on everything mechanical as i assemble it especially valve gear and cylinders. when you fire it up for the first time, before the system oiler works, its nice to know theres some in there to start with. dont want to run it dry, do we. got my lady anne from simon. still very pleased with it. mart...
")
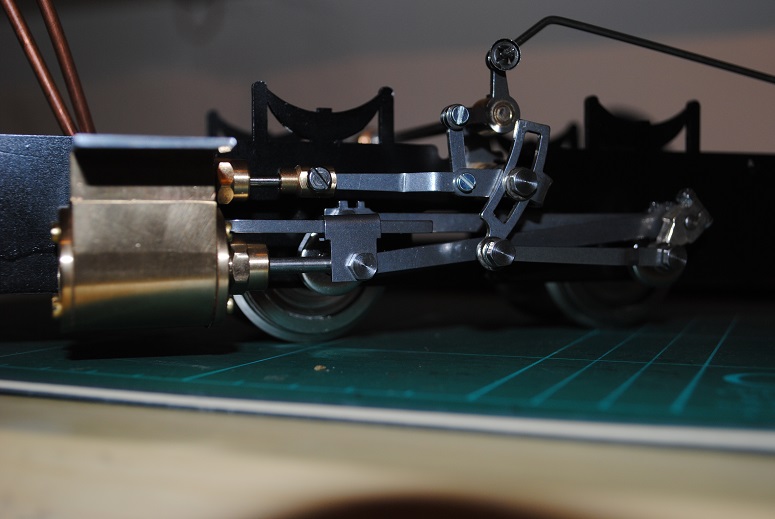
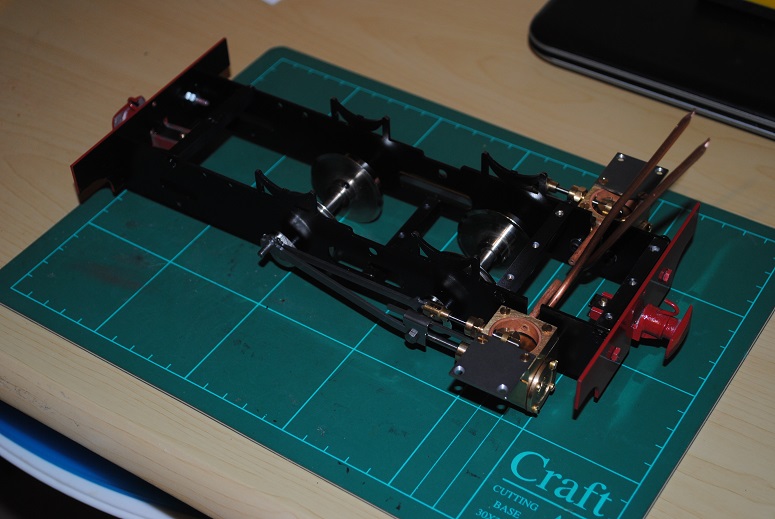
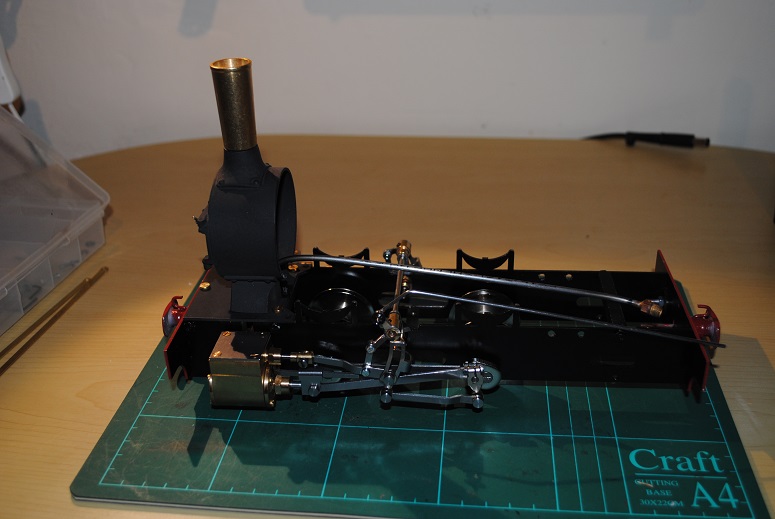
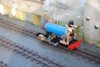
I contacted Ruondhouse when I had finished the chassis to see if I could get a tee piece to test the chassis so far. They told me I could buy just the super heater pipe and when buying the boiler kit let them know I didn`t need that part. So that`s what I`ve done. Here is my chassis with the tube fitted.
Attachments
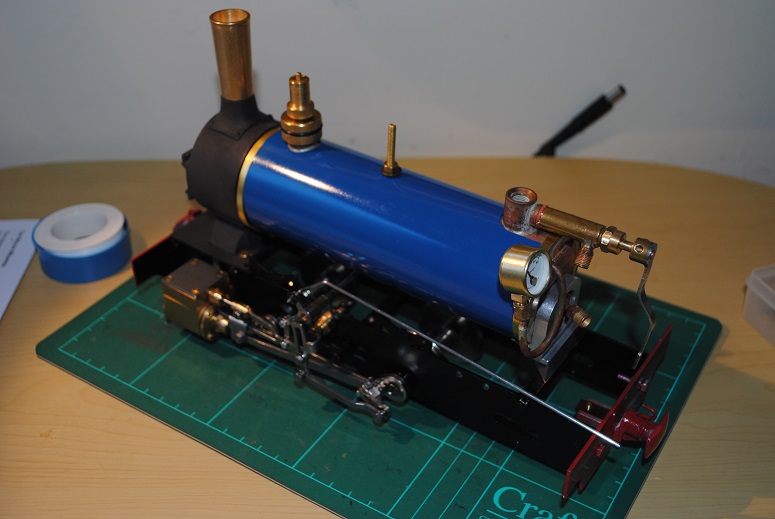
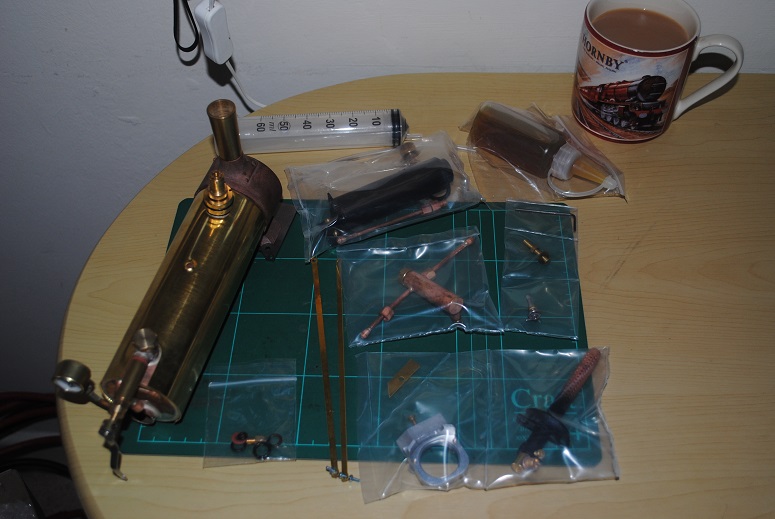
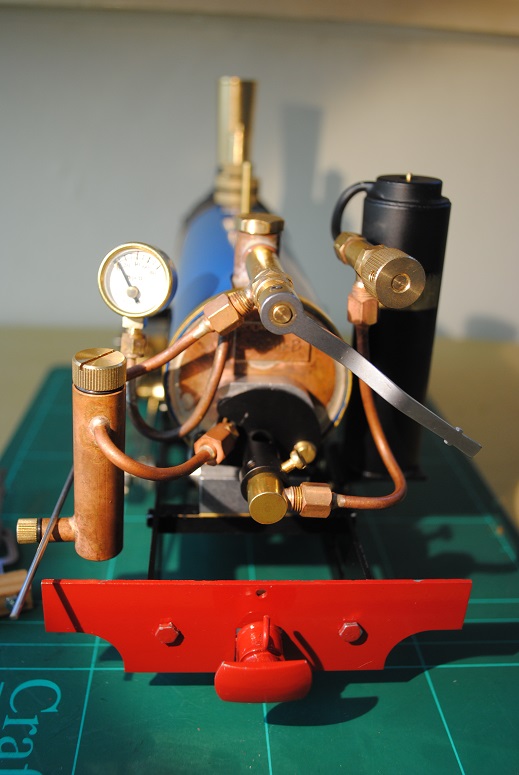
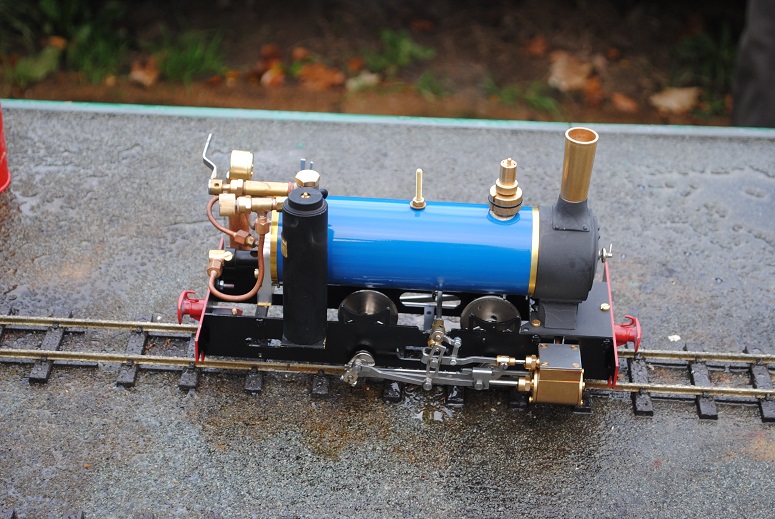
Well, I sold the Stainz was able to order the boiler kit. Service at Roundhouse is excellent and my kit arrived the next day. The contents were alll very well packed and a check through the parts list found everything there plus some extraa fixings again. The instruction manual has the certificates for the boiler and the gas tank printed inside and duly filled out with the serial numbers and testers signature and date. What I did like about this was that it is all hand written, not printed, and gives the confidence that care has been taken with this important step in the process.
On to the kit. This is what you get in the box(without the brew).
On to the kit. This is what you get in the box(without the brew).
Attachments
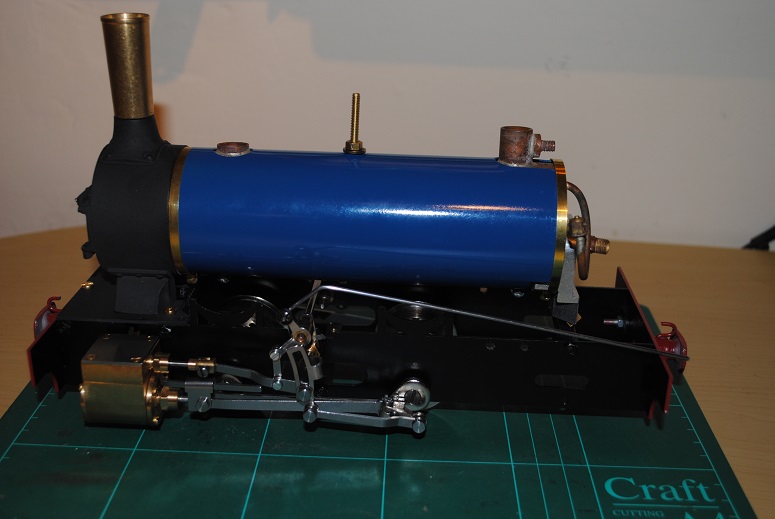
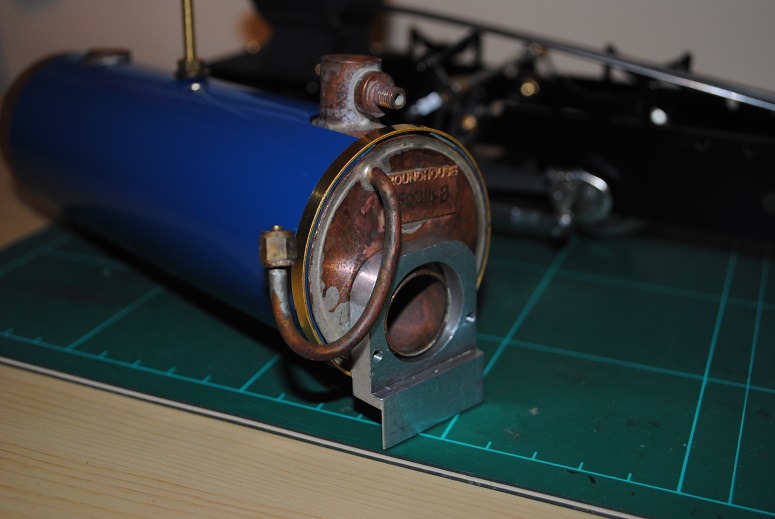

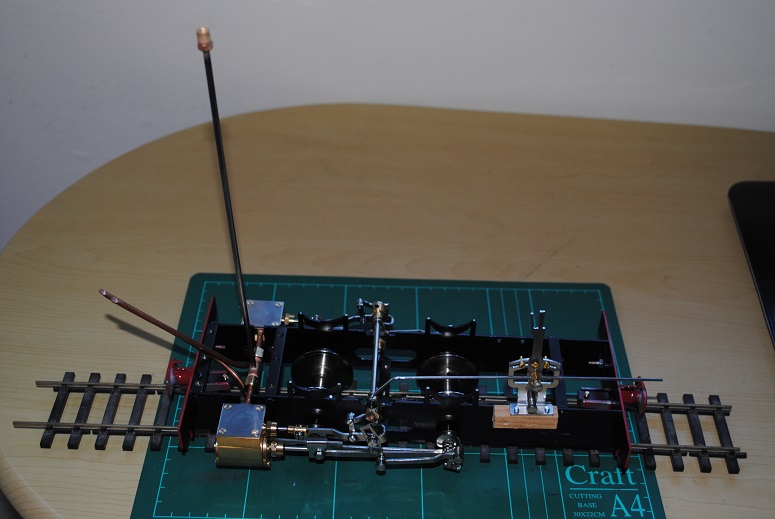
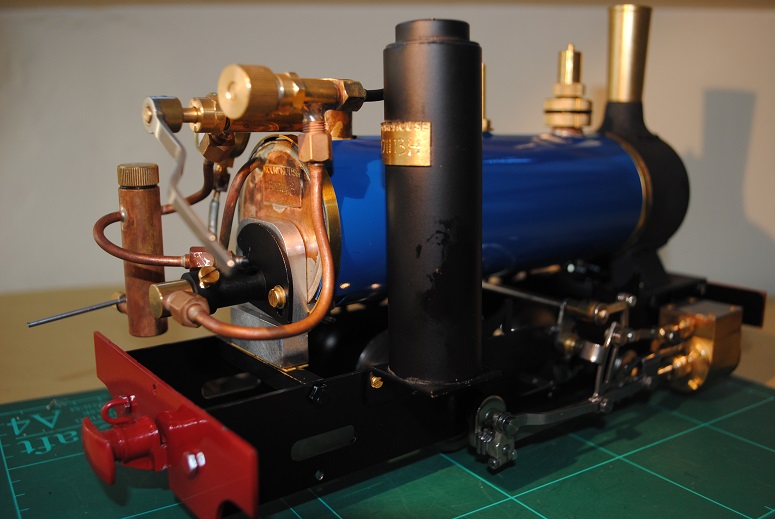
On to the gas system. Again, Having test assembled the loco, the burner fitted to the mounting foot and the super heater pipe had already been bent to fit. I would recommend doing a test assembly without the painted parts every time. Next, fit the gas tank. The instructions say fit the gas regulator next but mine was already fitted to the tank, so fit the gas pipe next. Be careful when bending as this is very soft thin copper pipe.
Attachments
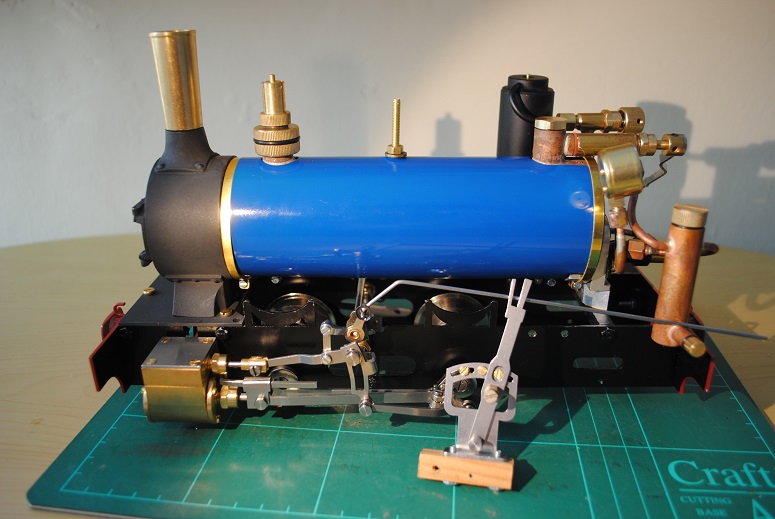
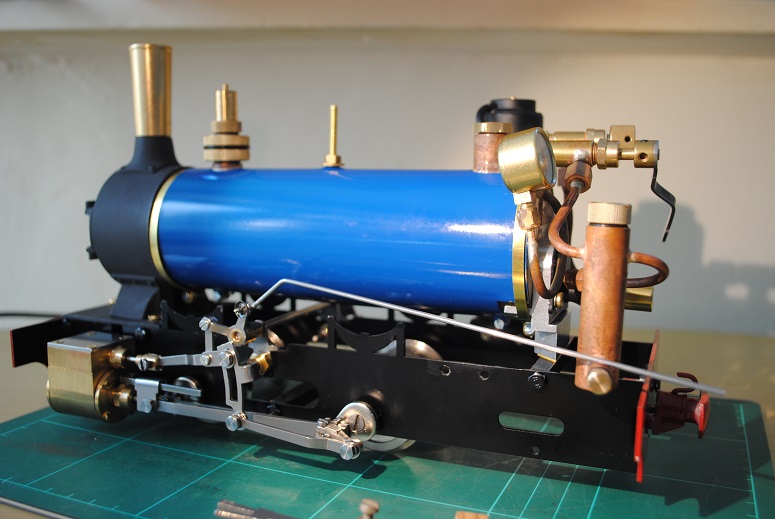
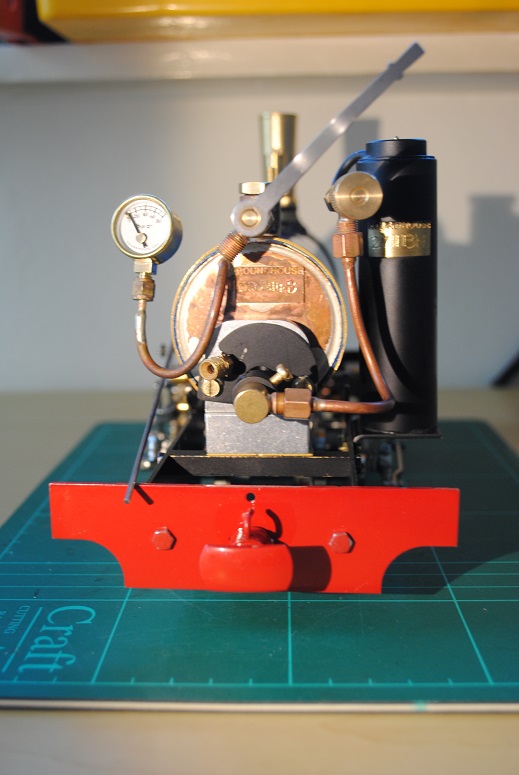
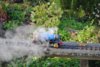
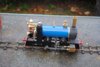
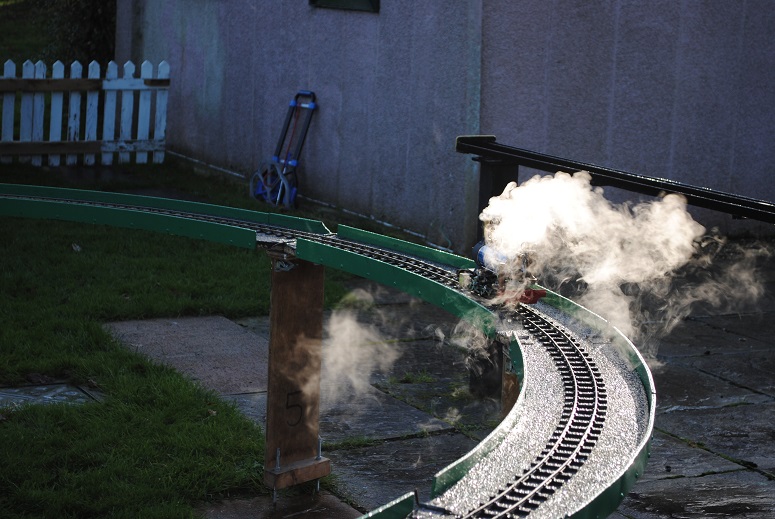
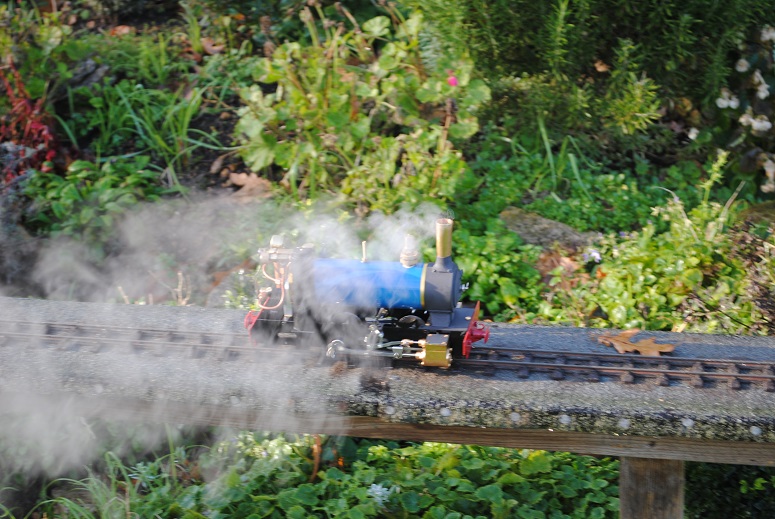
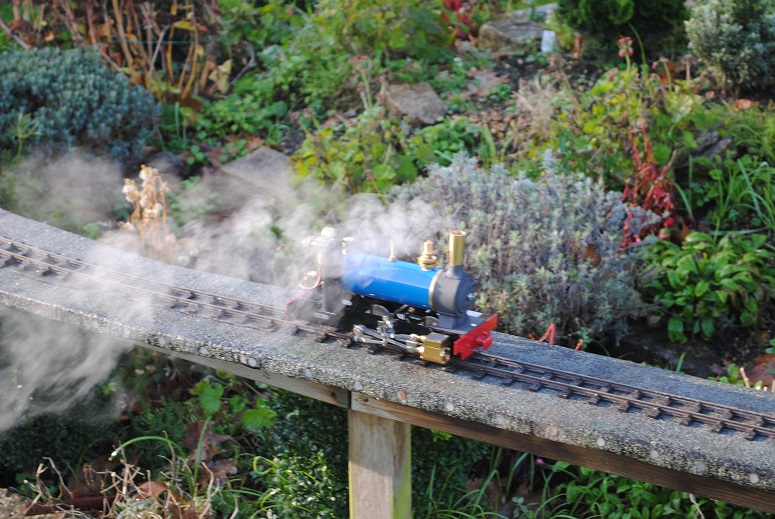
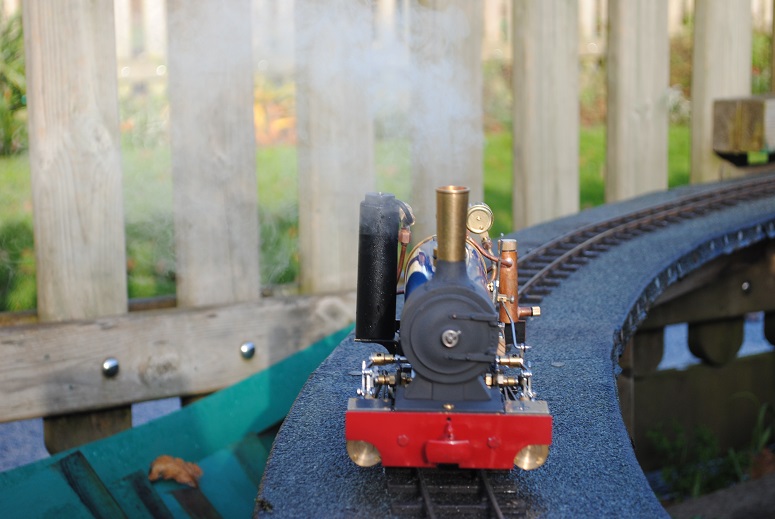
I ran my Billy for the first time today and it behaved perfectly. 
Building up steam for the first run
Building up steam for the first run
Attachments
-
 Billy31.jpg234.2 KB · Views: 56
 -
 Billy30.jpg183.2 KB · Views: 57
 -
 Billy29.jpg181.6 KB · Views: 48
 -
 Billy28.jpg189.1 KB · Views: 43
 -
 Billy27.jpg212.7 KB · Views: 52
 -
 Billy26.jpg219.7 KB · Views: 53
 -
 Billy25.jpg138.2 KB · Views: 46
 -
 Billy24.jpg148.5 KB · Views: 52
 -
 Billy23.jpg131.5 KB · Views: 59
 -
 Billy22.jpg209.6 KB · Views: 51


railwayman198
Registered
Looks great! A useful thread too, as at some point I intend to do something similar except I plan to fit a body of my own design.
Well it seems that I was sufficiently good enough last year for Santa to bring me both the body and R/C kits as well as a controller and receiver.
Firstly, here are what is in the kits.


The usual well packaged parts sets. The first thing was to file all the small burrs from the pieces. Next, dismantle the boiler from the chassis and attach the 2 extra boiler bands.

bend all the parts as per the instructions.

and solder the cab front to the main body. It is worth taking time with this as it is quite tricky keeping it all square whilst soldering.

Off to the paint shop for all the parts. I have already attached the battery box to the roof and the pillars and bracket for the servos prior to painting.

Once everything has been painted floor can be attached and the boiler replaced along with the gas tank, gas regulator and lubricator. the regulator is also fitted now. The regulator for the radio control is different to that for manual control.

Now it is time to turn attention to the cab. The spectacles have their tabs bent and fed through the cab slots and then folded over. The handrails are attached with the 8ba nuts and the whistle glued on the bracket.

The body can now be fitted to the chassis with the single screw through the rear buffer beam and the tank support bracket.

The roof is attached using 2 8ba screws and nuts but it is not tightened. The roof lifts to access the controls snd lubricator filler.

And the final part to fit is the sand box.

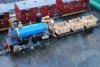
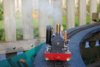
And there it is


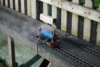
And so to the trck. Here it is in the steaming area.

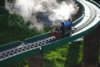
And an overview of others at Littledown railway on a chilly Sunday morning.
[attachment=6][/attachment]
I intend to attach radio control to the loco but am still awaiting the servos. As soon as they`re here I`ll post the fitting for it. I also took a video today which I`ll edit and post on here.
My next step is to make name and number plates for the loco.
I have really enjoyed building the kit. The instructions are very clear and precise. I cannot wait to get the next loco which will be a Katie.

The roof is attached using 2 8ba screws and nuts but it is not tightened. The roof lifts to access the controls snd lubricator filler.

And the final part to fit is the sand box.

And there it is


And so to the trck. Here it is in the steaming area.

And an overview of others at Littledown railway on a chilly Sunday morning.
[attachment=6][/attachment]
I intend to attach radio control to the loco but am still awaiting the servos. As soon as they`re here I`ll post the fitting for it. I also took a video today which I`ll edit and post on here.
My next step is to make name and number plates for the loco.
I have really enjoyed building the kit. The instructions are very clear and precise. I cannot wait to get the next loco which will be a Katie.
nicebutdim
Registered
A very fine loco indeed, well done on an excellent build.
Neil Robinson
Registered
UKSGR said:This is the first time I have posted to youtube. Please let me know if it is working.
Works fine on my machine
Thanks to those that have made comment on this post. It`s always good to read them.
The first thing to do to fit the R/C kit is to remove the cab. Also,the reversing lever will be removed to make way for the reversing servo and the regulator has to be changed. Like it says in the instructions, the two regulators look identical so make sure you keep them apart. Once those parts are changed and the servos mounted, the receiver and batteries can be connected to make sure it works.

Next attach the reversing linkage

Then the regulator linkage

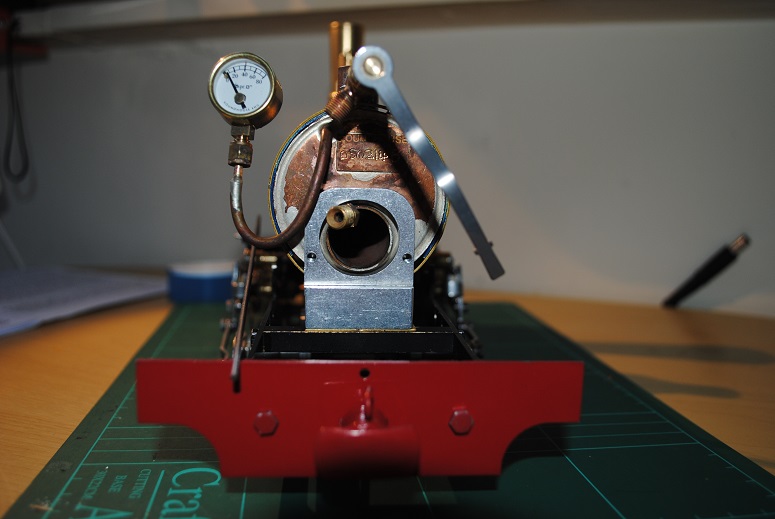
Now, following the instructions, set the forward/reverse linkage and then the regulator linkage. Mine seemed to adjust and set in the right places very easily but I won`t be able to confirm that until Sunday when I get to run it. The observant amongst you may have noticed that the pressure gauge position has changed. I found when I mounted the servos and the regulator link that the pipes to the gauge and also those to the as tank had to be moved to prevent fouling.
Once you are happy with the cab bits, mount the receiver in the tray between the frames under the cab floor and re-fit the cab with the battery box under the roof.

and there you have it


I hope I haven`t bored you all with this. I have really enjoyed building this fantastic kit and learned loads about steam locos. I`m looking forward to building a "Katie" next for my second grand-daughter.
I will try and get another video on Sunday running with R/C.
The first thing to do to fit the R/C kit is to remove the cab. Also,the reversing lever will be removed to make way for the reversing servo and the regulator has to be changed. Like it says in the instructions, the two regulators look identical so make sure you keep them apart. Once those parts are changed and the servos mounted, the receiver and batteries can be connected to make sure it works.

Next attach the reversing linkage

Then the regulator linkage

Now, following the instructions, set the forward/reverse linkage and then the regulator linkage. Mine seemed to adjust and set in the right places very easily but I won`t be able to confirm that until Sunday when I get to run it. The observant amongst you may have noticed that the pressure gauge position has changed. I found when I mounted the servos and the regulator link that the pipes to the gauge and also those to the as tank had to be moved to prevent fouling.
Once you are happy with the cab bits, mount the receiver in the tray between the frames under the cab floor and re-fit the cab with the battery box under the roof.

and there you have it


I hope I haven`t bored you all with this. I have really enjoyed building this fantastic kit and learned loads about steam locos. I`m looking forward to building a "Katie" next for my second grand-daughter.
I will try and get another video on Sunday running with R/C.
Well I didn't get another video, but I did run my Billy with radio control and it makes it a whole better experience. Being able to just stop whenever you feel like (or when the mobile rings) is great. No more chasing after it when it gets close to another train. I love it and would thoroughly recommend this kit to anyone thinking of trying it. The radio control is fro Hobbyking and performed faultlessly despite costing about £22 for the Transmitter, receiver, power harness and servos.
I'll be back with a buld log for "Katie" next
I'll be back with a buld log for "Katie" next