OcCré

KeithT

Hillwalking, chickens and - err - garden railways.
Country flag
It is always nice to get good customer service.
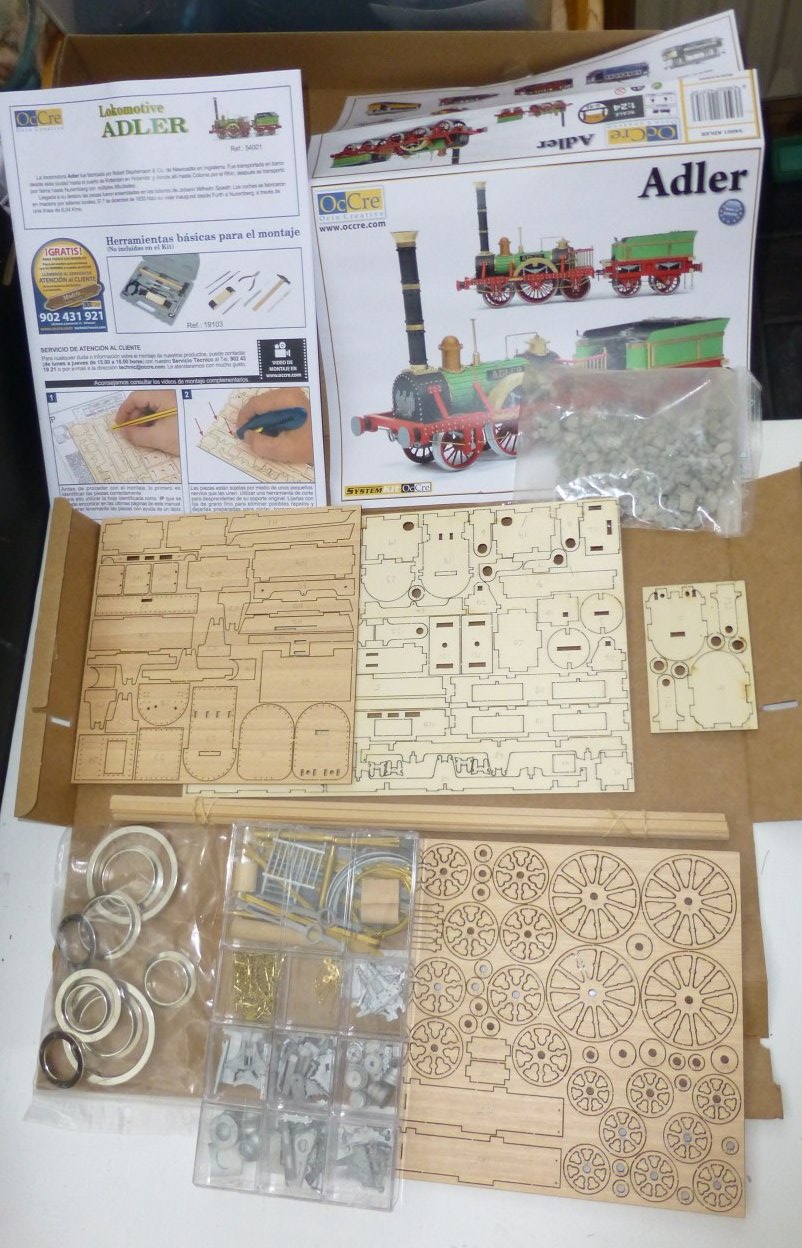
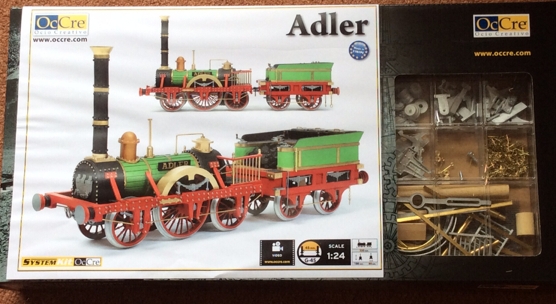
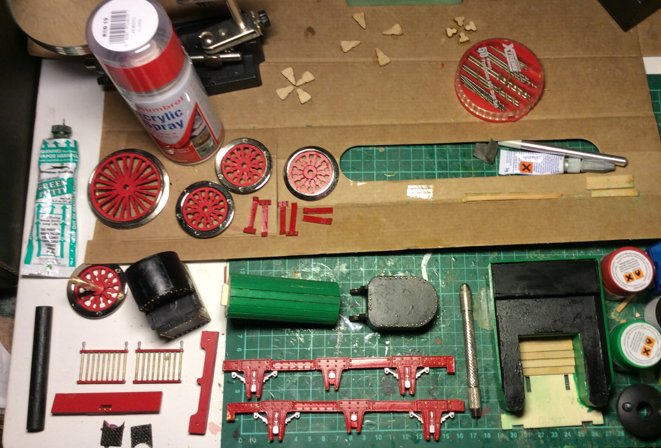
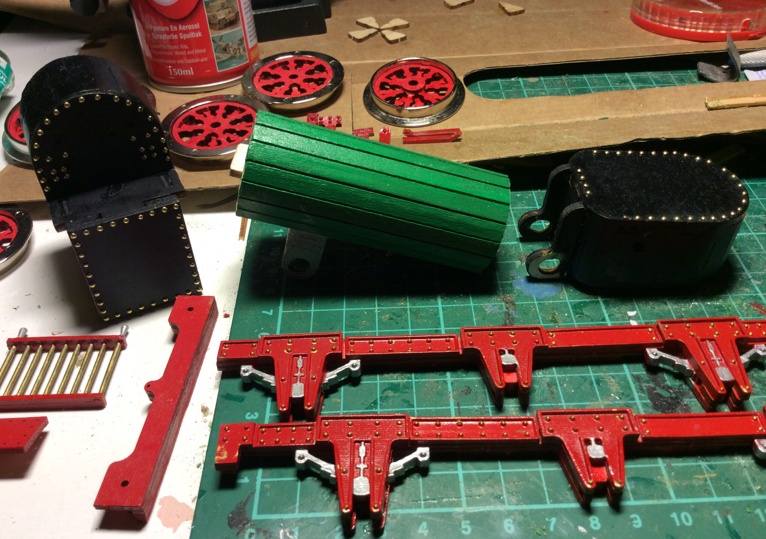
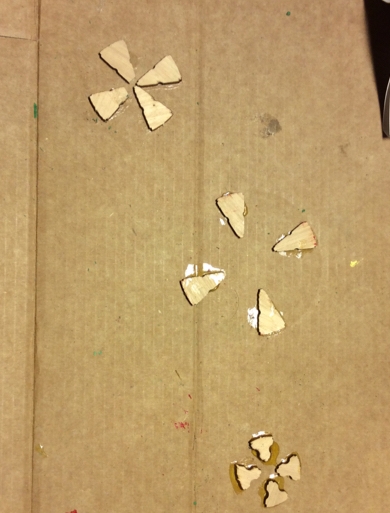
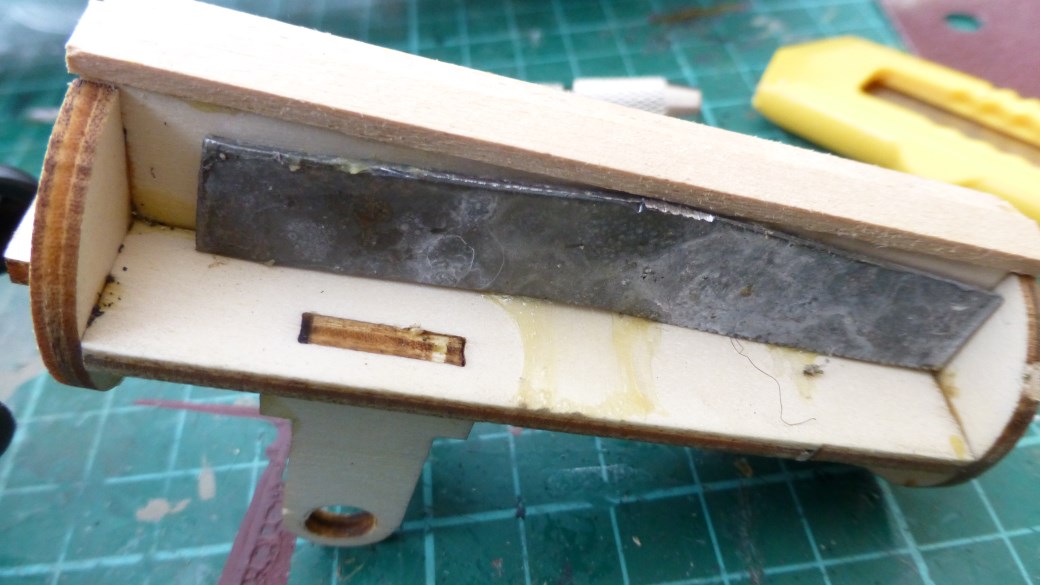
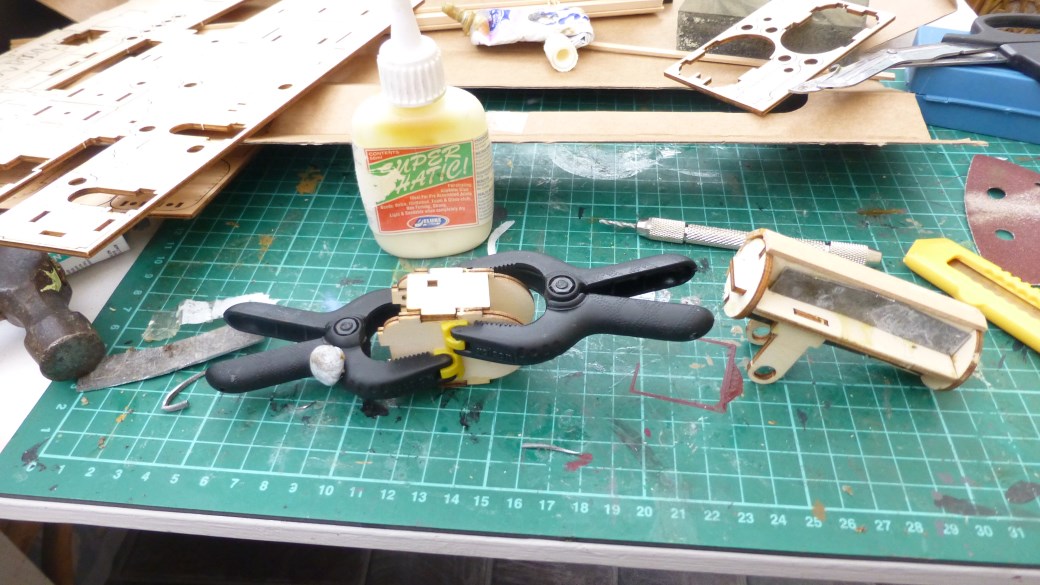
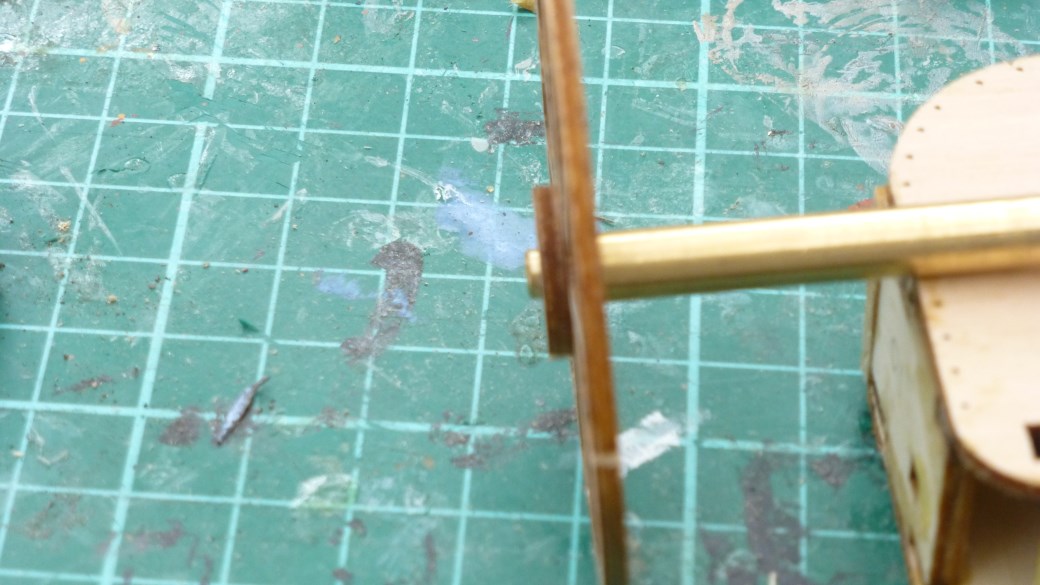
I am in the throes of building the Adler kit from OcCré but managed to break the wooden spokes in one of the drivers.
Last evening I sent an email to OcCré asking if they could provide a replacement for my ham fistedness, I was willing to pay inc p/p.
Early this morning I got an email thanking me for buying one of their kits and promising a replacement no charge all the way from Spain.

All to often we struggle to get reasonable service so it makes a pleasant change to get such a positive response.

I hasten to add that I have no connections with OcCré other than as a user of their kits.

I would dearly love to build their 2-3-1K Nord pacific but I fear that it is way beyond my skills - and eyesight.
 
Sounds like proper service Keith. Any chance of a few piccys and a few comments on the Adler built as I thought about have a go at one meself one day
 
That is exceptional service Keith, obviously Occre are a company worth dealing with...
 
I intend posting some pics of the build when I sort out which SD card I used for the early shots. It appears to have gone awol!

The kit is very impressive and well detailed. I also bought the motor unit for the tender.

It remains to be seen if my modelling skills are up to it.
So far apart from poking my finger through a set of spokes I clad the boiler and after sanding and painting decided that it was rubbish. I ended-up removing all the strips and starting again! The problem was that I used aliphatic glue. A good adhesive but it lacks the quick 'grab' needed when butting-up adjacent strips and I was probably too eager to see the finished product. More haste etc.
 
That's reassuring to know for anyone who is thinking of buying one of their kits 8)
 
This is what you get. The instructions are pretty good and in full colour. Mine were in English and Spanish - I purchased from Cornwall Model Boats. V quick service.
You need to number the parts using the instruction book diagram or you could get yourself into trouble. Not a difficult task.
The parts are easily removed from the sheet being held by 1 to 4 slender nibs.
So far I have had to ease only one slot. There is some filling to be done. The one I use would be better a little finer.
I will post some of the build later.
One item I need to buy is a pin nailer, the one I have cannot handle the v fine pins used to simulate rivets. It IS possible to drill and hammer them into place but the nailer will make things much easier.
It remains to be seen if my finished product looks anything like it should!
 

Attachments

  • -P1130821cr.jpg
    -P1130821cr.jpg
    211.6 KB · Views: 88
  • -ADLER IMG_0091cr.jpg
    -ADLER IMG_0091cr.jpg
    150 KB · Views: 65
Some progress and a couple of backward steps courtesy of my cack handed skills.

I finished and painted the boiler only to reaise that it simply would not do. I used aliphatic glue, fine in its own right but it meant that the gaps between the strips were unevn. This glue does not `grab` quickly and inevitably as I progressed around the boiler the gaps varied. I tried to remedy the situation by judicious filling but that did not help the `tight` bits.
So, all the strips had to come off. It was easier than I had hoped.
When I refitted them, all recut, I used PVA glue as recommended and all went well apart from one gap that isn`t quite perfect but I can live with it after opening it up a touch with a craft knife.
I painted as many items as I could using a Humbrol spray Red can for the larger parts and Tamiya red for those needing a brush They appear identical in colour. For the green I used Tamiya Park Green, Apple Green might have been closer to the colour in the instruction book but having seen videos of the actual loco the colour seems to have varied, the replica looks quite a bit darker. Tamiya acrylics are brilliant! For other bits and bobs I used my existing Revell acrylics, they are OK but it is like painting with mud in comparison to Tamiya.
There LOTS of rivets (pins) to be inserted. Happily, their positions are not only marked but lasered through which makes positioning them much easier. My pin nailer is too big for the v dainty pins and I had intended buying a the Occré one but being impatient I tried cutting the head off a pin , fitting it into my pin drill and pushing holes through the top ply into the underneath part. It worked a treat. I then fitted all the pins using a small hammer I did not even need tweezers to hold the pins steady.

The instructions tell you to use the spoke cut-out blanks as spacers to ensure that the double spoke assemblies are fitted with the correct inset from the front of the tyre. Keeping them in place whilst pressing the spokes in place was not easy and so I glued four for each wheel size to a piece of card. Simple! However, next came my second faux pas which I mentioned above. The spokes are a tight fit, I got the first one in OK but forgot how fragile the spokes are and pressed down on them - result - broken spoke! Occré came to the rescue and a replacement is in the post.
Dabbing the rivet heads on the frames using brass paint tested my compromised vision but they don`t look too clumsy - I think.
There is quite a lot of filling of the slots where the location tabs pass through. I have spent more time doing that repeatedly than any other part of the build.
 

Attachments

  • IMG_0427cr.jpg
    IMG_0427cr.jpg
    76.6 KB · Views: 78
  • IMG_0429cr.jpg
    IMG_0429cr.jpg
    189.5 KB · Views: 80
  • IMG_0430cr.jpg
    IMG_0430cr.jpg
    140.1 KB · Views: 55
That riveting looks really neat.
The paint job looks good too - hard to believe it's wood.

Well done so far!
 
Doc
The side frames are sections of cast white metal glued to a wooden strip. the detail is clean.
The riveting looks good because all the points were lasered through. The preparation by Occré is impressive.

I have just realised that I have missed an interim stage showing it before the boiler was clad!
I will add it when I have reduced the size of the images.
 
This is the interim stage I forgot to add earlier.  ???
The motor for Adler is in the tender and I thought that on its own the loco would be too light to be propelled around curves and points and so I added some strips of lead flashing within the boiler space before cladding it. I can add further weight beneath the boiler and firebox should it prove necessary.

I foresee a problem fitting the double spokes and double spacers to the axles. As can be seen from the last pics there is insufficient space for all 4. I will try leaving off the outer ring. It does not appear to serve any purpose and would not be seen behind the frames.

My Dremel clone (Aldi special) has been a real boon. Sanding the edges of the strips and flatting them down has been a doddle.
 

Attachments

  • P1130833_renamed_15946.jpg
    P1130833_renamed_15946.jpg
    141.7 KB · Views: 59
  • P1130832_renamed_2119.jpg
    P1130832_renamed_2119.jpg
    164.3 KB · Views: 62
  • P1130829_renamed_12080.jpg
    P1130829_renamed_12080.jpg
    145.6 KB · Views: 57
  • P1130828_renamed_18125.jpg
    P1130828_renamed_18125.jpg
    139.2 KB · Views: 59
  • P1130827_renamed_17767.jpg
    P1130827_renamed_17767.jpg
    100.5 KB · Views: 56
  • P1130823_renamed_23022.jpg
    P1130823_renamed_23022.jpg
    156 KB · Views: 66
  • P1130837_renamed_5504.jpg
    P1130837_renamed_5504.jpg
    114.8 KB · Views: 59
Looking great Keith, Im following with much interest in this. Are you planning to get the matching coach's after the loco build.?
 
Nemo
I think I might have to as I have nothing comparable to run with it.

Not a word to SWMBO...............

EDIT: I need to make sure it runs first! It might be a shelf queen. :-\
 
KeithT said:
Nemo
I think I might have to as I have nothing comparable to run with it.

Not a word to SWMBO...............

EDIT: I need to make sure it runs first! It might be a shelf queen. :-\
Either way Keith it will be good on the eyeball....
 
I have run into my first dfficult obstacle - fitting the boiler bands.
I expected the brass strip to be easy to fashion and fit.
Hmm, not only is is almost as springy as spring steel it is also v brittle.
I tried wrapping it around a dowel with a smaller diameter than the boiler but it is still fighting back.
Get the 100degree angles at the the ends which should be inserted between the boiler cladding strips wrong and any attempt to ease the angle results in the end snapping off.
So far I haven't wasted any of the brass but it was a close call.
It remains to be seen if superglue will hold the bands in place. Mind you others have managed it so I ought to be able to. :D
Photos will be posted of the results/wreckage in due course after I have removed the boiler superglued to my fingers. ::)
 
http://www.ebay.com.au/itm/2-X-Super-Glue-Remover-Skin-Debonder-Adhesive-Superglue-Cleaner-Works-In-Seconds-/191242250004?pt=LH_DefaultDomain_15&hash=item2c86ed2714

:o
 
Tramcar Trev said:
http://www.ebay.com.au/itm/2-X-Super-Glue-Remover-Skin-Debonder-Adhesive-Superglue-Cleaner-Works-In-Seconds-/191242250004?pt=LH_DefaultDomain_15&hash=item2c86ed2714

:o
I suppose it would be preferable to amputation but can I wait for it to come from Oz? :-\
 
KeithT said:
I have run into my first dfficult obstacle - fitting the boiler bands.
I expected the brass strip to be easy to fashion and fit.
Hmm, not only is is almost as springy as spring steel it is also v brittle.
I tried wrapping it around a dowel with a smaller diameter than the boiler but it is still fighting back.
Get the 100degree angles at the the ends which should be inserted between the boiler cladding strips wrong and any attempt to ease the angle results in the end snapping off.
So far I haven't wasted any of the brass but it was a close call.
It remains to be seen if superglue will hold the bands in place. Mind you others have managed it so I ought to be able to. :D
Photos will be posted of the results/wreckage in due course after I have removed the boiler superglued to my fingers. ::)

Keith, sounds as though the brass is "all hard", i.e. it could need annealing. The problem with that is that it will then require to be cleaned and polished again.

To anneal brass it only requires that it is heated to a good red and allowed to cool naturally (or it can also be quenched in water). Brass 'work hardens' and thin sections can become hard when cut from larger ones as the cutting action bends it.
 
Bob
Thanks for the info'
I had my suspicions that annealing might be an option.
Not sure how I can heat a thin strip of metal to red heat evenly or without ending up with a 'puddle' of brass.
I have a butane gas torch or there is the gas hob....
Cleaning would not be an issue of course.
Before attempting anything I will check to see if there is a spare length to practice on.
 
Meanwhile, I believe acetone will help detach that boiler. I bought a big bottle of nail polish remover, which is nothing but acetone according to the label.
 
I suppose you could try pulling it over the edge of a piece of wood like you might do to curl paper or card.
 
Back
Top Bottom