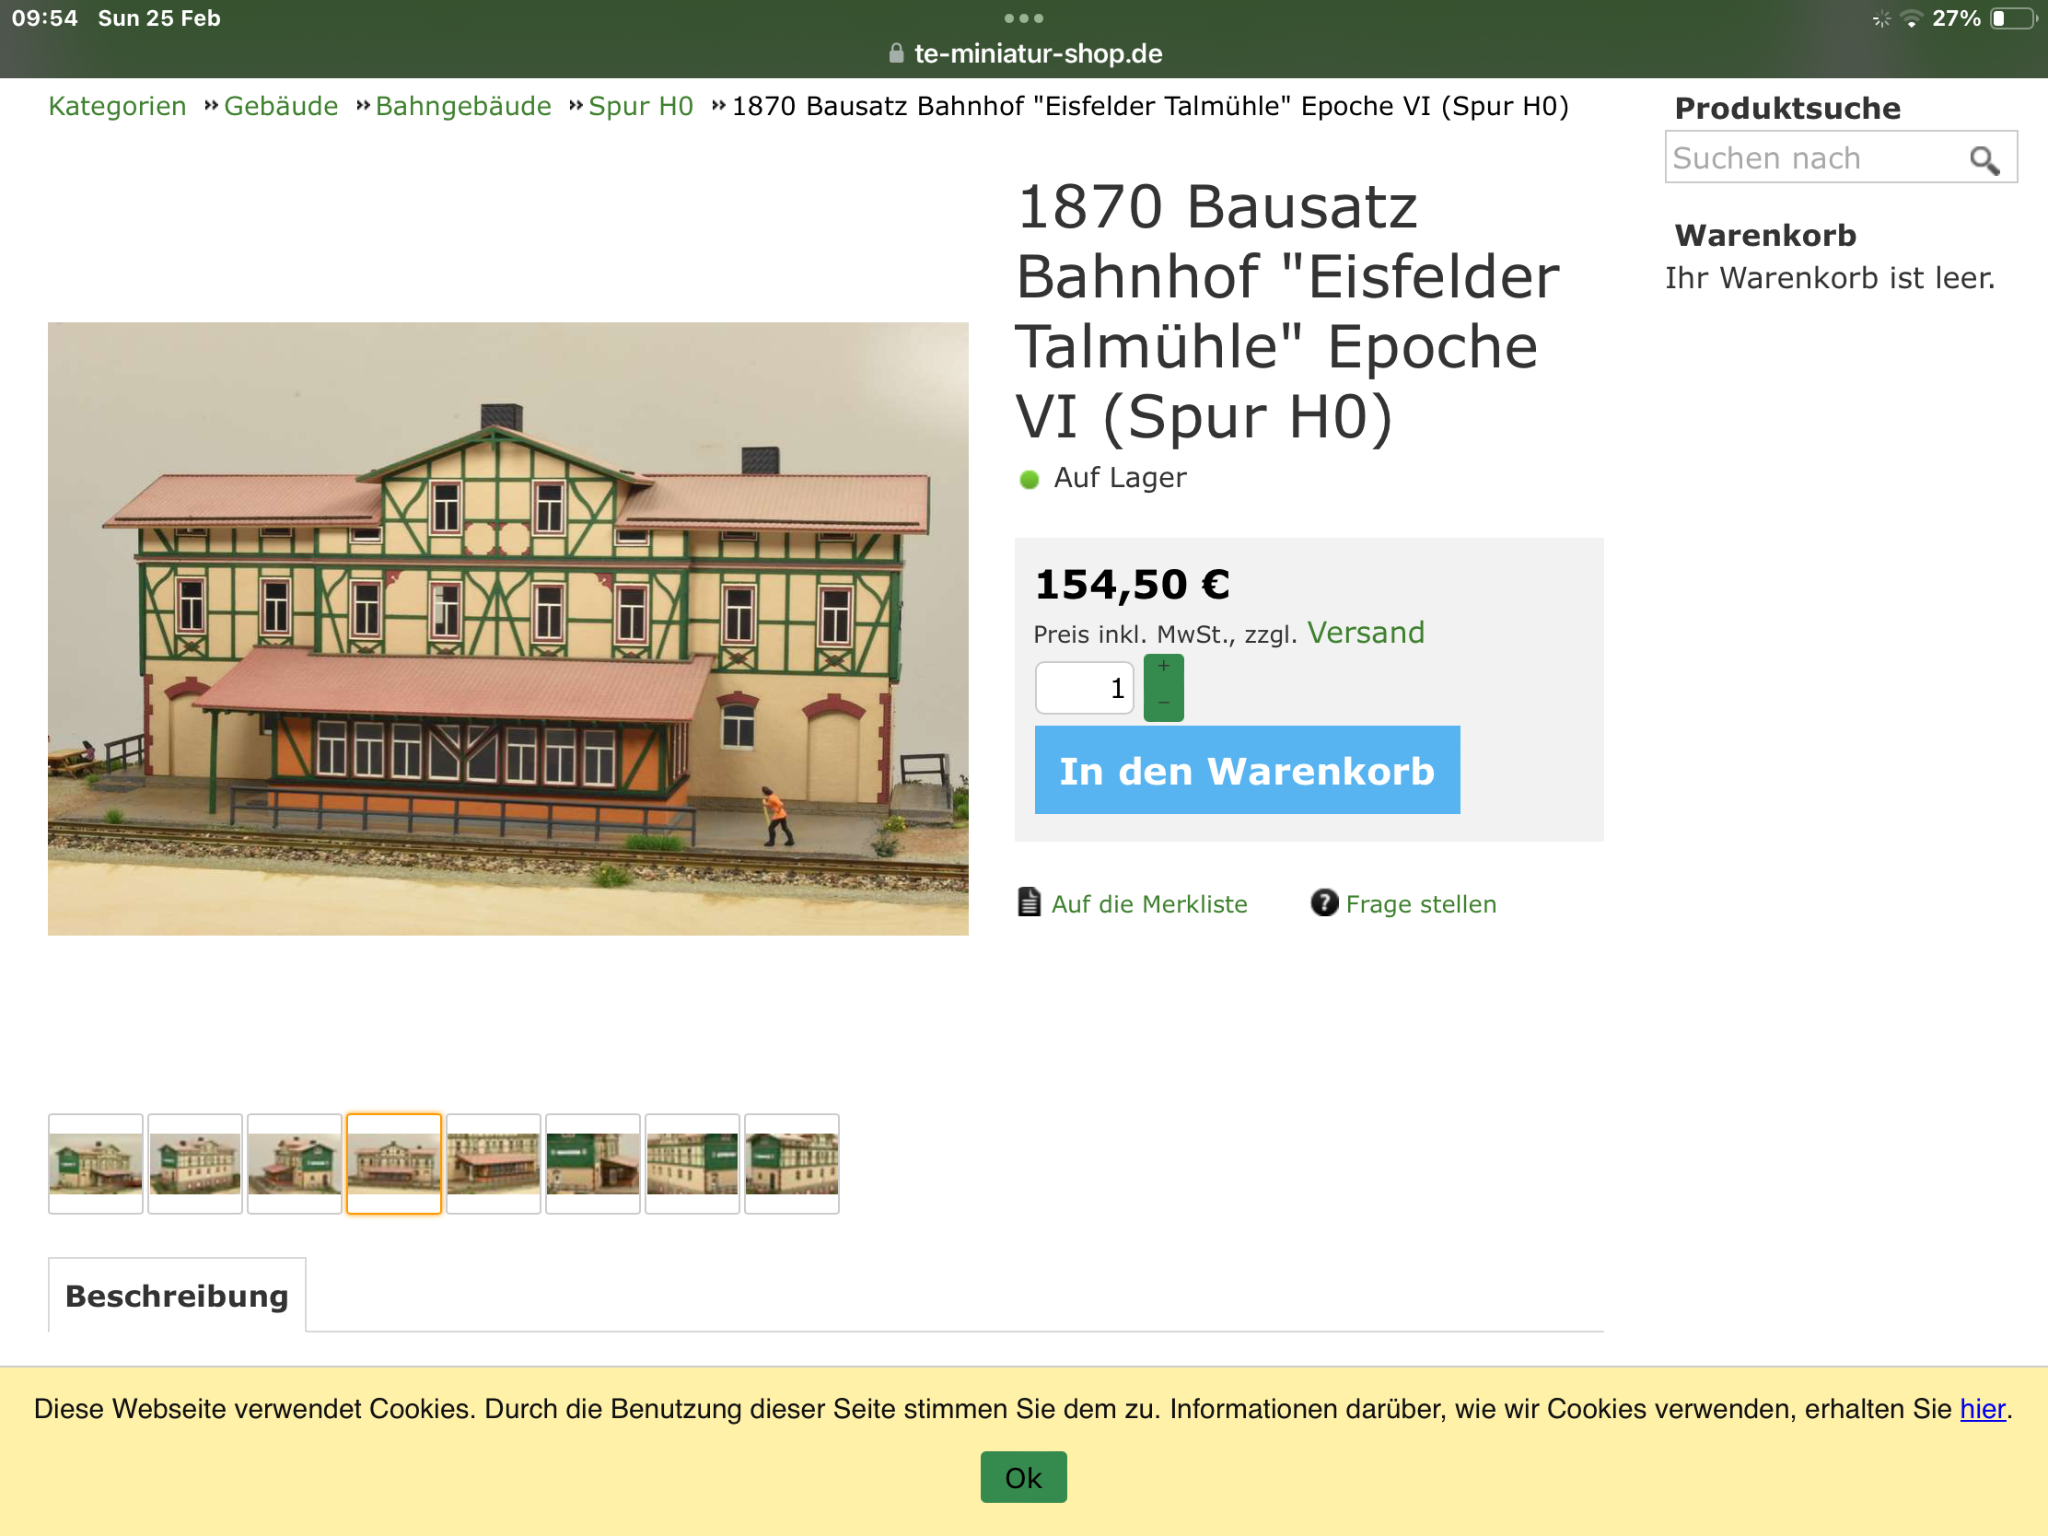
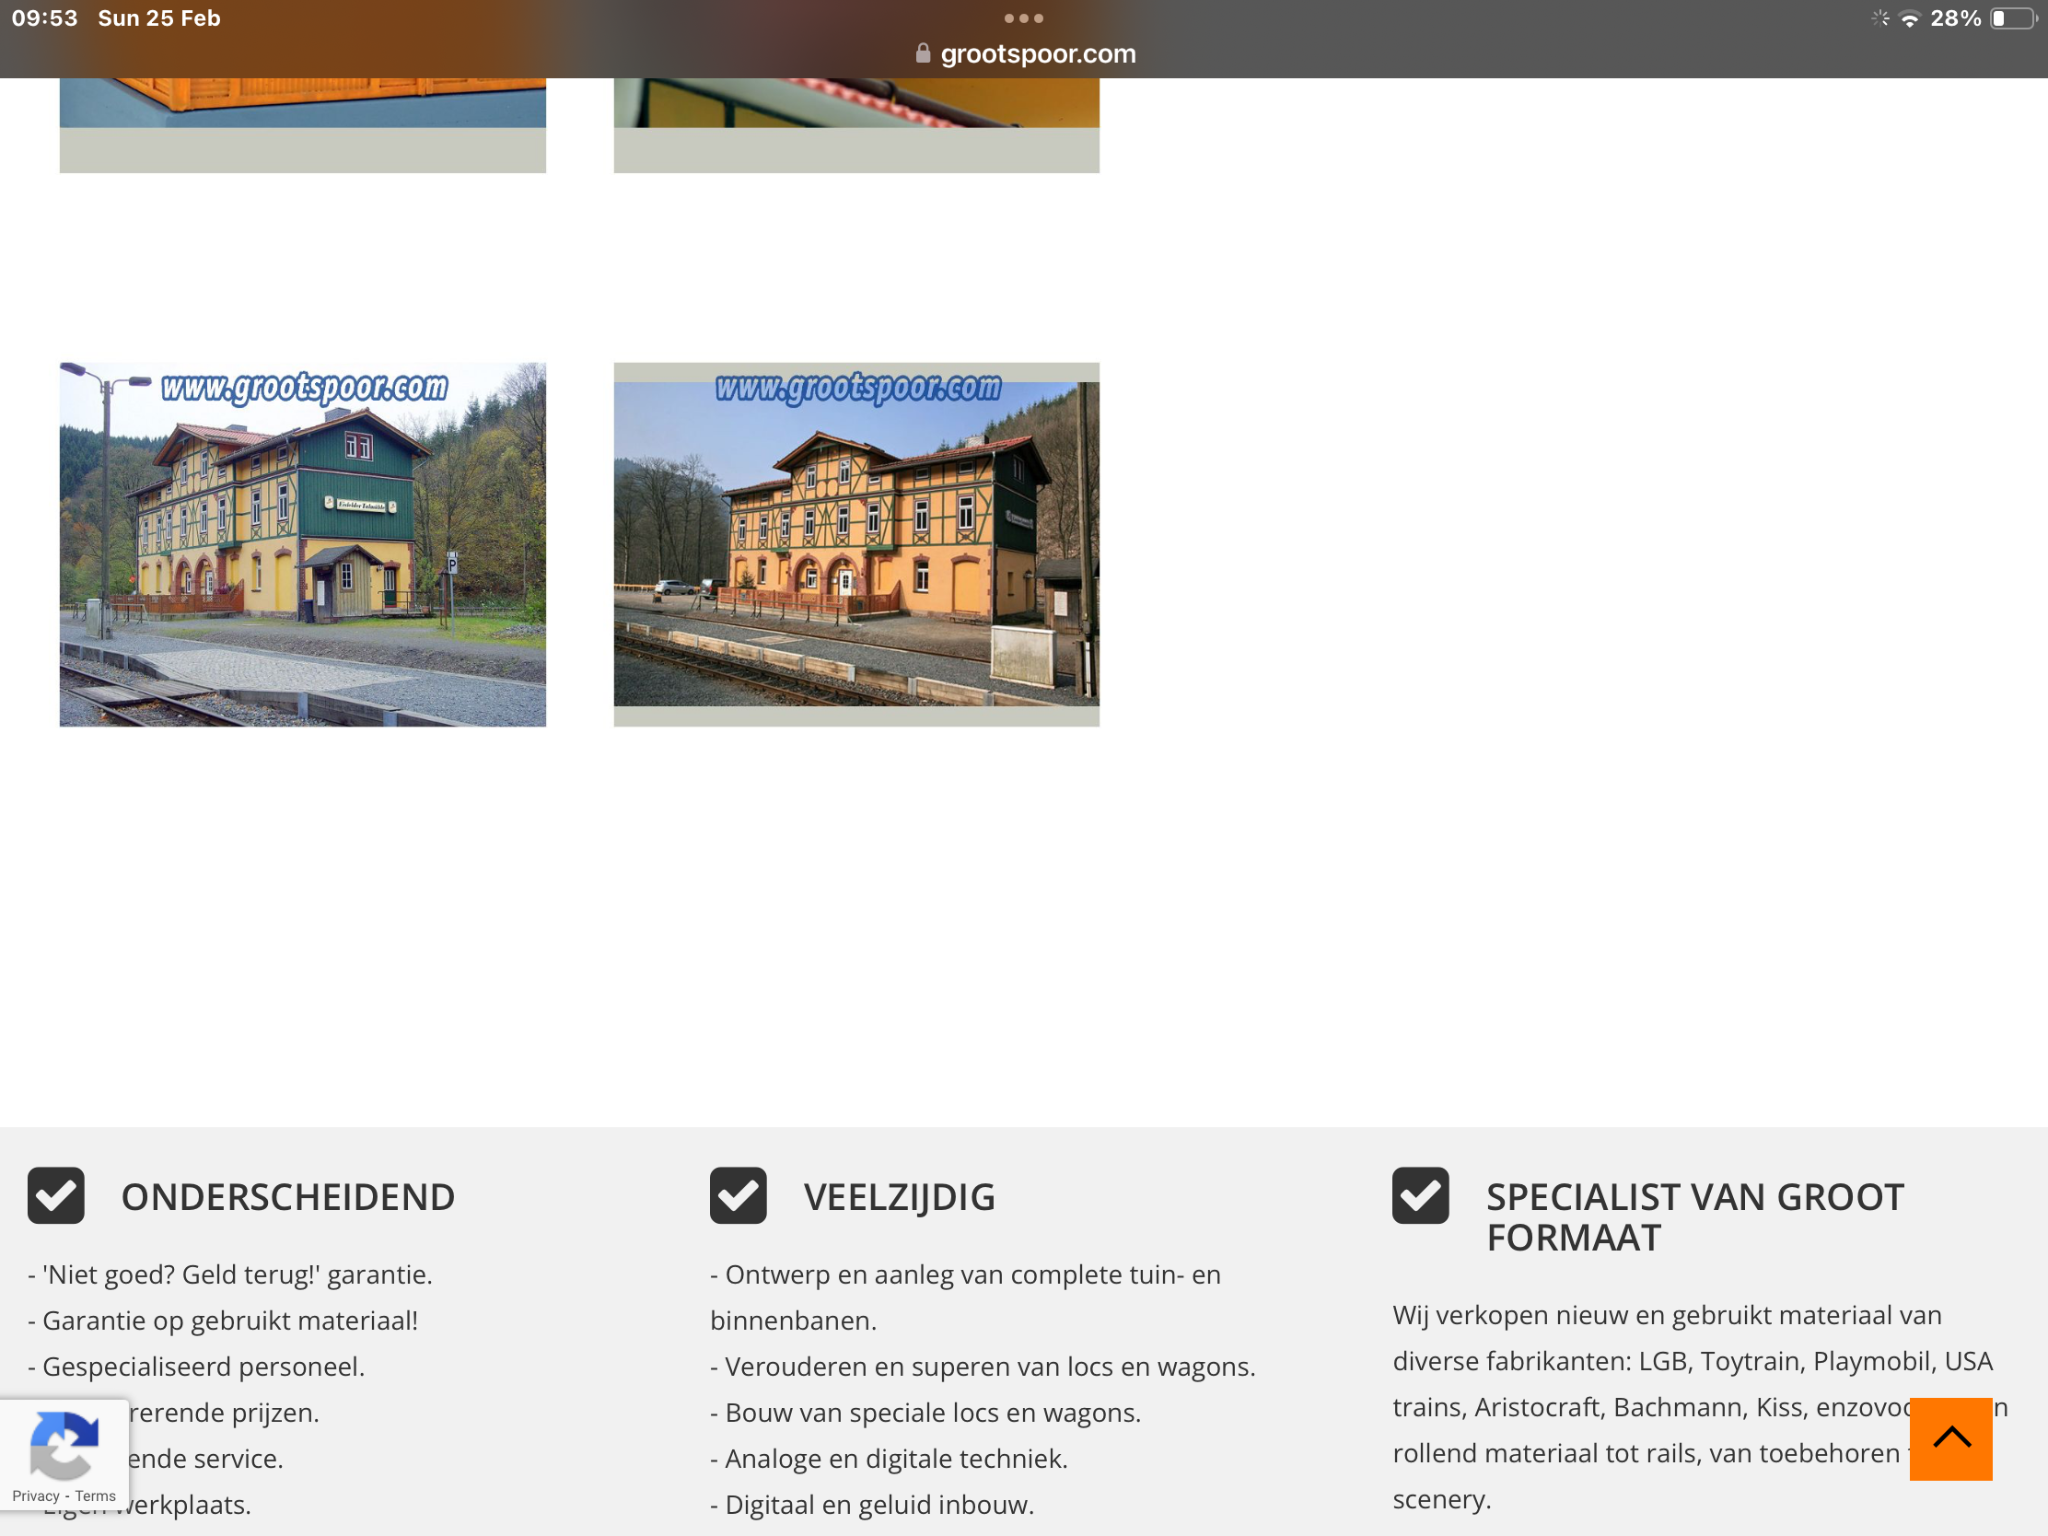
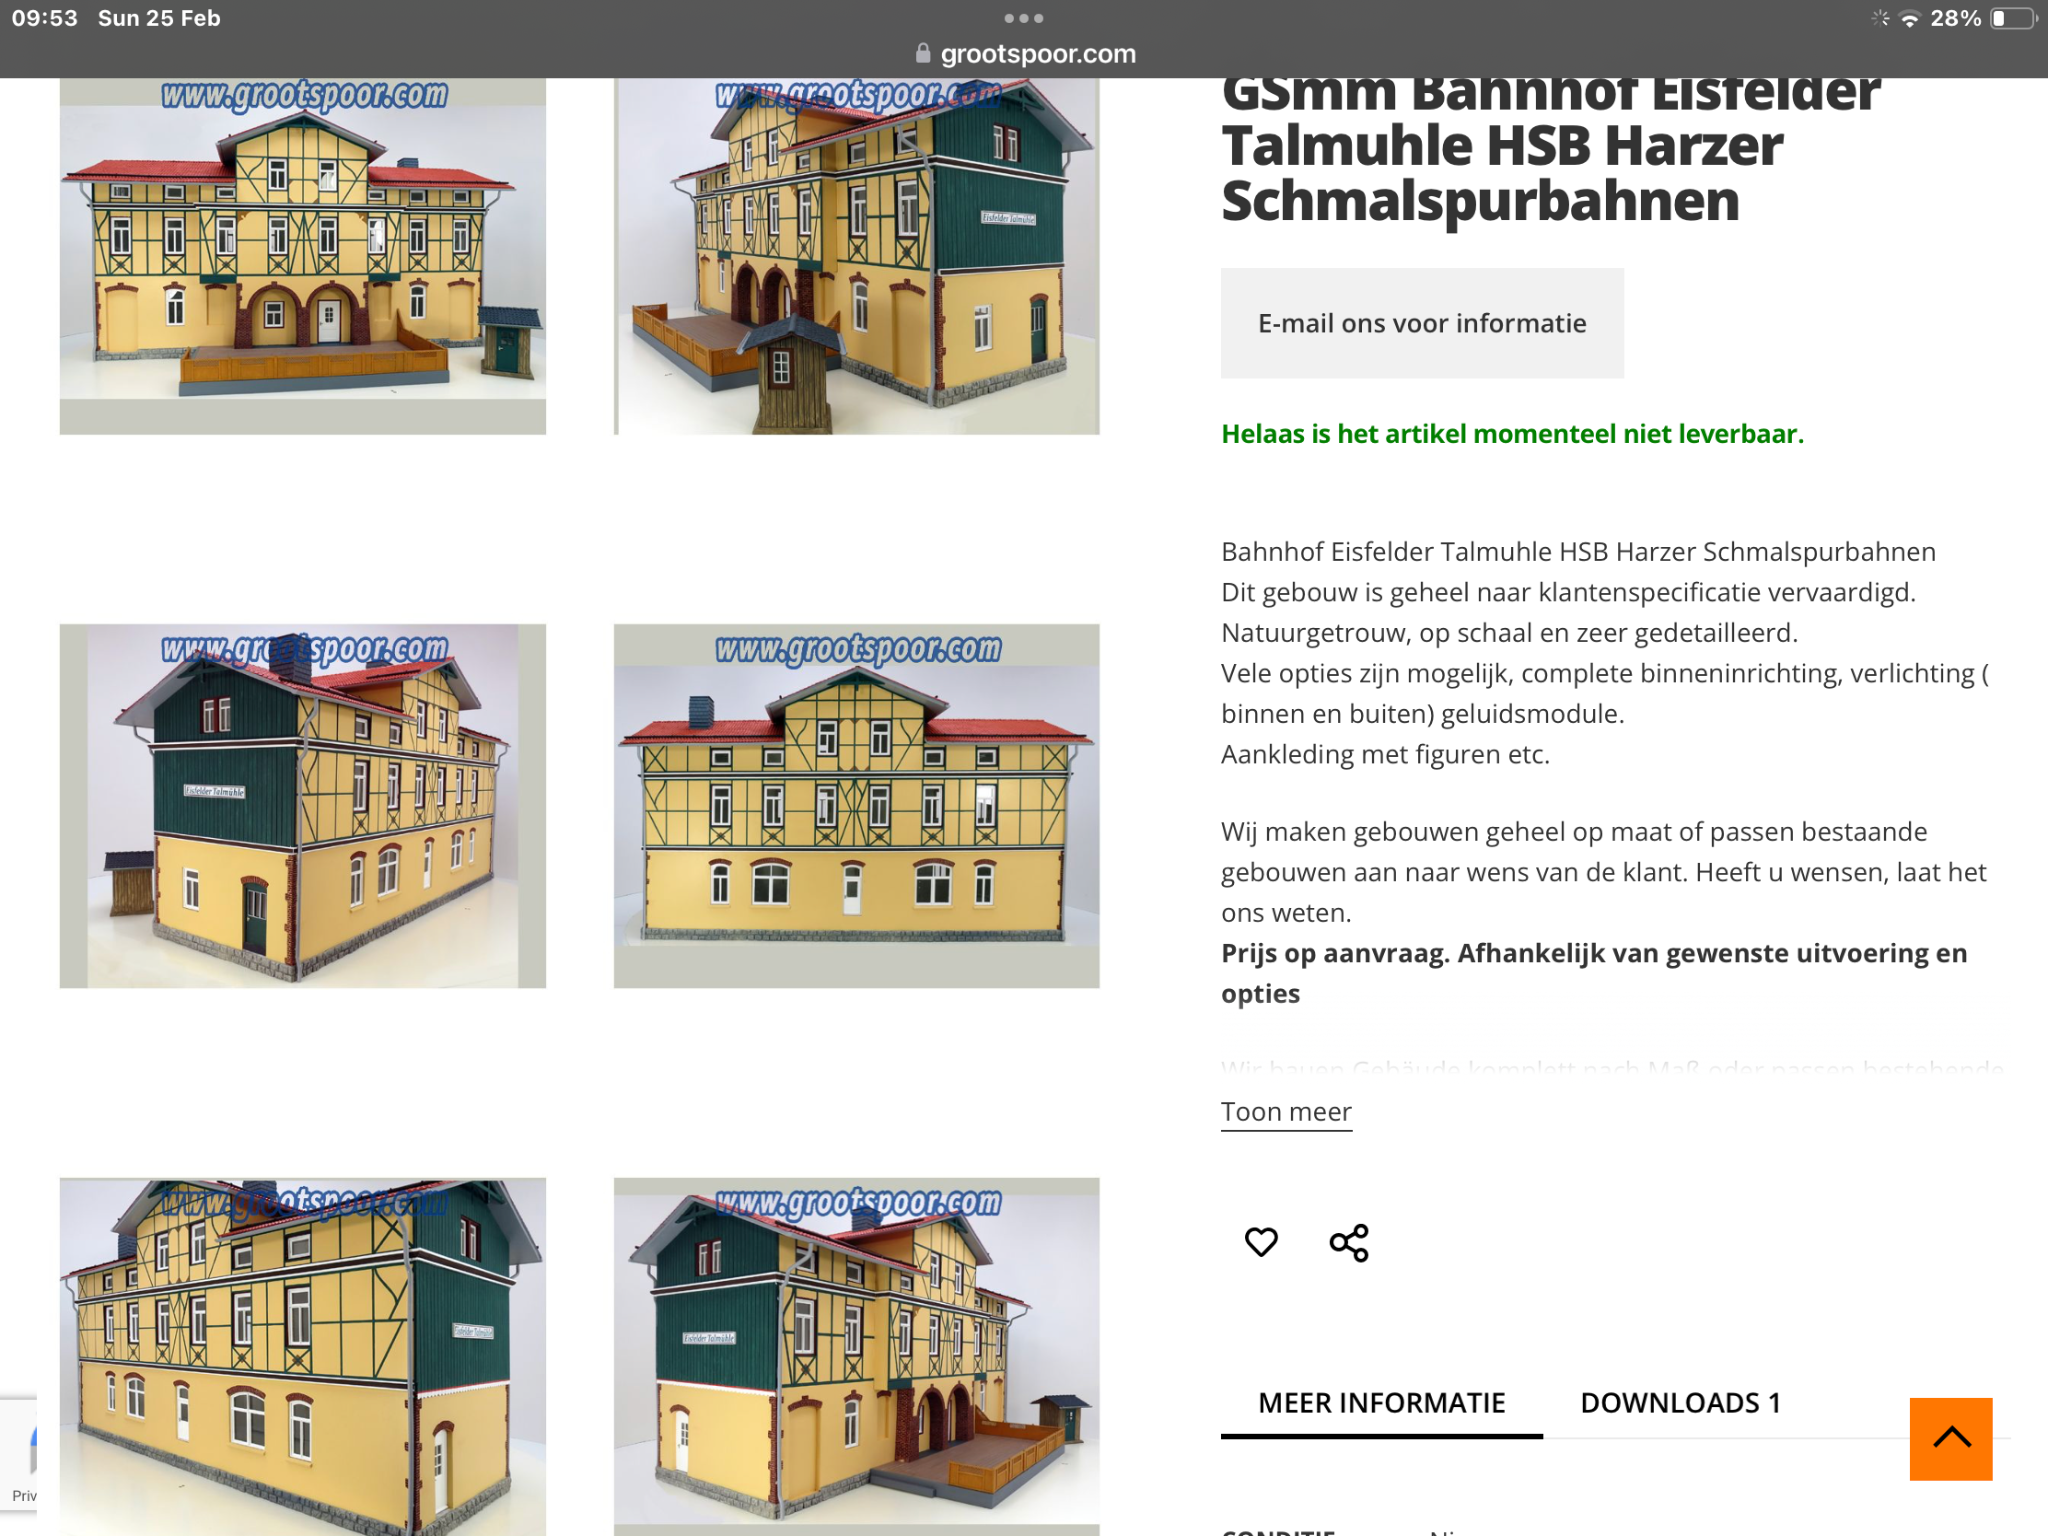
ET Station Build
Having seen the basis of what I was trying to achieve it now comes to the time to describe how I attempted it.
Firstly the build requires a permanent placement outside in a sunny spot, thus Plastic Coated Foamboard is the desired building material, I have used HIPS in the past but for such a sunny location the expansion, contraction and twisting of this material makes it a no no. I have used differing suppliers for the Foamboard and my latest supply was obtained from Trent Plastics via Ebay. I have in the past used:-
Foam Board | PVC Foamboard Sheets | The Plastic People
My choice of sizes tends to be 10 and 5mm size in black, white and grey. It makes sense to buy a choice of sizes and sheets as this stuff is so very useful, I have made a Steam Tram and Wagon bodies out of it.
For the sides here I used 10mm as this is big enough to allow veneer pins to be put in the hold things together long term rather than just relying on my Glue choice of UHU ‘All Purpose Power’ which in the past has been called just ‘Power’ in UK. This glue performs excellently outdoors, I even used it for Pola and Piko building kits. I started with the front, as can be seen from the cardboard mockup this is formed of a left, right, front and 2 front extension pieces. Window and door openings were cut out, I seriously wish I had purchased some kit windows and doors prior to the build as this makes things so much easier. The sides of which there are 2 were cut to allow for the ‘half relief’ effect due to the lack of space where it is going to be. The top end was scribed to reflect the pattern on the real building, a surround at front awning roof height was also added at this stage again using Foamboard. Glued up this gives a start build of the main block after a paint with a a Magnolia external paint (from a match pot) thus next job it is time for wooded detail. Here I use Coffee Stirrers cut to replicate the complex details, my North West Chopper is so very helpful here being able to cut correct 90 degree and other angles at will. Glued on where some of the top paint has been removed so that they stick to Foamboards rather than the paint. The insides were strengthened up and had roof mounts fitted using scrap Foamboard glued and pinned in all over the place.

Windows and doors are a bit of an issue, I did not want to spend the rest of my life cutting more coffee stirrers. Thus first glazing was cut from various sources of clear glaze, cut over size and glued inside the building. Then some masking tape with a small gap between the border allowed white paint to represent the frames, big con but from normal viewing I can live with it.

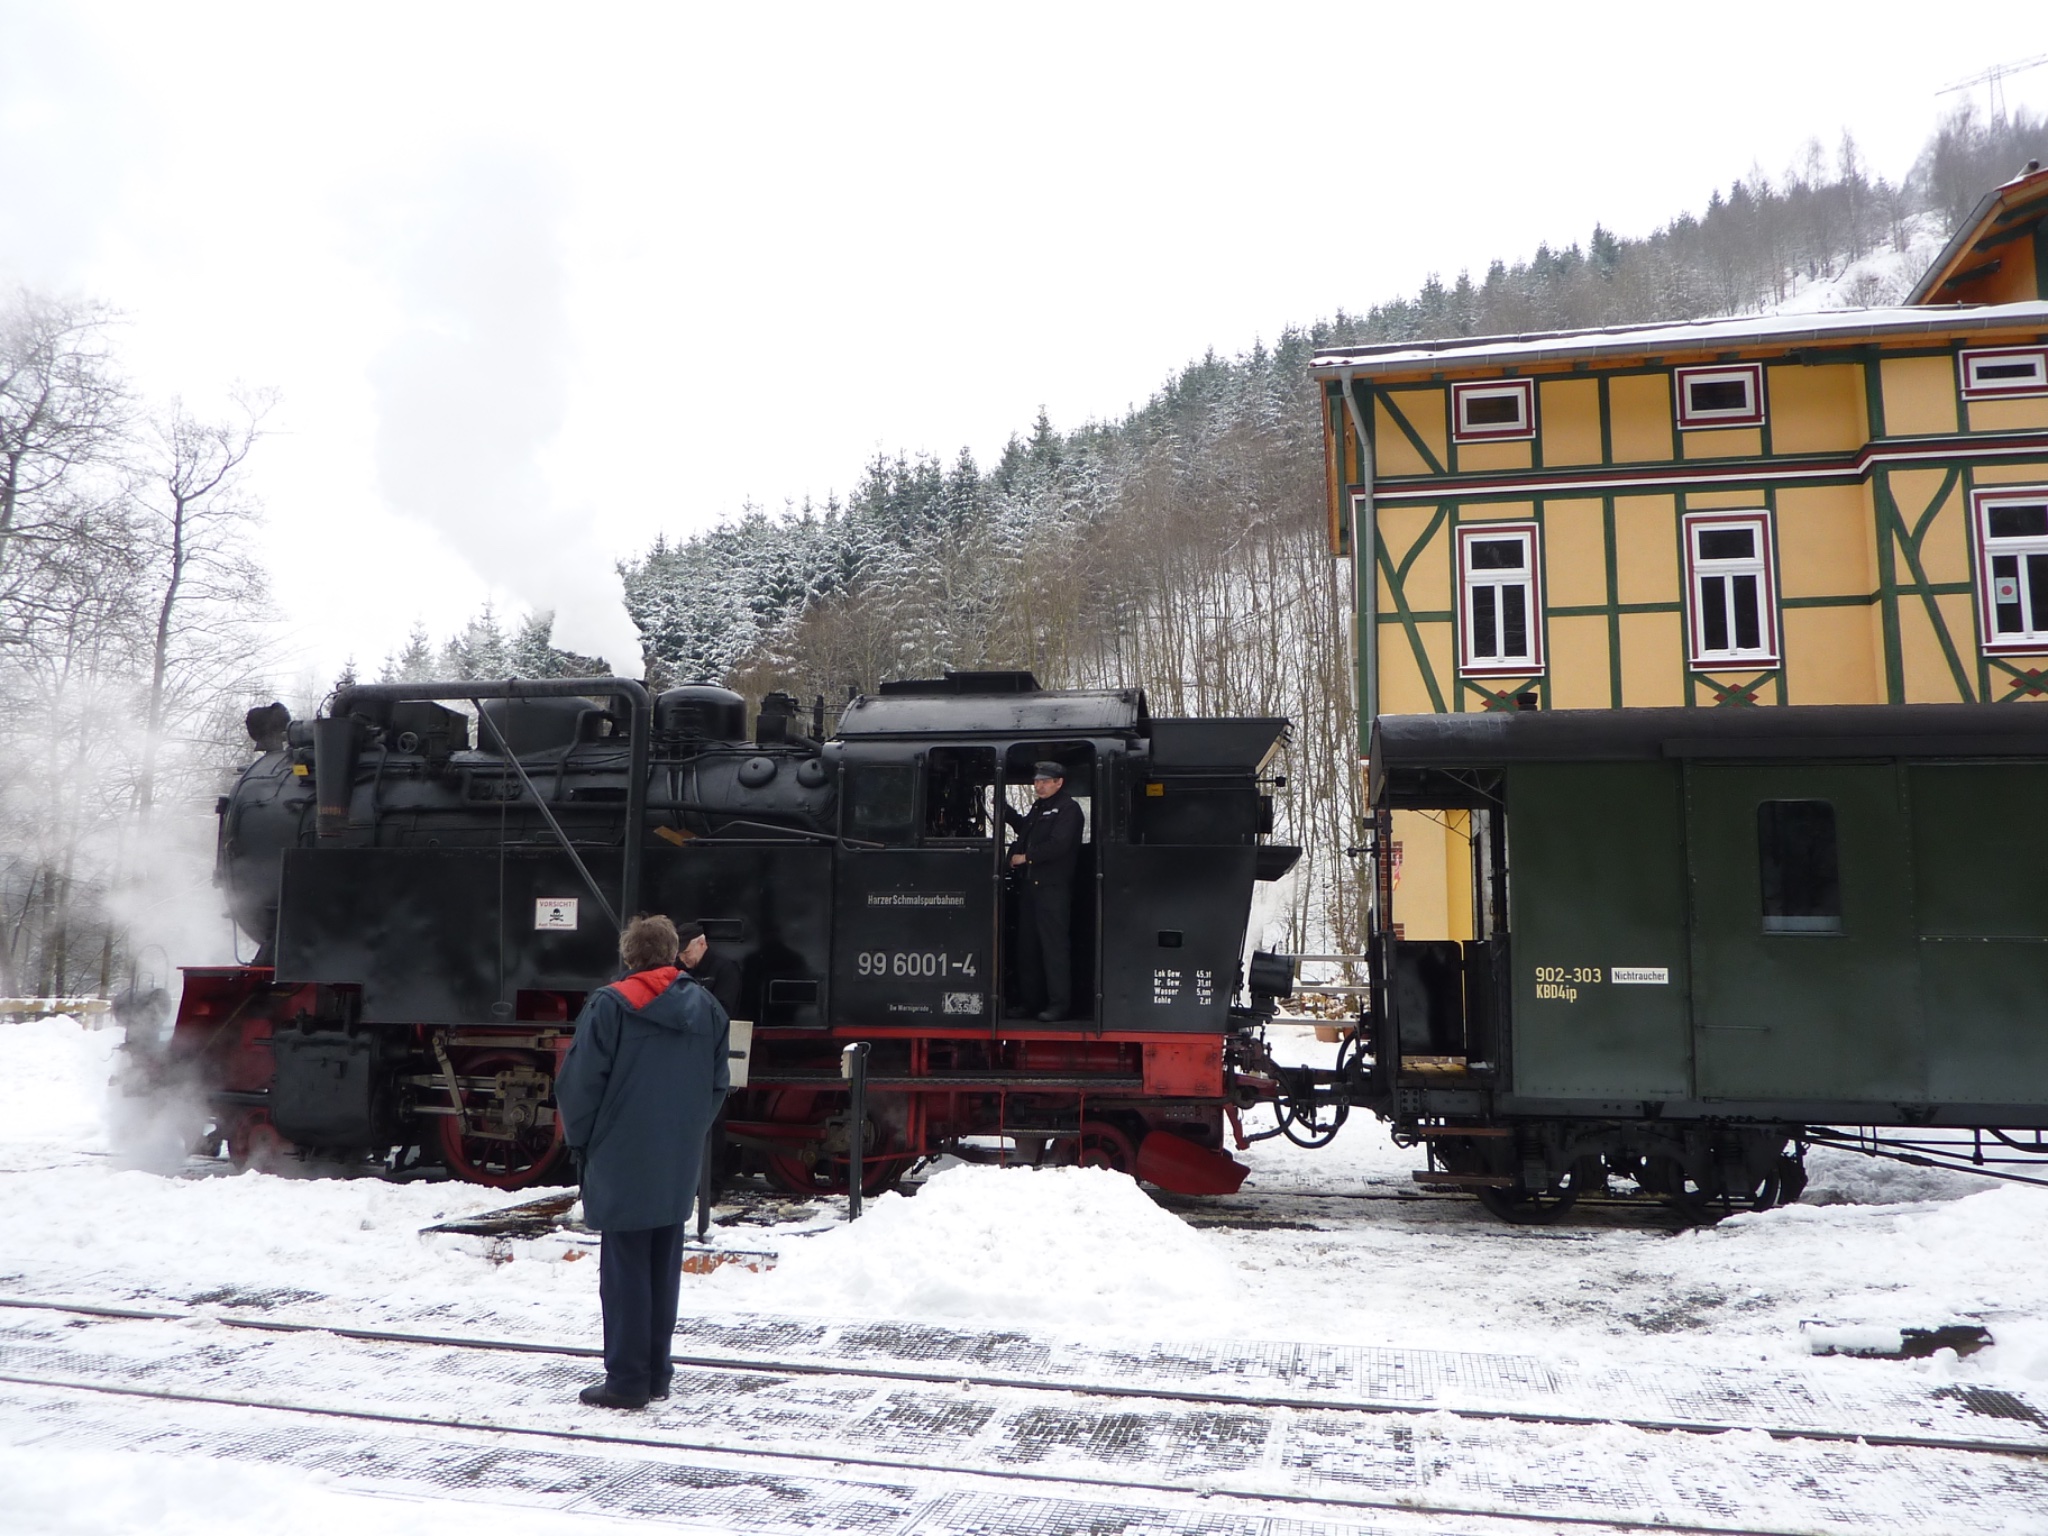
Next job was to Varnish the wood detail, here I used a dark external varnish. Quite involved and took some time but I like the effect. It was here that I realised that the central roof apex was not high enough so out with the foamboard to extend the height one of the many foul up with this build! You can clearly see the bodge, but fits in with my disrespectful tatty okd 1980’s East German look, as does the dodgy wrong colour fill in painting eventually to be weathered some more.

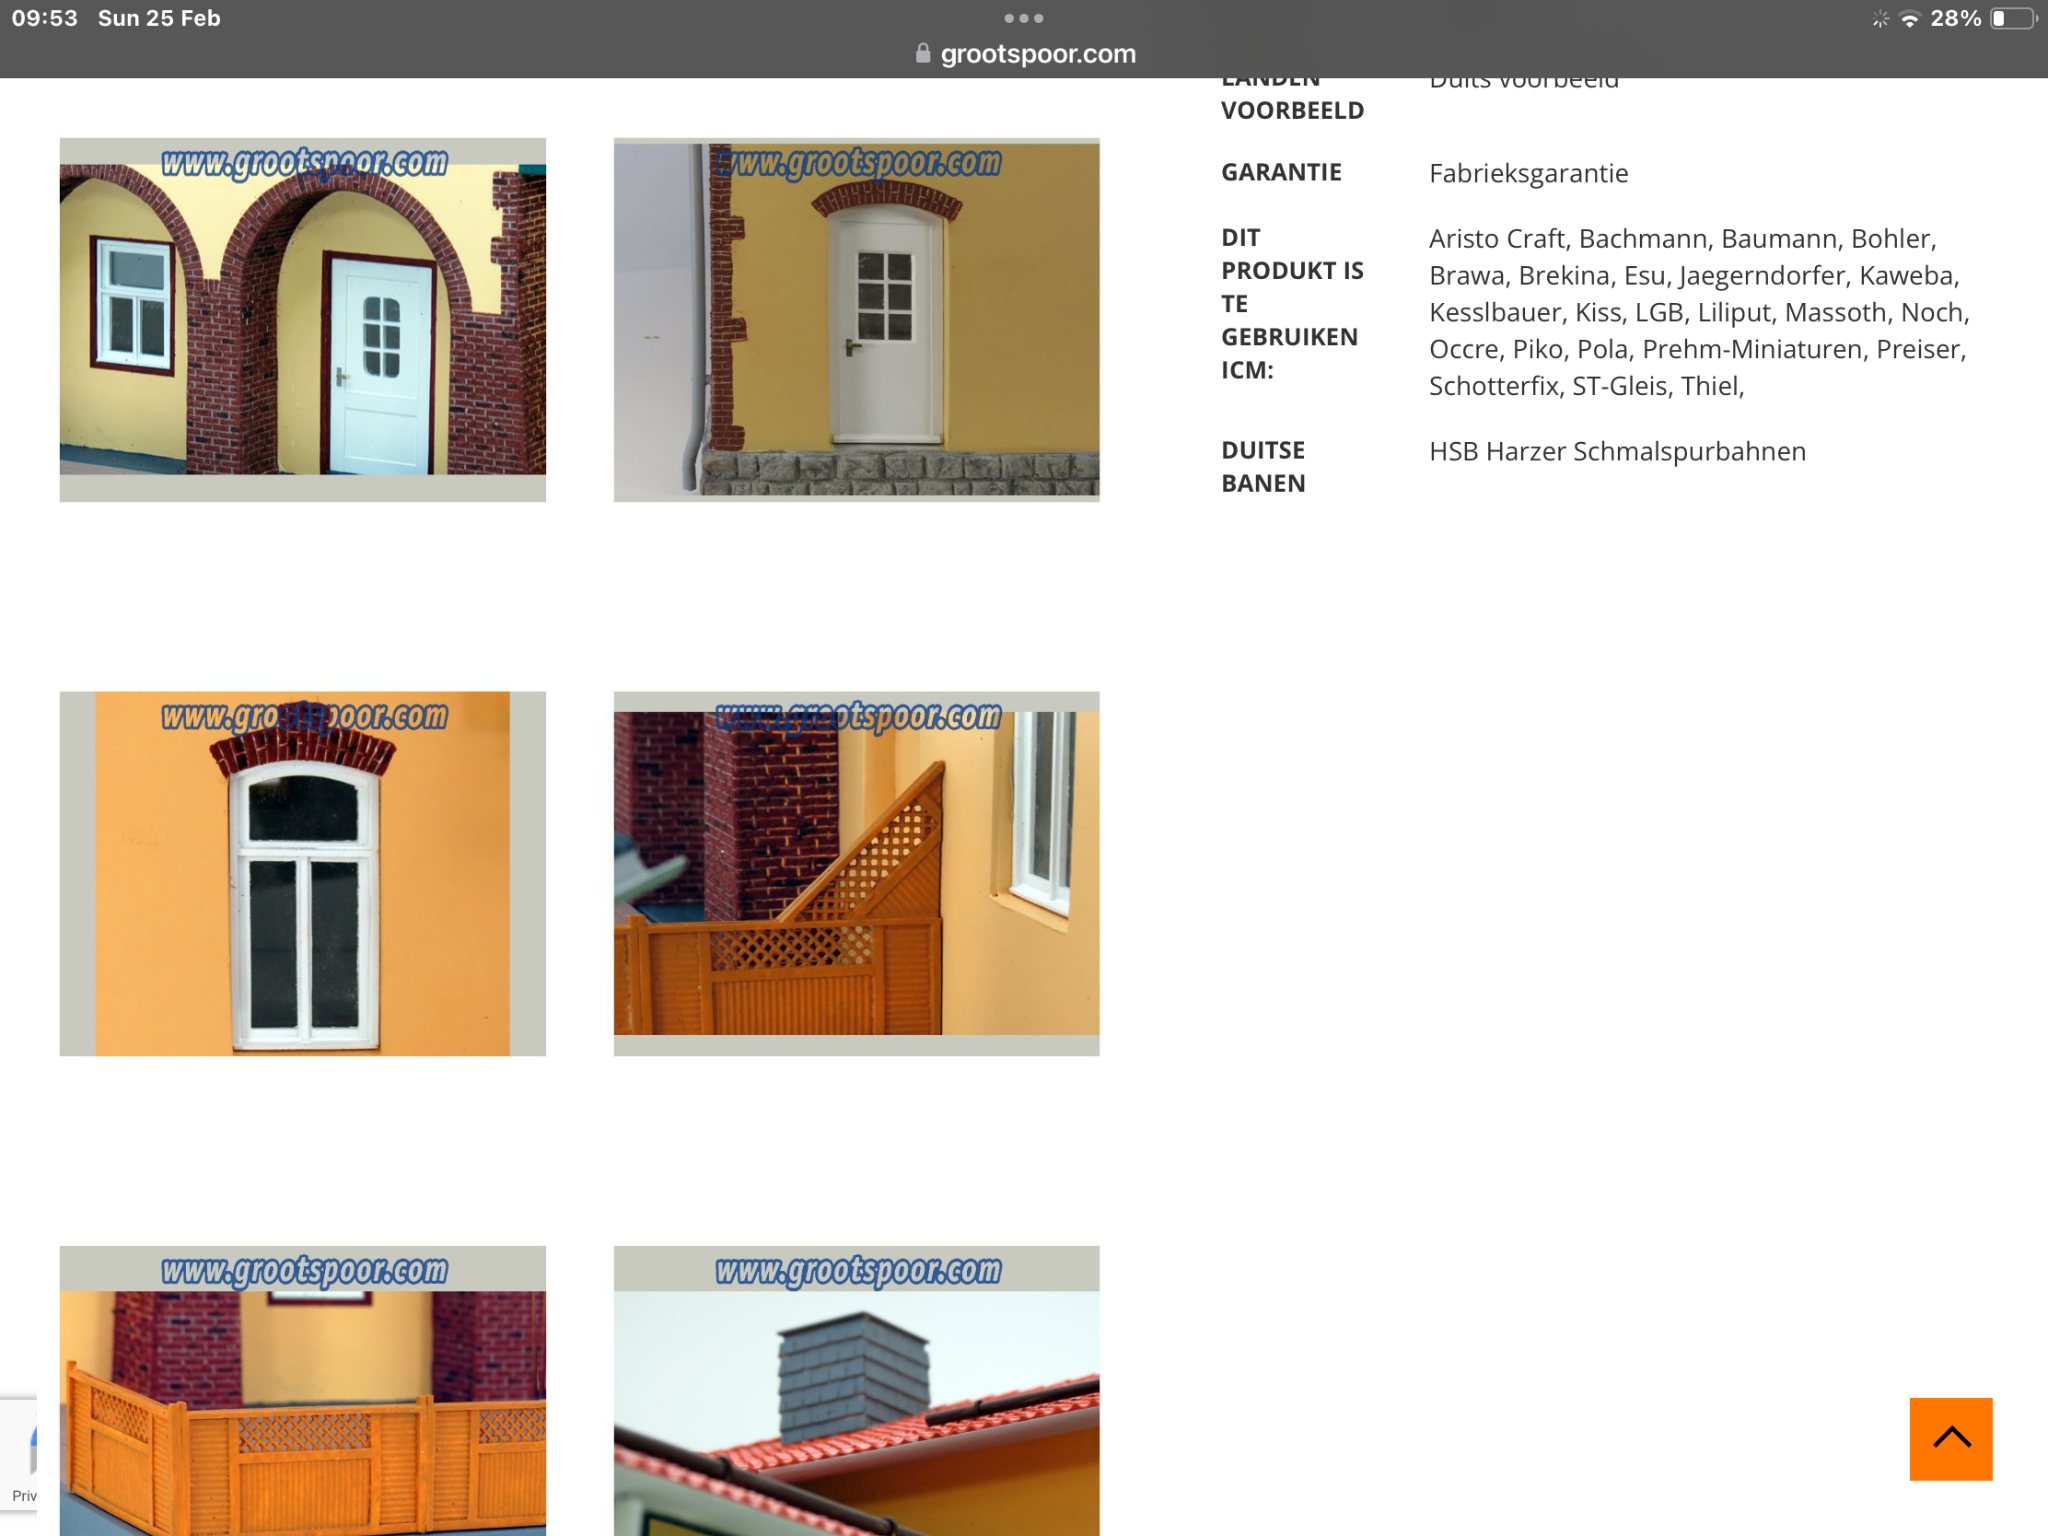
I then used some Dolls House Slip Bricks to detail the ends and over the doors, these were glued on with Gorila Wood Glue (over slightly scribed de painted area’s) which advises on the carton ‘Water Resistant’ so that will work for me. Doors were made up and scribed over size, painted red then glued on from inside. Roof parts cut from 5mm Foamboard fitted and we are nearly there. Scribed to represent approx 2.4 x 1.2 boards sprayed Matt Grey with a Matt Black overspray. Pinned into the sides as well as glued. Wood strengtheners were added behind the curved front openings then the awning cut to shape.

3 wooden supports with triangle cut tops cut and glued into place on the front inside strengthening strip. I added one at each end also to discourage and possible curl up. Another of the many foul ups reared its head now, the legs were just a couple of mm short. Thus I made 3 fittings of 60 thou plasticard to exact inside square to fit over the wood base thus allowing expansion of the length.


I already had a laminated nameboard, this was cut to as close to the laminating edge as possible then the outside edge painted bkack. It already had magnetic tape on the rear so a board with tinplate was built if 5mm Foamboard, glued in plavpce on the central pillar and we have a name board.
I had previously carried out a test fit and found my extension now hit the water pipe, so a bit of roof had to be removed for fitting. This should have been understood at mock up fit time! Seen in place now.


Next up details of messy detail being fitted, ongoing at the present time.