ol_hogger
Registered
Hello everybody,
ever since I received Regner's tram loco PAUL I have been looking for another geared loco.

When this beauty came up affordably I did not hesitate.

From all I can tell she is all new: wicks all white, no traces of flames nor deposits inside the water gauge. Looking more closely, note that the center wheels are flanged - Any illustration or specification I have seen describe blind wheels in true toy train tradition.
This made me wonder how she would cope with my Märklin 1167 mm radius (just short of 3 ft.) I undid the grub screws of the big gear wheel and pushed her along only to discover that the siderods were binding at one point in the first place. Removal of crankpins individually exculpated the front axle, yet I could not eyeball whether the center or rather the rear axle were the cause.

I decided to create a bit of leeway at the center wheels. Opening the rod bushing as well as reducing the crankpin shoulder seemed equally difficult to do in a precise manner. I settled on replacing the shouldered pins by simple threaded bolts I had on hand. I marred the thread were the shoulder would have been so they would tighten about half way in leaving the rod free to rotate. You can spot the washers for final adjustment. Tried again: curves were not the issue on hand. (That's why I bought a small engine after all.)

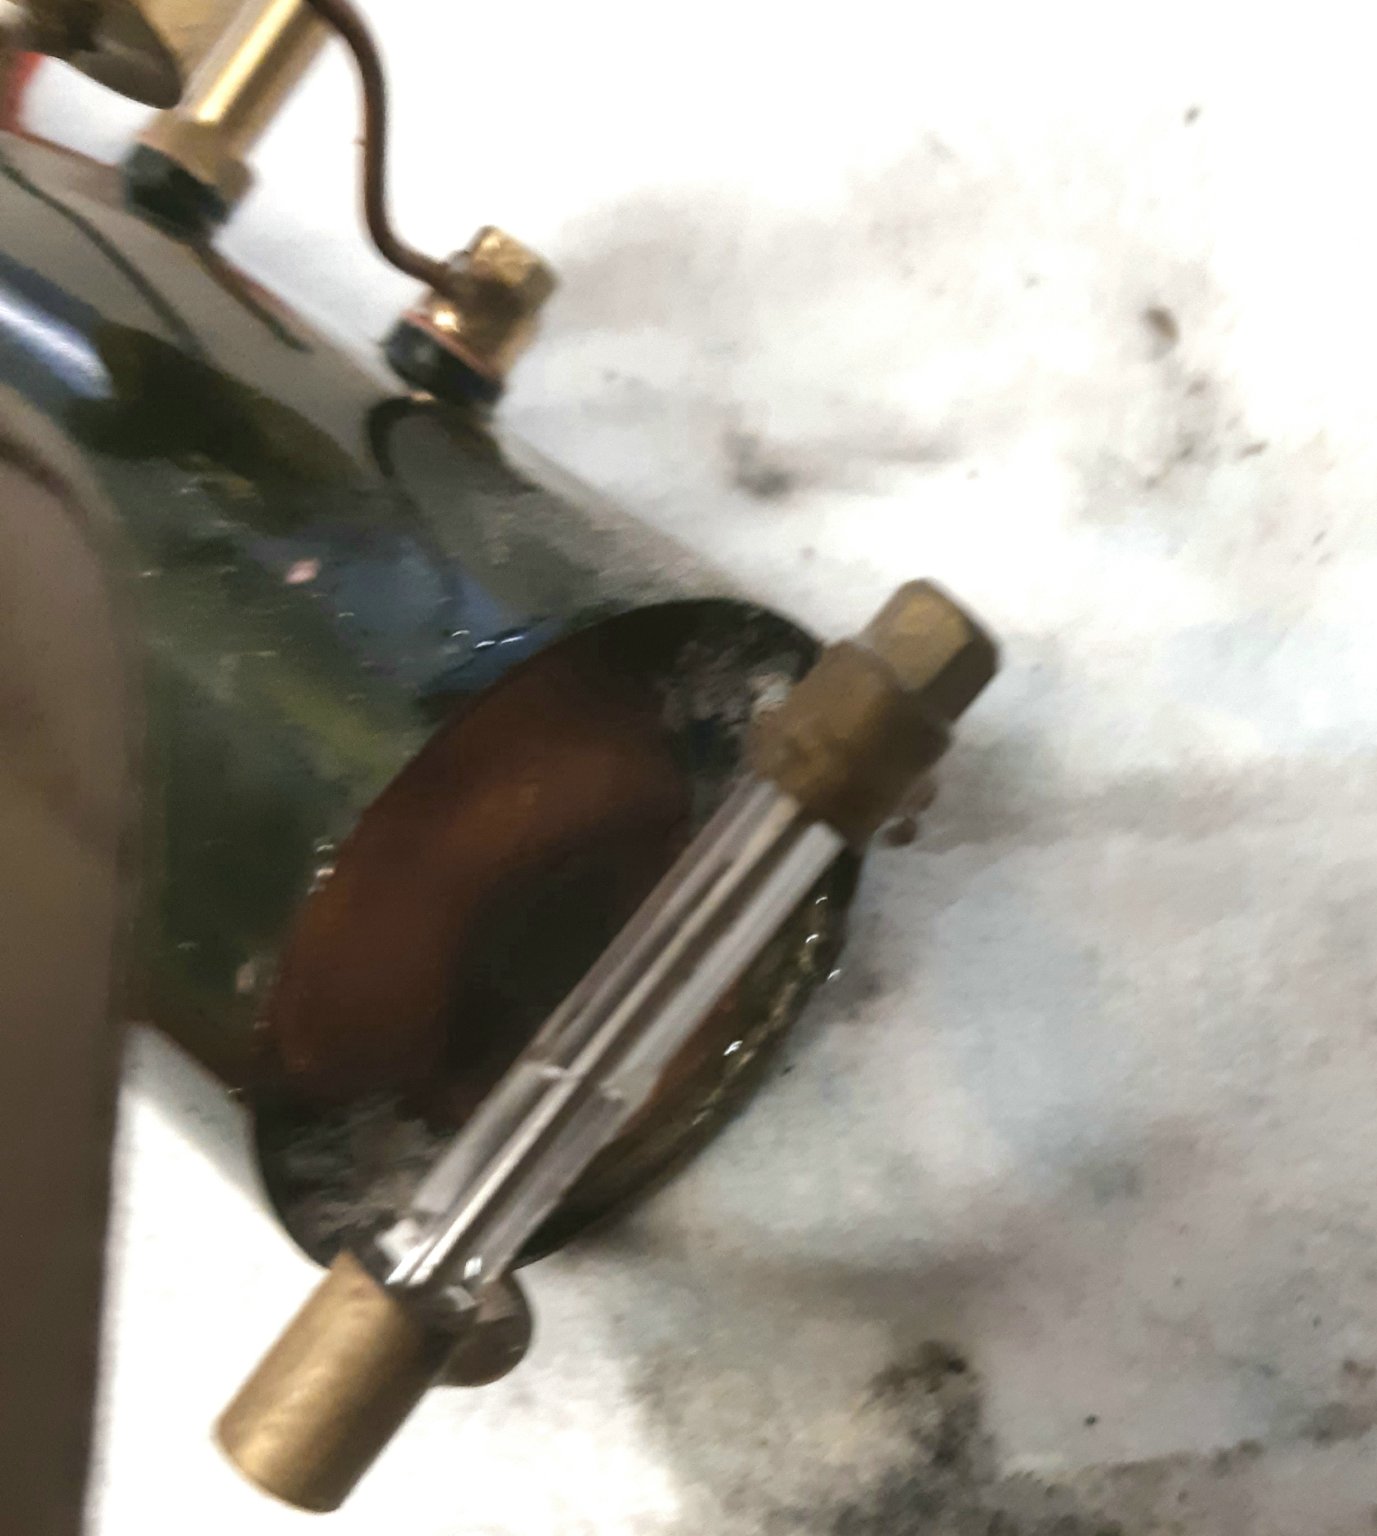
The boiler offers three flanges of which only one is actually used for the safety valve. Convenient to install Regner's top-up valve. (Borrowed from PAUL)

One number plate was missing. I added a name plate LISON after the heroine of (wrong: Balzac's) Zola's railway novel "La bête humaine" - pardon my french.
There were absent a few more bits from which I conclude that this model was not always passed on by dedicated railroaders.
Can't wait for the coming season to start ...
ever since I received Regner's tram loco PAUL I have been looking for another geared loco.

When this beauty came up affordably I did not hesitate.

From all I can tell she is all new: wicks all white, no traces of flames nor deposits inside the water gauge. Looking more closely, note that the center wheels are flanged - Any illustration or specification I have seen describe blind wheels in true toy train tradition.
This made me wonder how she would cope with my Märklin 1167 mm radius (just short of 3 ft.) I undid the grub screws of the big gear wheel and pushed her along only to discover that the siderods were binding at one point in the first place. Removal of crankpins individually exculpated the front axle, yet I could not eyeball whether the center or rather the rear axle were the cause.

I decided to create a bit of leeway at the center wheels. Opening the rod bushing as well as reducing the crankpin shoulder seemed equally difficult to do in a precise manner. I settled on replacing the shouldered pins by simple threaded bolts I had on hand. I marred the thread were the shoulder would have been so they would tighten about half way in leaving the rod free to rotate. You can spot the washers for final adjustment. Tried again: curves were not the issue on hand. (That's why I bought a small engine after all.)

The boiler offers three flanges of which only one is actually used for the safety valve. Convenient to install Regner's top-up valve. (Borrowed from PAUL)

One number plate was missing. I added a name plate LISON after the heroine of (wrong: Balzac's) Zola's railway novel "La bête humaine" - pardon my french.
There were absent a few more bits from which I conclude that this model was not always passed on by dedicated railroaders.
Can't wait for the coming season to start ...
Last edited: