Taken over the spare room !

alcashj94

Registered
Country flag
A few months ago my better half surprised me by saying ‘Why don’t you use the spare room for your trains instead of having bits all over the place ?’
Well I wasn’t going to argue was I !
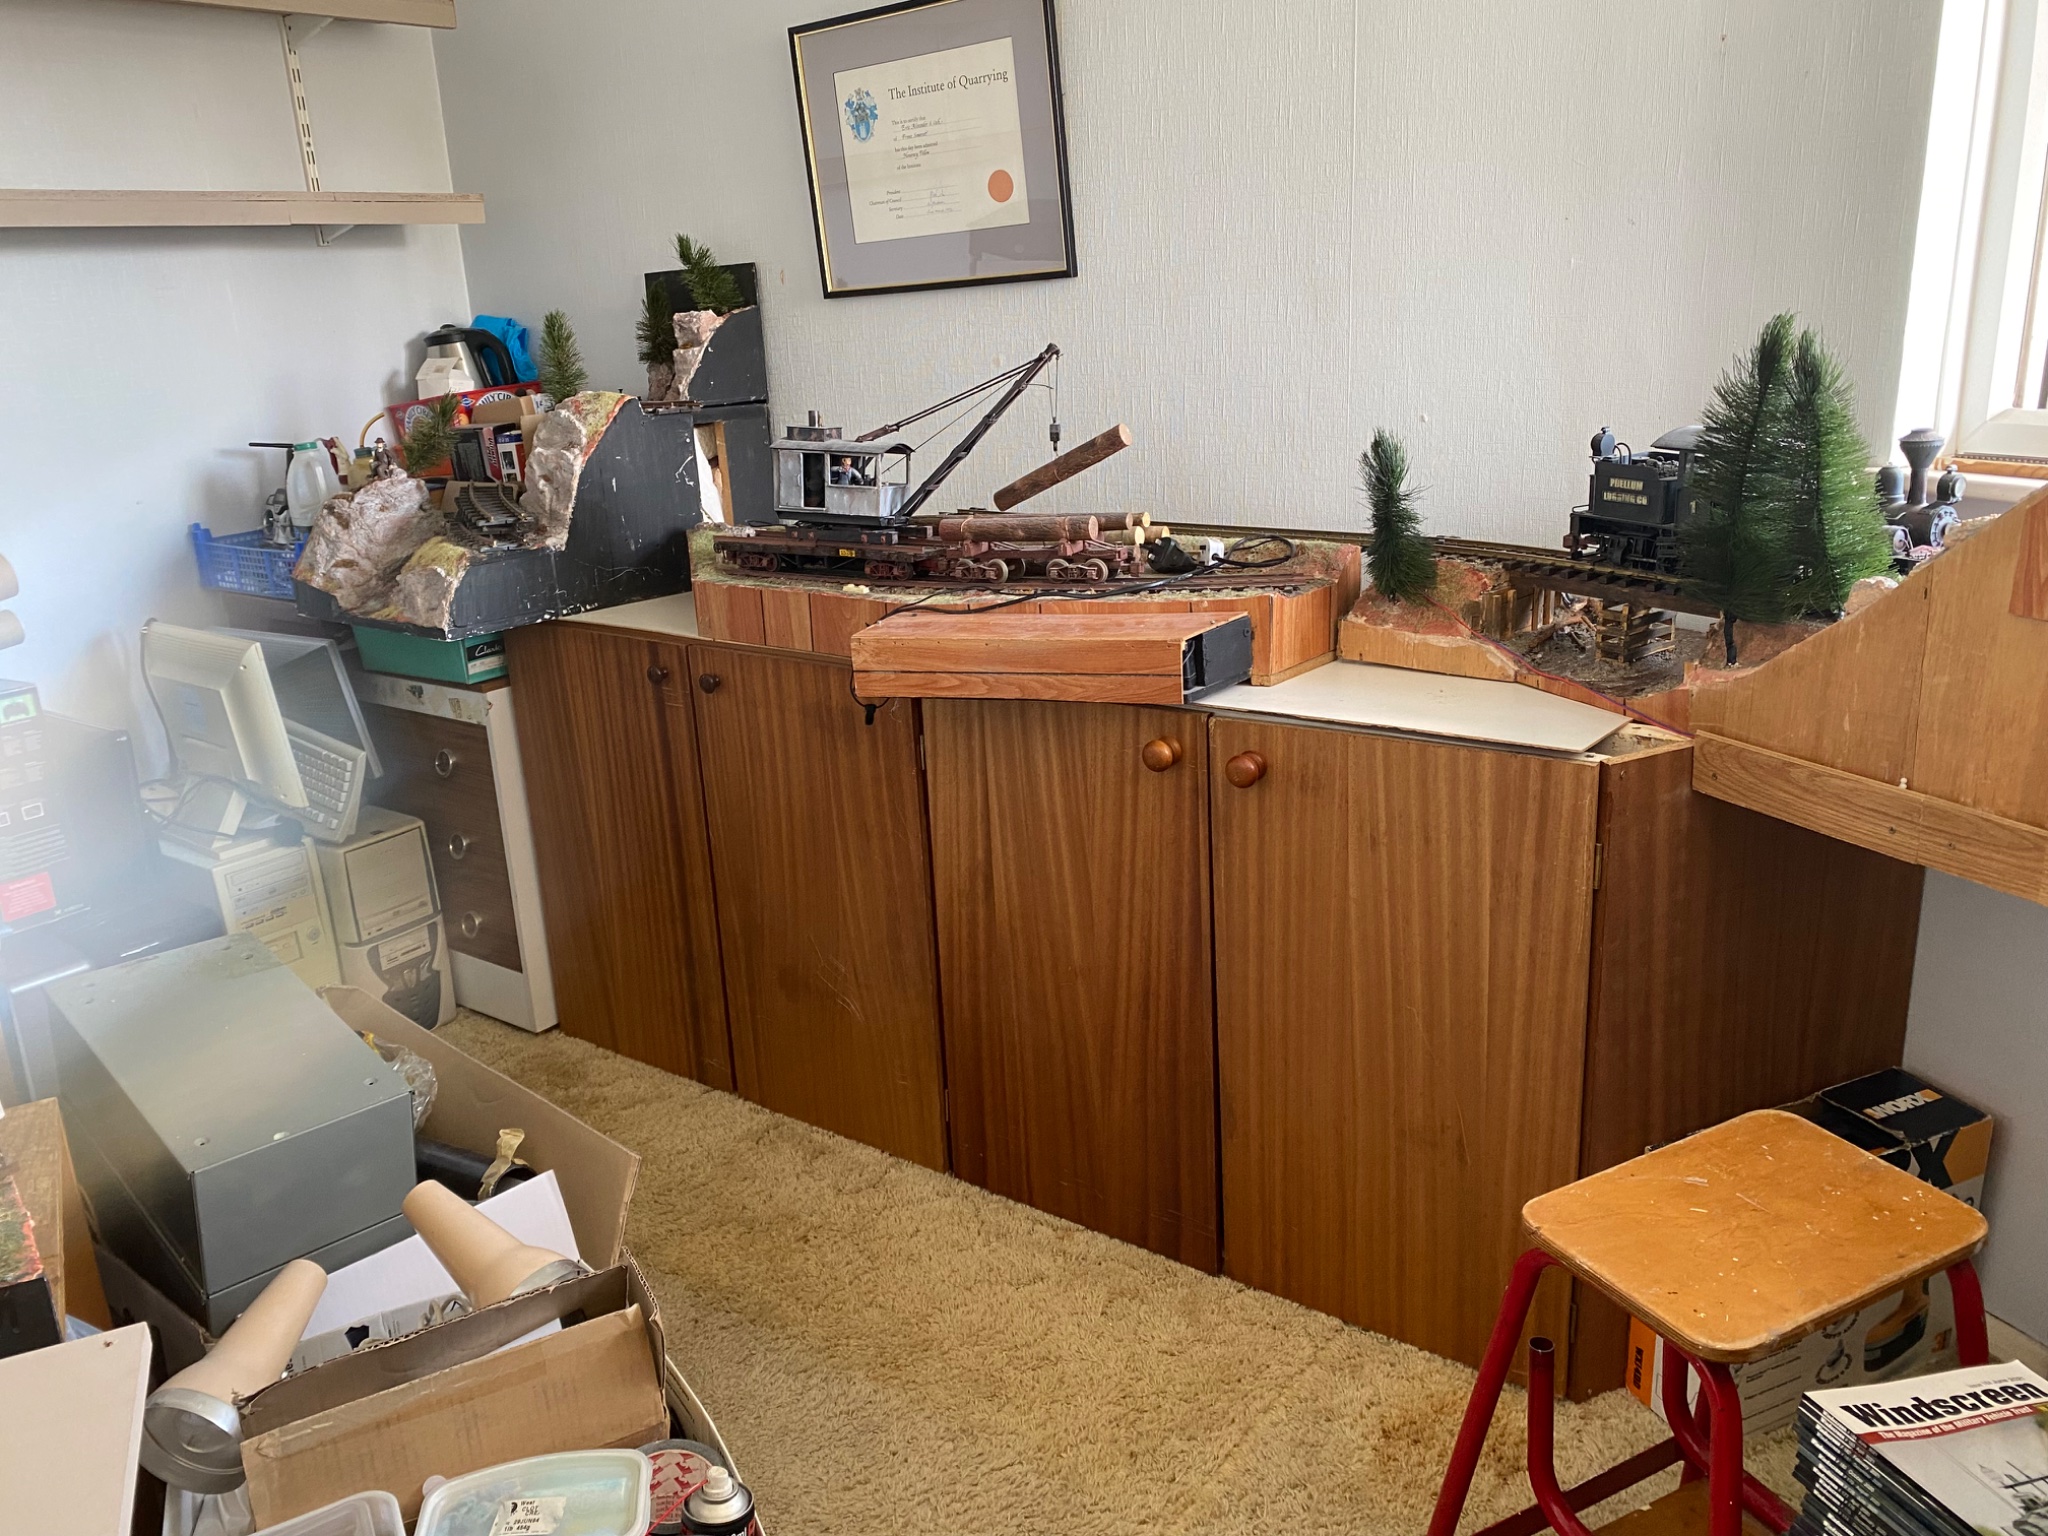
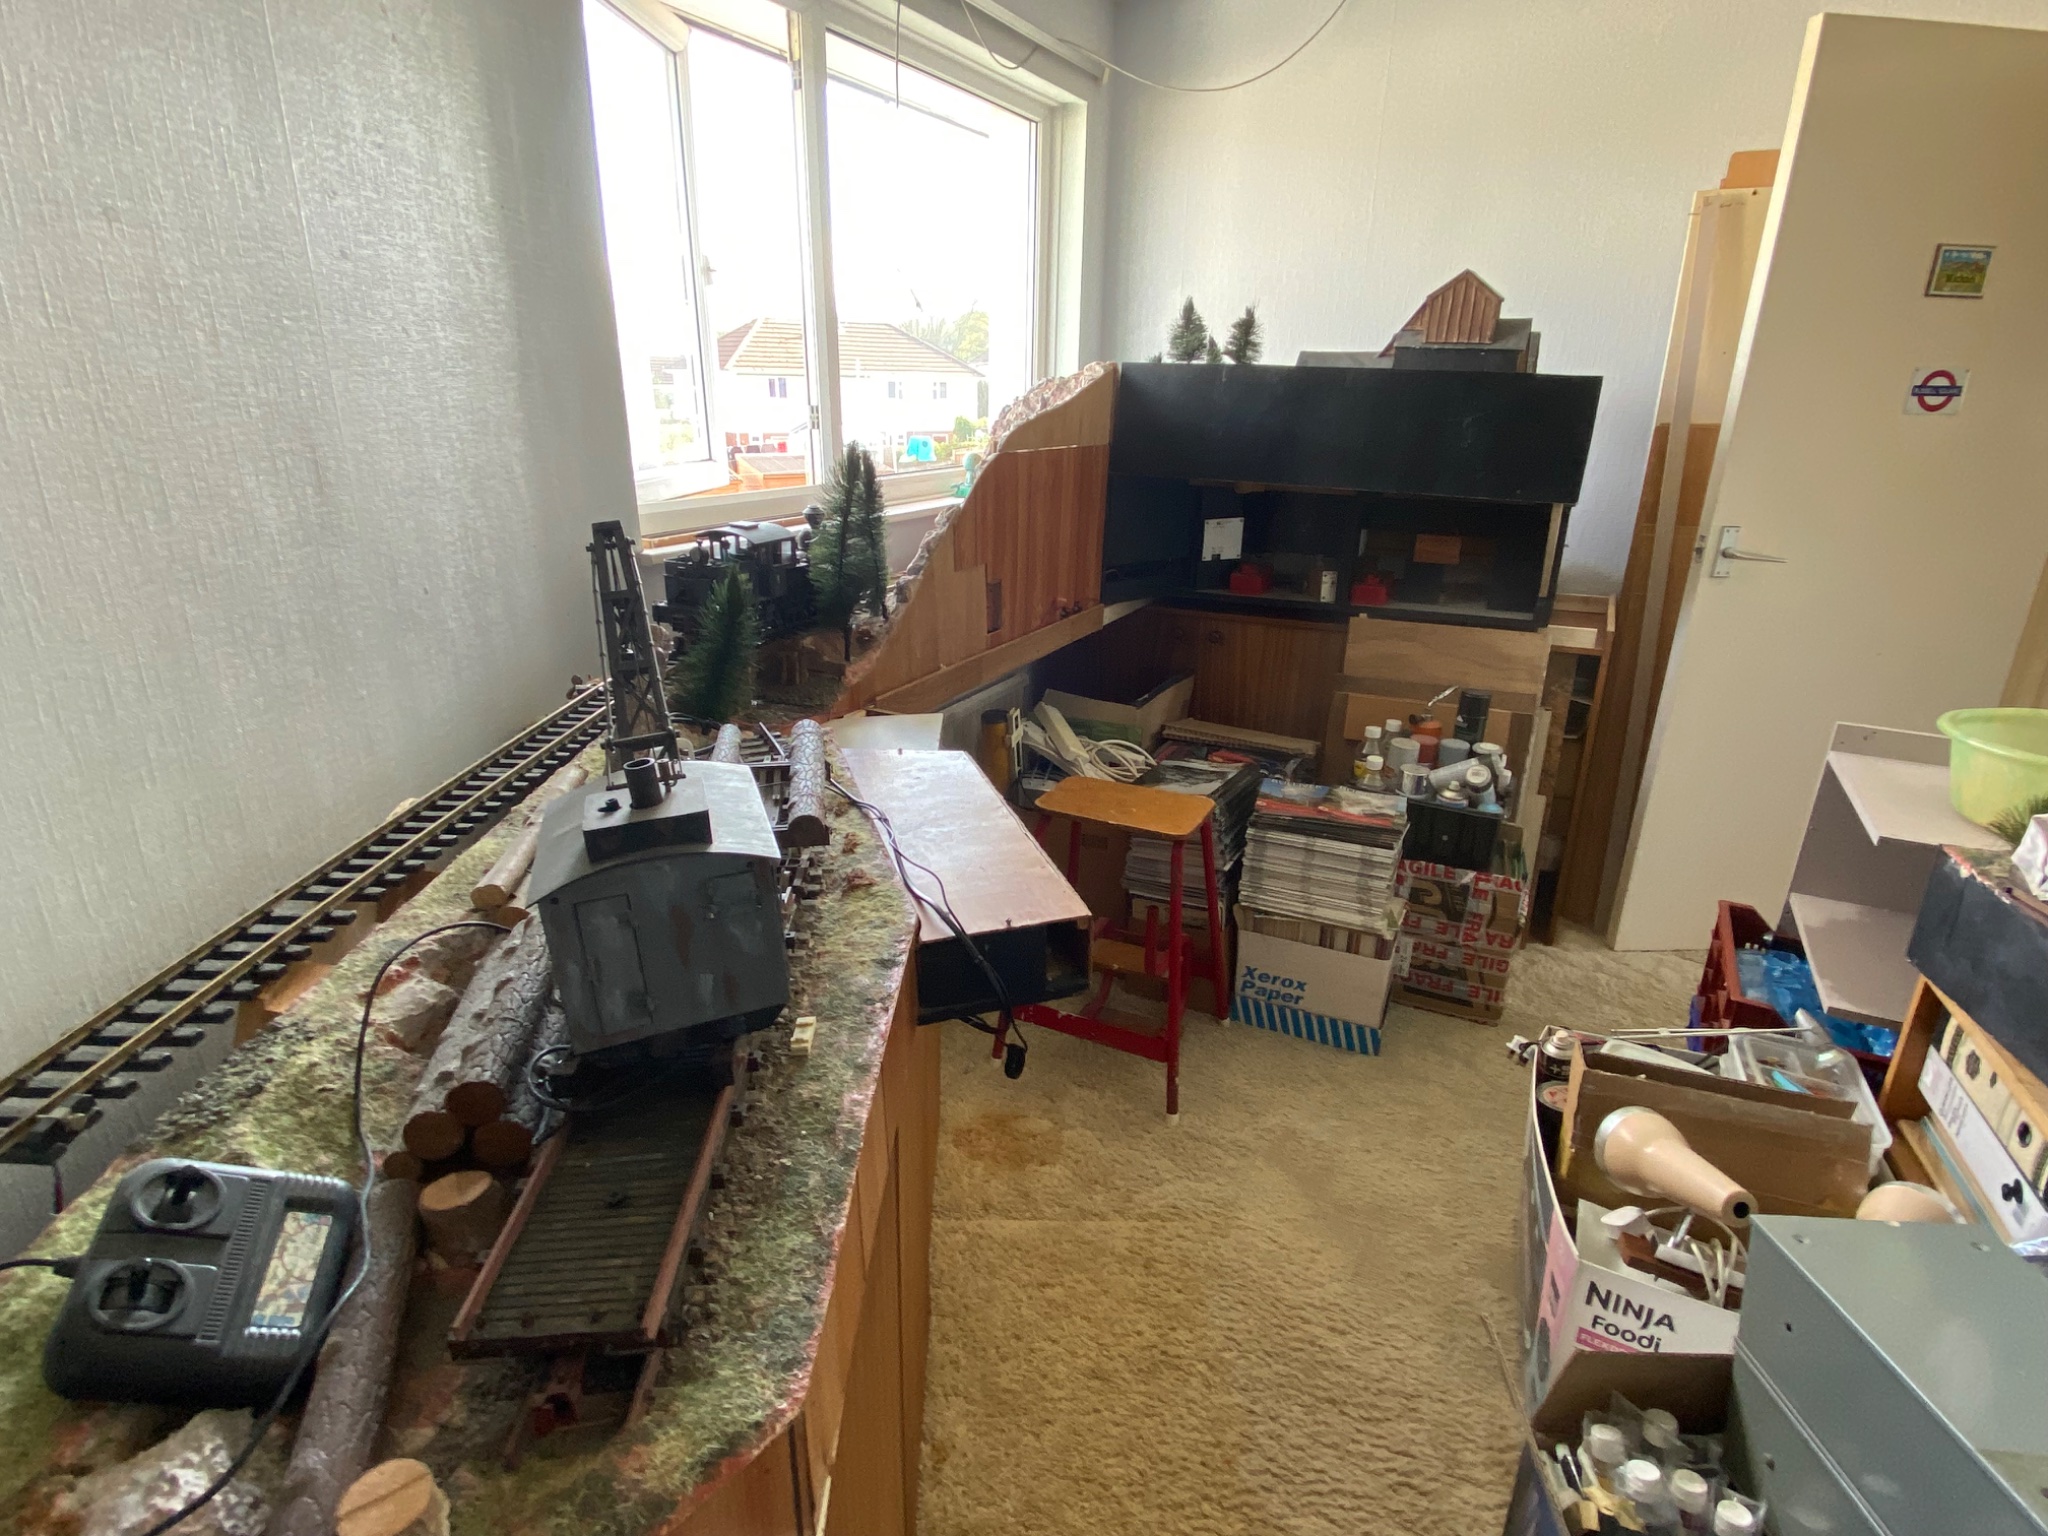
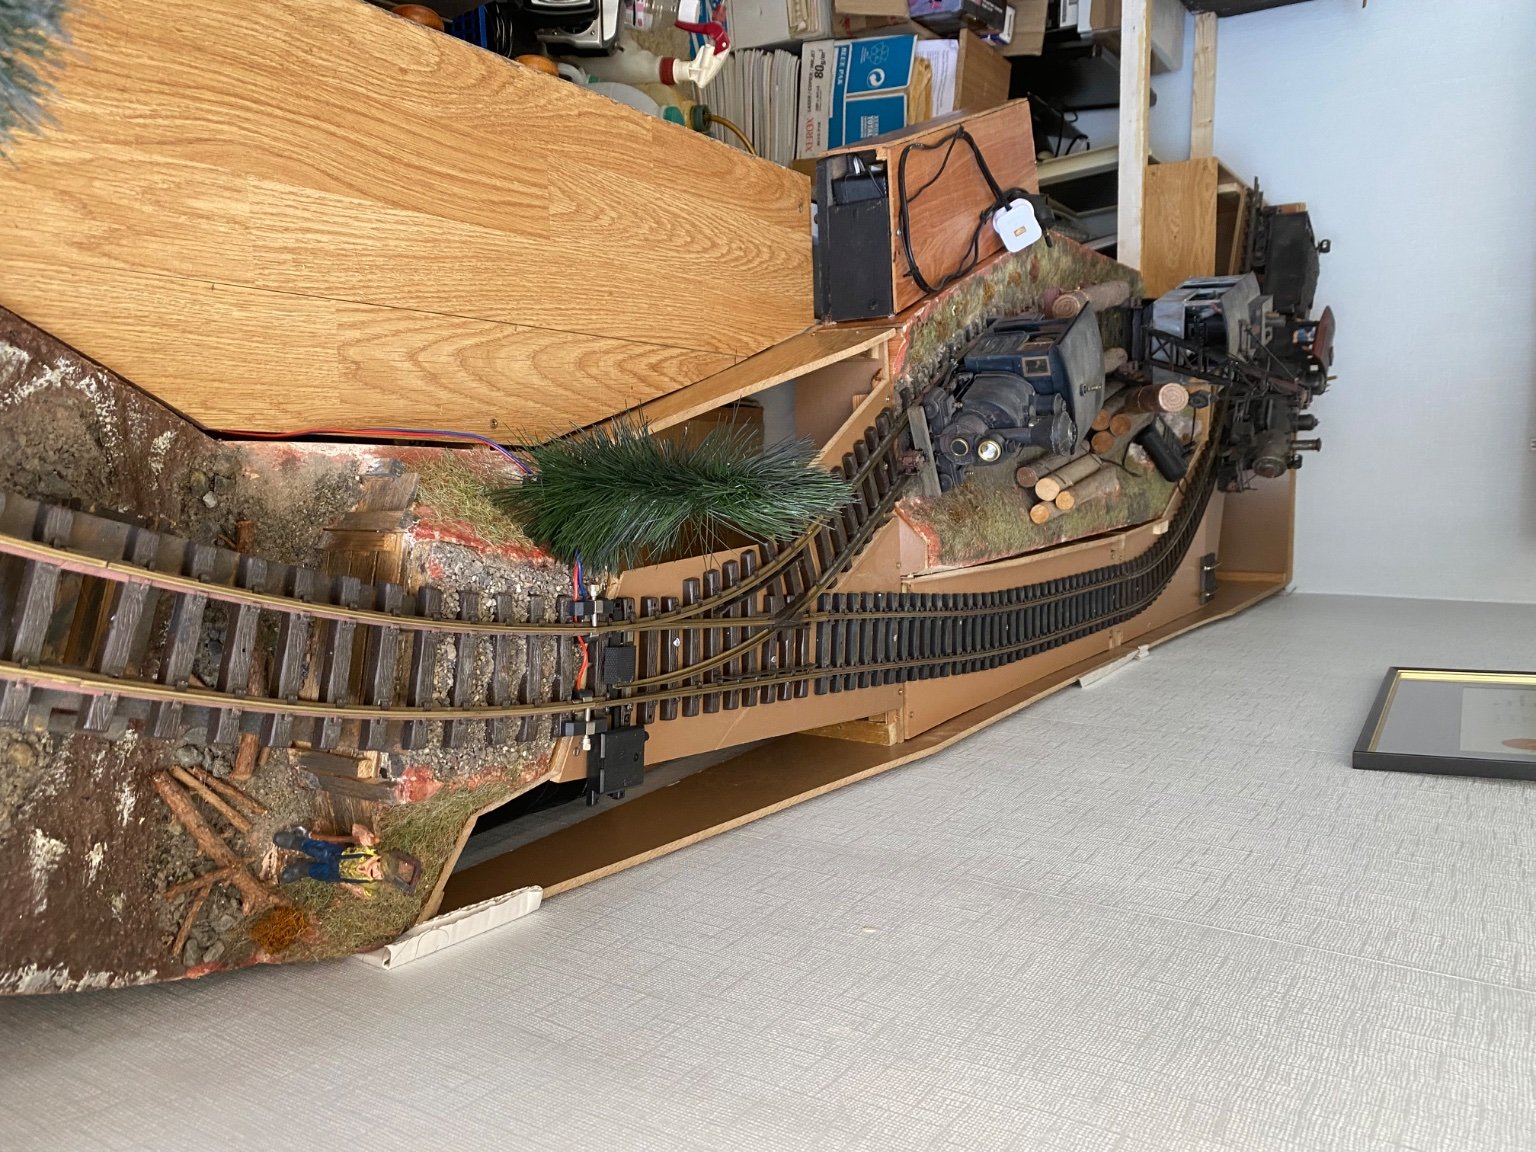
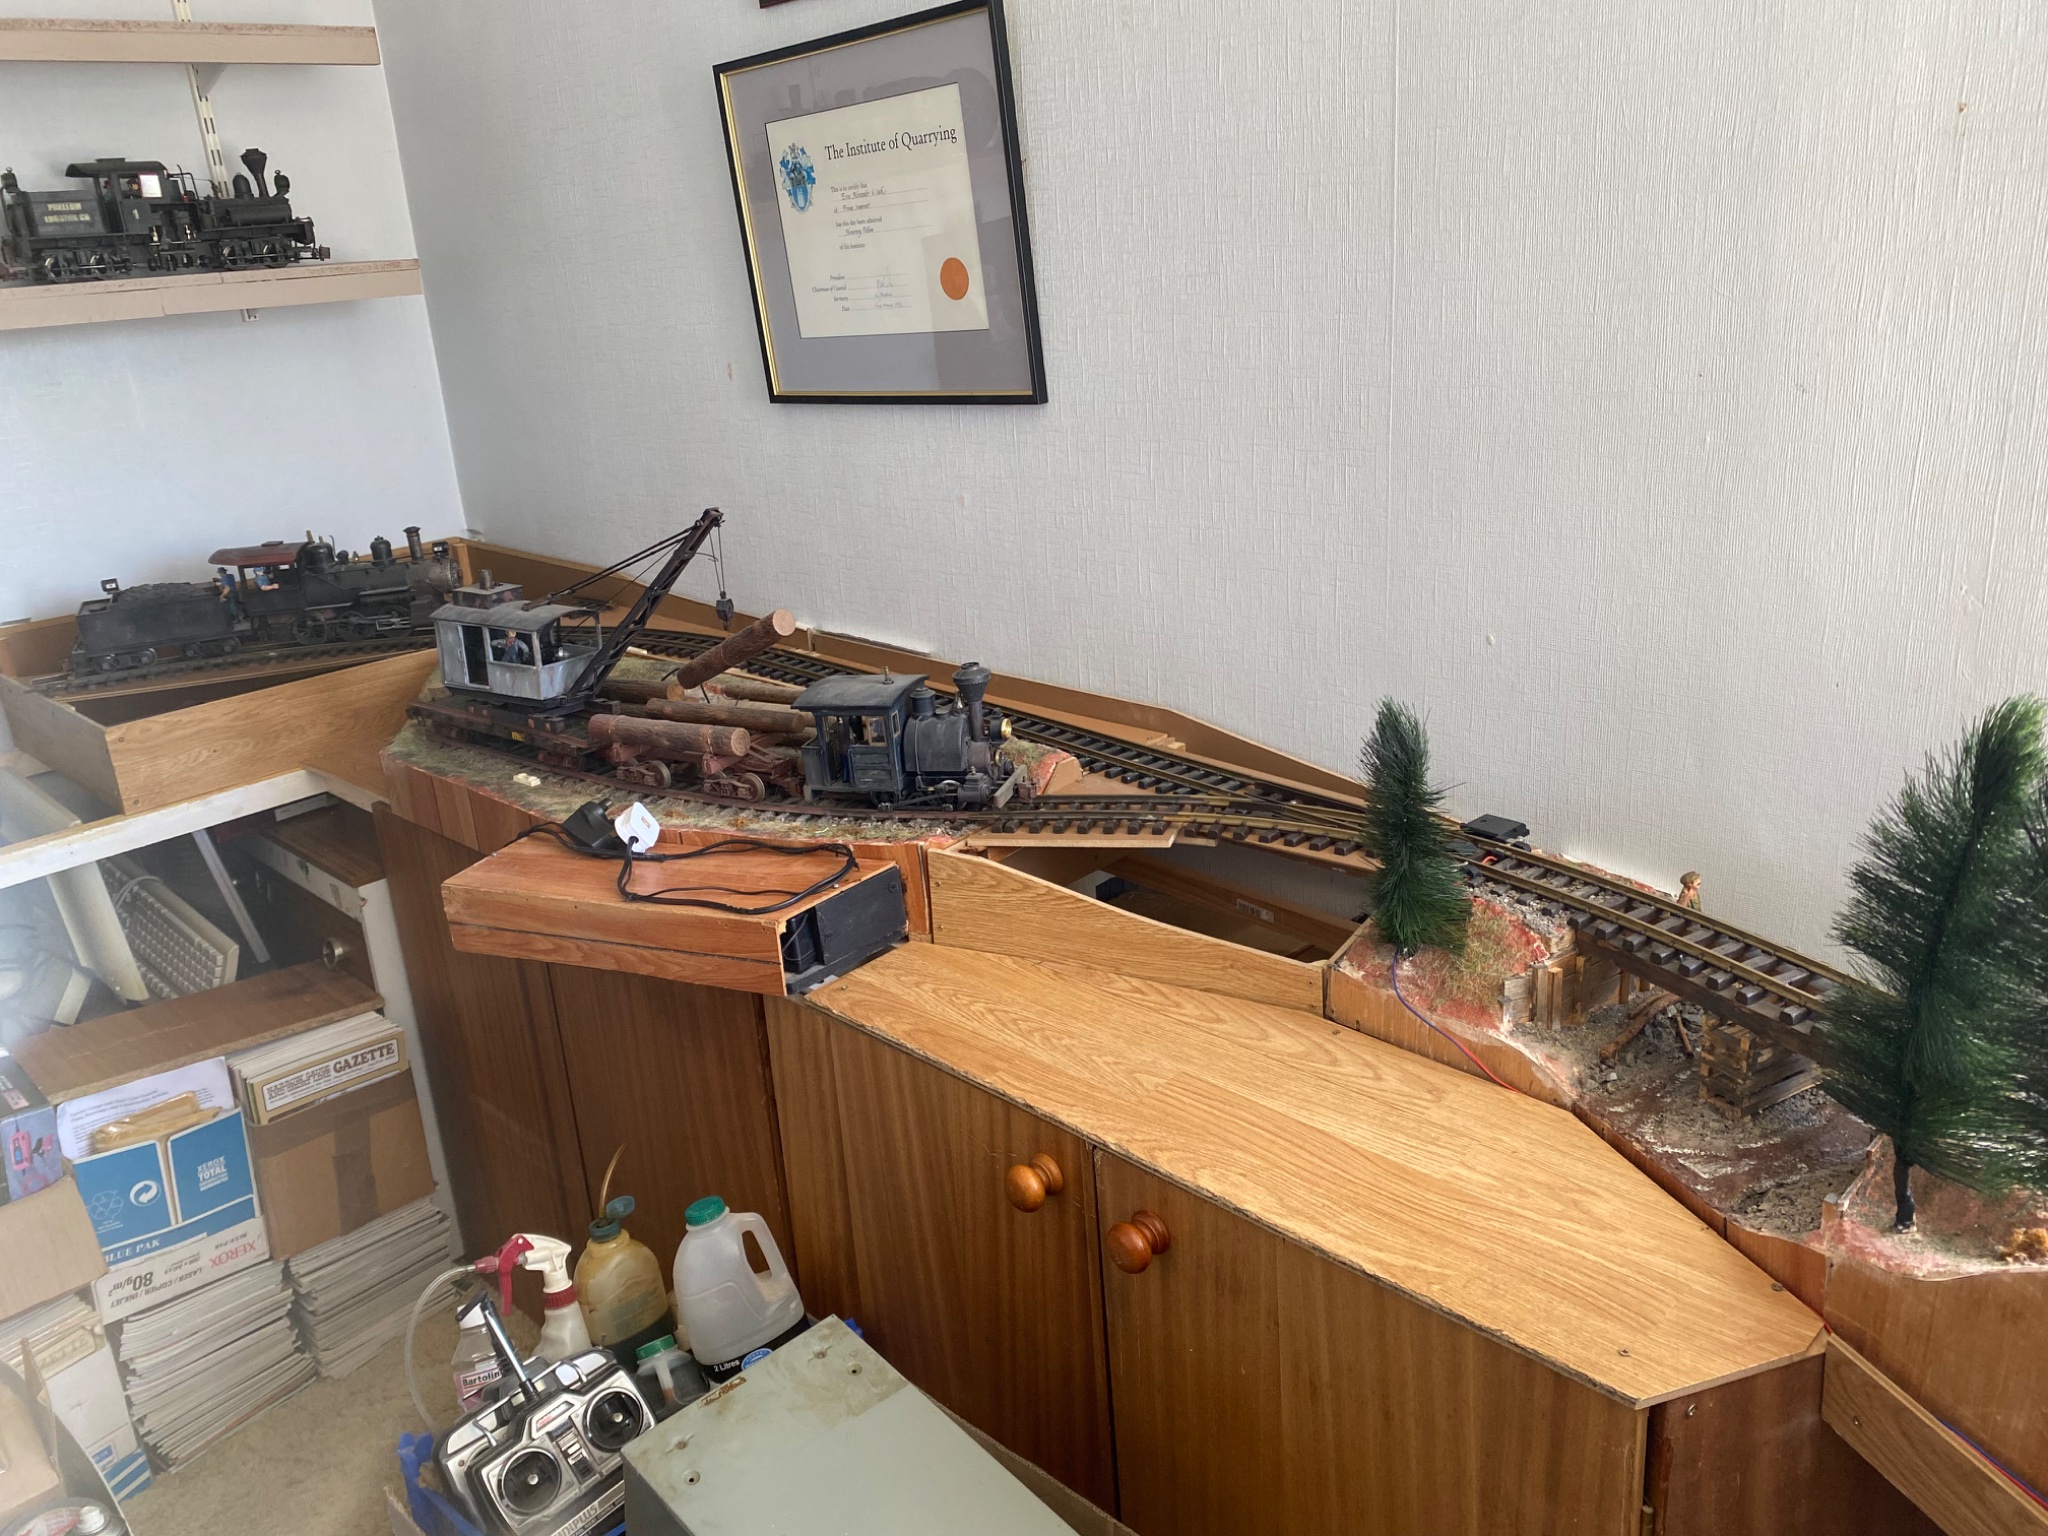
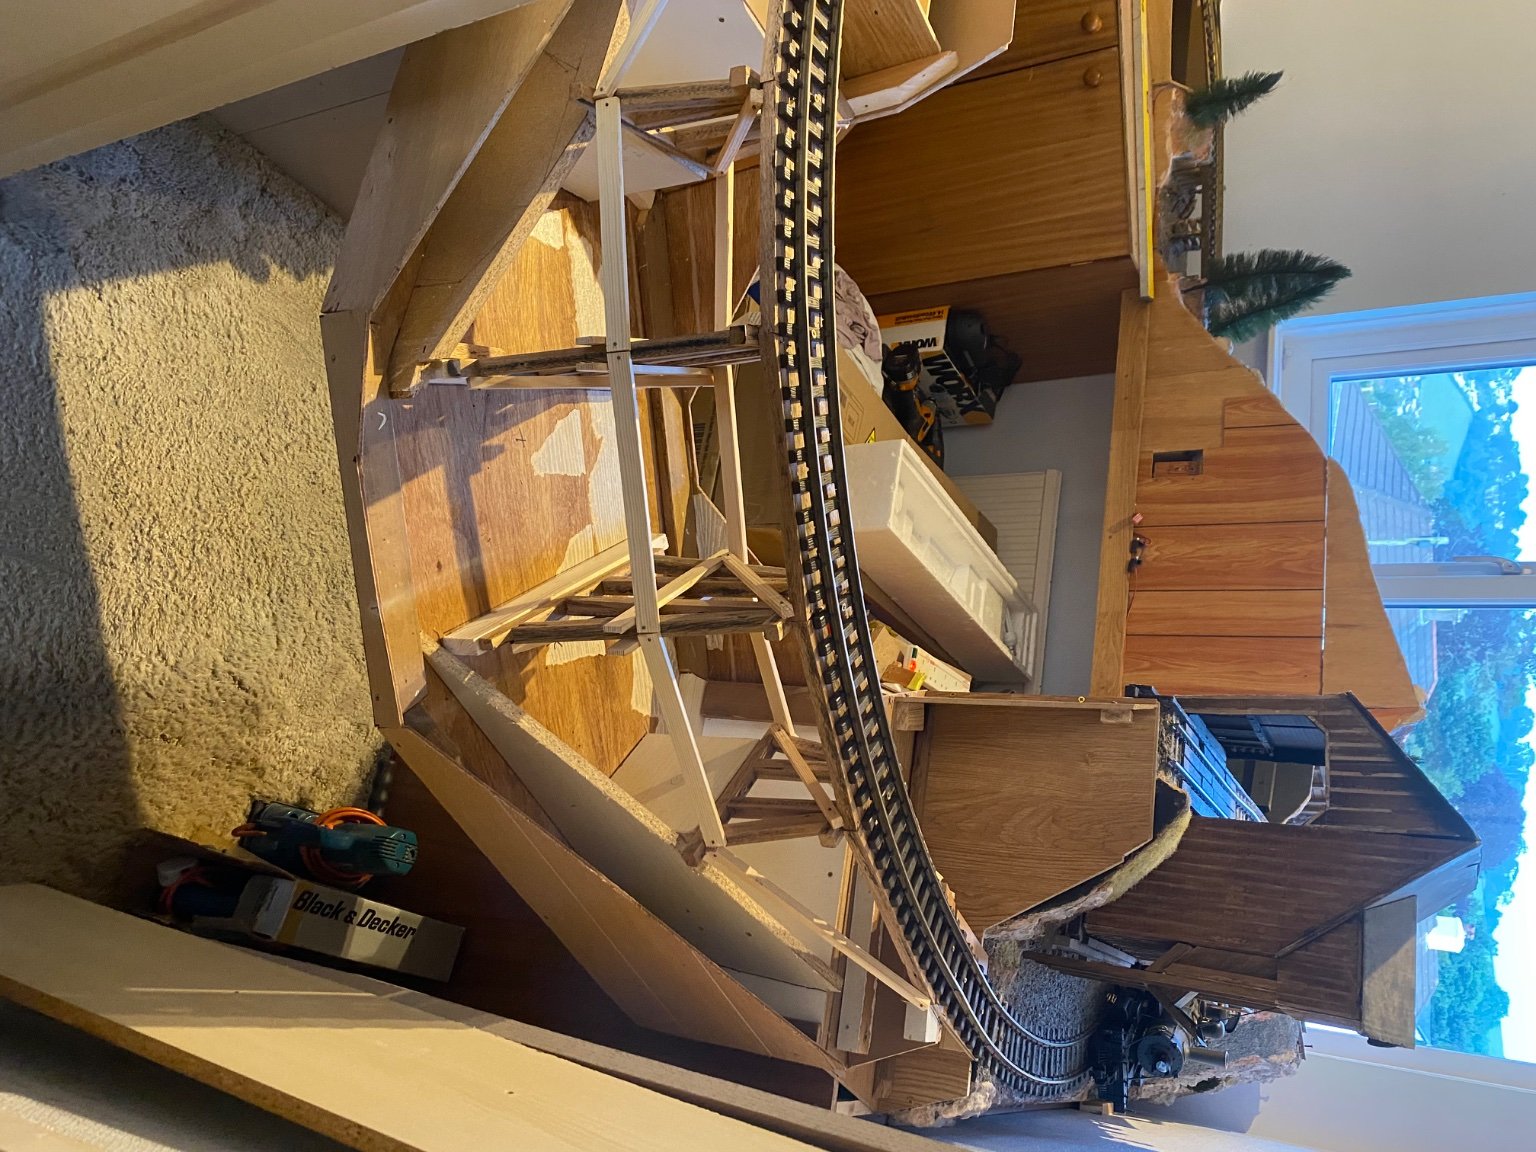
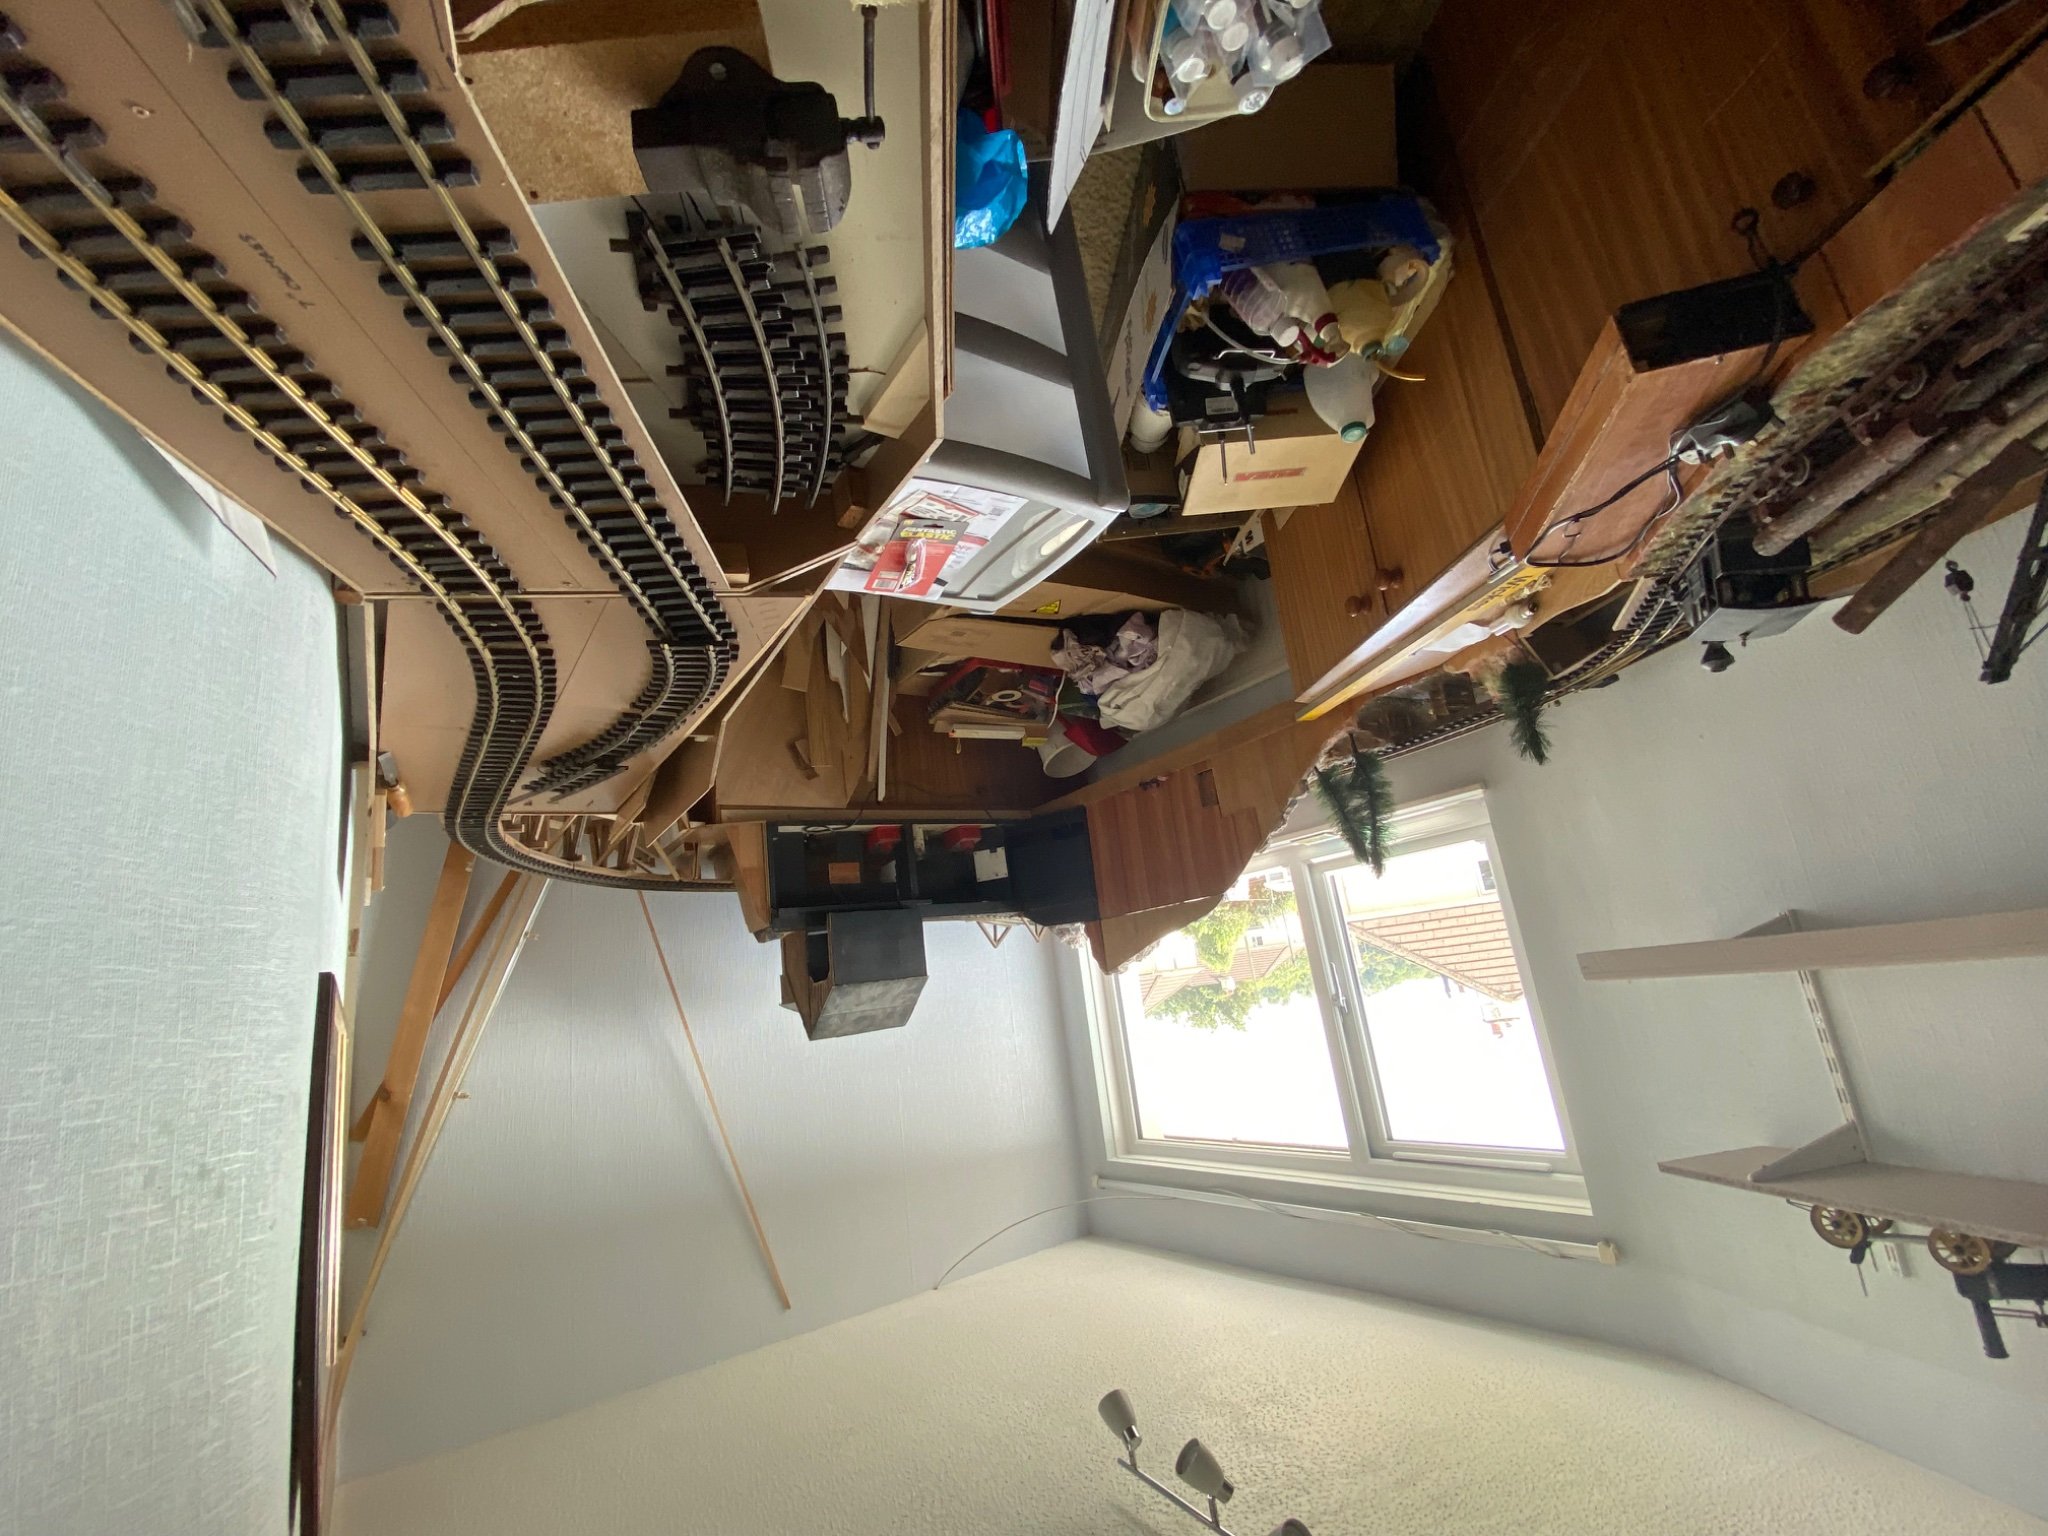
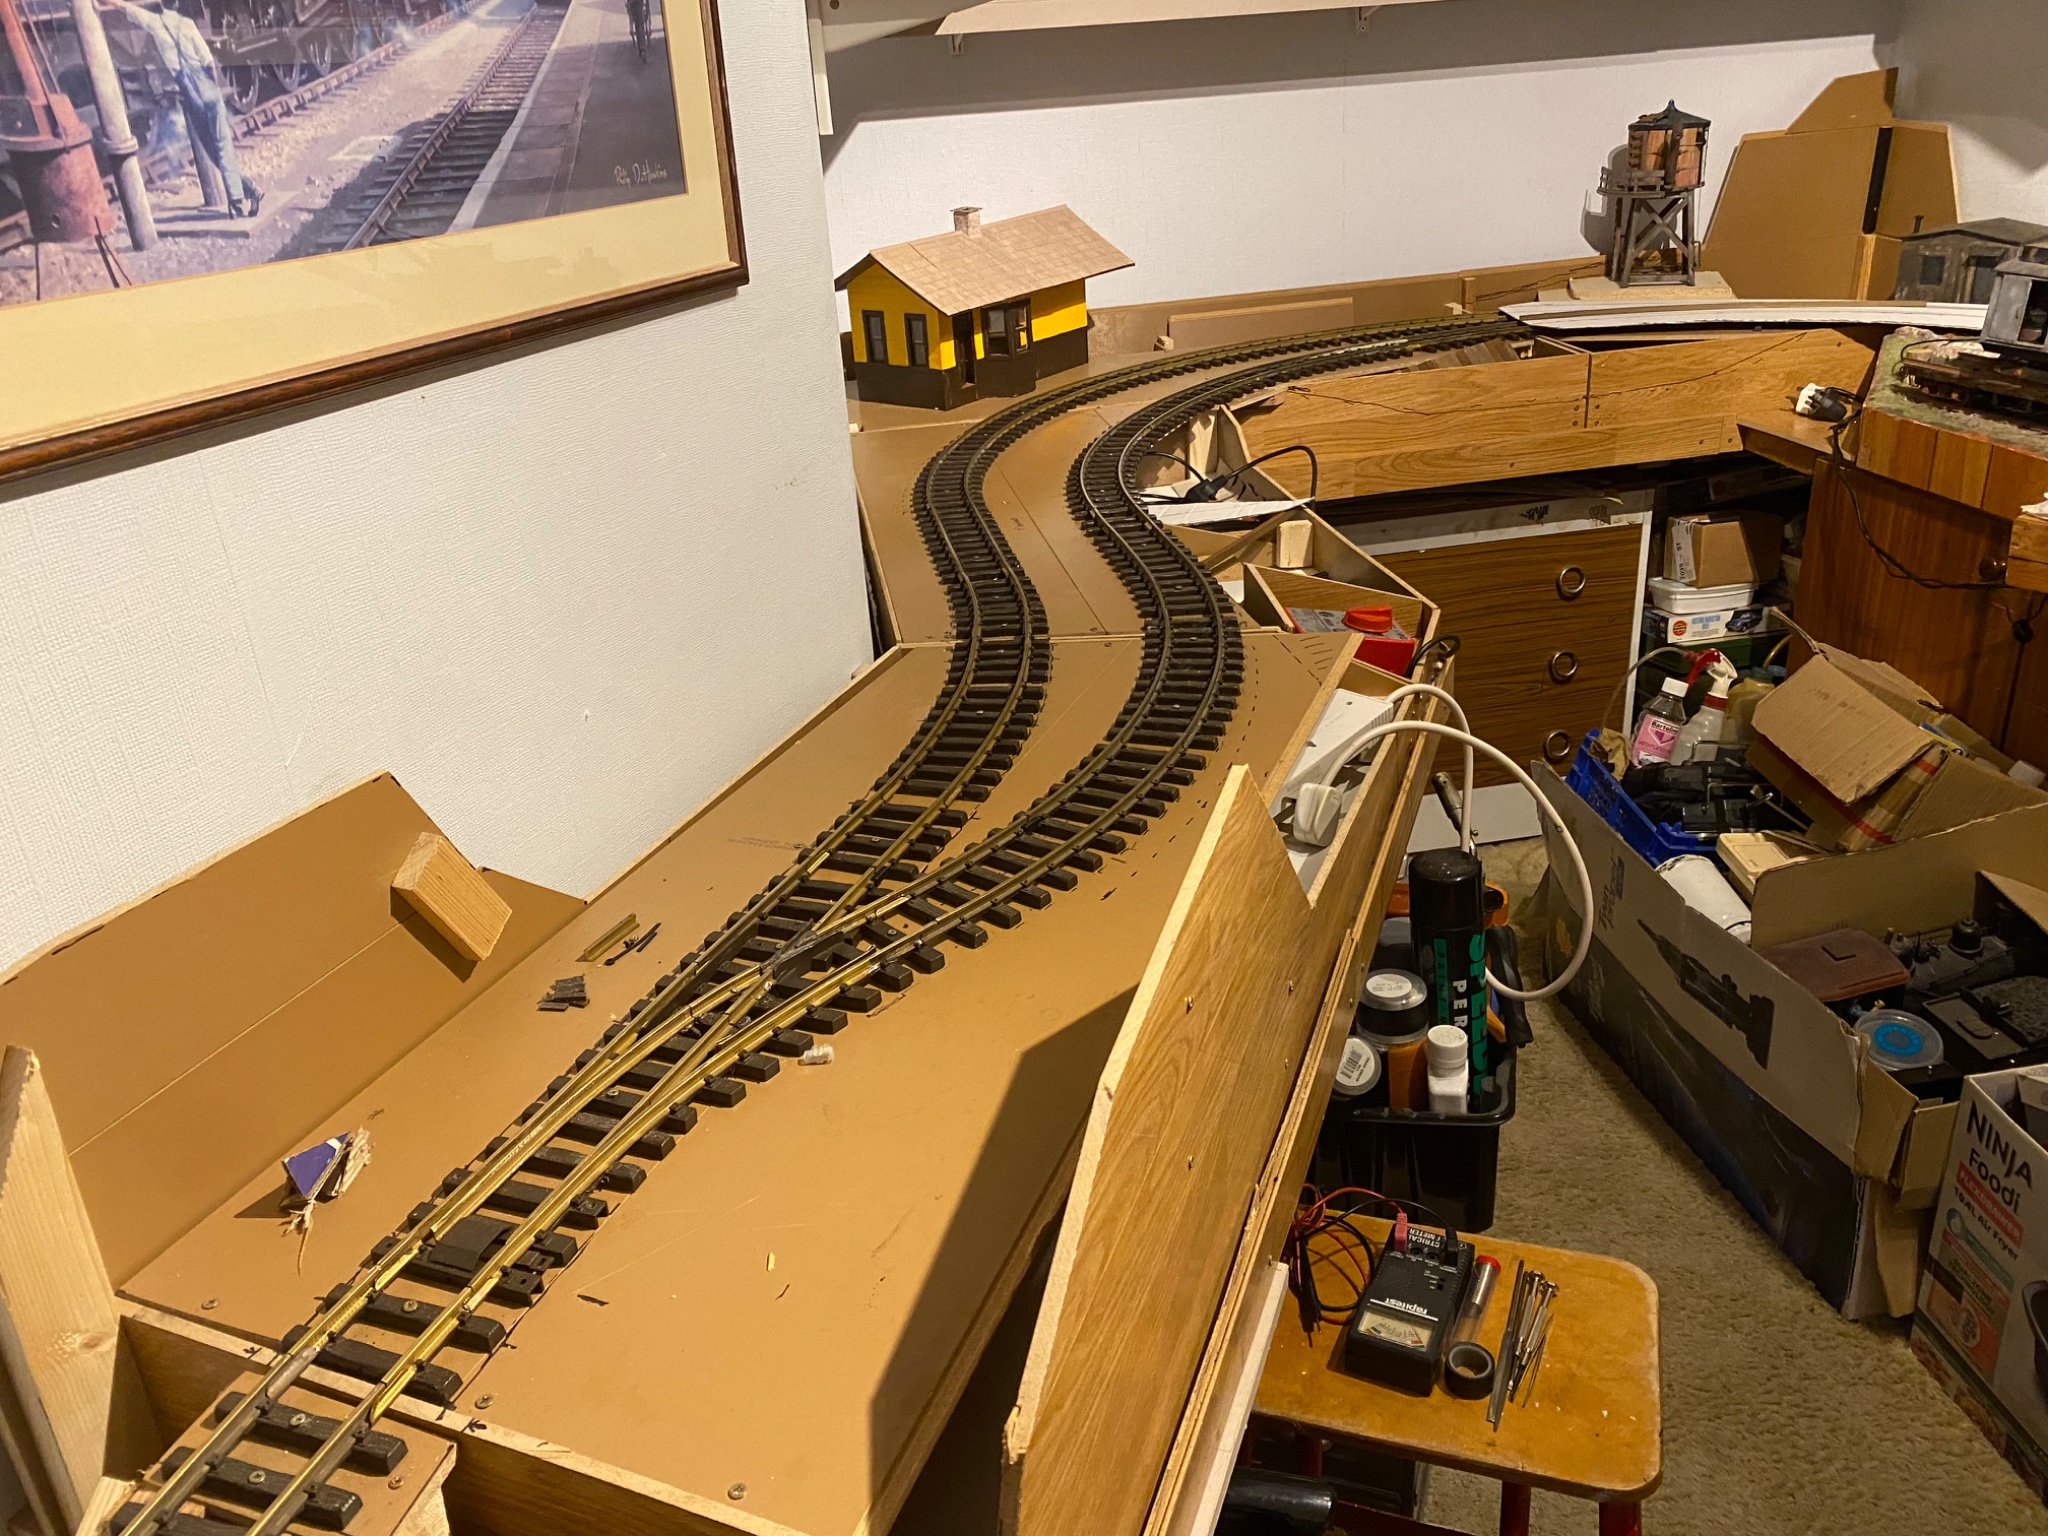
So I’ve been slowly working away and thought it was time I showed what I’m up to. I have several ‘modules’ built over the years so started by seeing which ones would fit in the space I have, managed to use a few of them so started by making storage cabinets as a base and then continued with new baseboards to fit around them and continue the line around the room which is approx 14 feet by seven but goes round a corner in the middle. I’ve managed to get a loop with a passing track, not room for sidings as I want to have scenic features to break it up and make the layout look larger than it is.
Here’s a selection of pictures which shows how it’s coming on, progress might slow down a bit now I can sit and watch a train go round !
 

Attachments

  • IMG_2574.jpeg
    IMG_2574.jpeg
    954.1 KB · Views: 0
  • IMG_2575.jpeg
    IMG_2575.jpeg
    866 KB · Views: 0
  • IMG_2586.jpeg
    IMG_2586.jpeg
    445 KB · Views: 0
  • IMG_2585.jpeg
    IMG_2585.jpeg
    982 KB · Views: 0
  • IMG_2726.jpeg
    IMG_2726.jpeg
    367.3 KB · Views: 0
  • IMG_2742.jpeg
    IMG_2742.jpeg
    462.7 KB · Views: 0
  • IMG_2768.jpeg
    IMG_2768.jpeg
    1 MB · Views: 0
You have to keep a wary eye on them Ozzies; you never know what they're going to get up down to :wondering:
Mind you, Doggo seems to keep things in order ;)
Dogs generally have things in order, but cats Always have everything in order. Just ask them. (And I'm a dog person. It's my wife that has four cats. :wasntme: )
 
Made some progress over the last few weeks, started shaping the scenery followed by plastering and getting some ballast down.
Plenty more to keep me busy not least of which is making a custom curved turnout for the other end of the passing loop. Got a diagram drawn of what I need so that will be the next task.!

IMG_2799.jpegIMG_2801.jpegIMG_2829.jpegIMG_2832.jpeg
 
I’ve made the curved turnout for the other end of the loop, used the blades and over centre mechanism from a R1 turnout bent to the new shape and then the rest is rail and sleepers from normal track sections.
With a narrow angle on the frog you can’t have different polarity on both rails as the wheels and sliders will short them out so this is a ‘live frog’ turnout, a simple sliding contact on the tie bar provides the correct polarity for whichever way the blades are set.
Here’s a few pictures showing it coming together including a view underneath which shows the ‘bodgery’ of the sleepers and a shot of the turnout in place.
A bit of fine tuning to do now to smooth the joints and get the right clearance on the check rails, there’s a couple of tight spots to sort out.

IMG_2836.jpegIMG_2837.jpegIMG_2842.jpegIMG_2841.jpegIMG_2840.jpeg
 
I’ve made the curved turnout for the other end of the loop, used the blades and over centre mechanism from a R1 turnout bent to the new shape and then the rest is rail and sleepers from normal track sections.
With a narrow angle on the frog you can’t have different polarity on both rails as the wheels and sliders will short them out so this is a ‘live frog’ turnout, a simple sliding contact on the tie bar provides the correct polarity for whichever way the blades are set.
Here’s a few pictures showing it coming together including a view underneath which shows the ‘bodgery’ of the sleepers and a shot of the turnout in place.
A bit of fine tuning to do now to smooth the joints and get the right clearance on the check rails, there’s a couple of tight spots to sort out.

View attachment 347644View attachment 347645View attachment 347646View attachment 347647View attachment 347648
Excellent! Now I have a possible use for my excess R1 points. Could you do a close-up of, the frog? Thanks
 
Wow! I like to think I'm reasonably handy, but this is another level. I wouldn't even know where to start. Seriously impressed!
 
Very impressive use of an R1 that we all have many of. What I do not quite understand is the frog polarity changing, I also wonder about the sliding contacts on the second sleeper up (not counting the slide one) which are used on R1’s to provide permanent power to the moving blades.
 
Very impressive use of an R1 that we all have many of. What I do not quite understand is the frog polarity changing, I also wonder about the sliding contacts on the second sleeper up (not counting the slide one) which are used on R1’s to provide permanent power to the moving blades.
The phosphor bronze contact is fitted to the tie bar and moves with it to touch only one of the rail contacts at a time, the wire then feeds this polarity to both rails of the frog inside the insulated joiners. The ‘live frog’ section is about 4 inches long which gives the loco chance to get a wheel and slider onto it. The blades still get power from the rail contacts but I have soldered jumper wires as well.
 
Excellent! Now I have a possible use for my excess R1 points. Could you do a close-up of, the frog? Thanks
I’ve cut the outer edges from the original frog and melted them together, still a bit more material needed to build it up to be able to file a smooth base for the wheel flanges to run on.
 

Attachments

  • IMG_9036.jpeg
    IMG_9036.jpeg
    861.7 KB · Views: 0
Back
Top Bottom