Finally, I can begin to share some of my own experiences in the world of domestic 3D printing. In the end I purchased my Ender 5 from a website called TomTop.com. Another Chinese distributor with warehouses in Europe and North America. There was less information available about them then BangGood or AliExpress but again no horror stories or reports of them being out-and-out a scam. At the time they were advertising the Ender 5 for £200 with free shipping. All the necessary protections were in place so I decided to take the risk and ordered on the Monday night. By Friday I had a card from Parcel Force saying I had missed the delivery. Fast forward to next Friday and I had managed to get to the Post Office while it was open to collect my parcel.
First impressions were good, no damage to the box, all was branded as Creality. When I had opened it up everything was very snugly packaged inside of some dense foam.
.jpg")
.jpg")
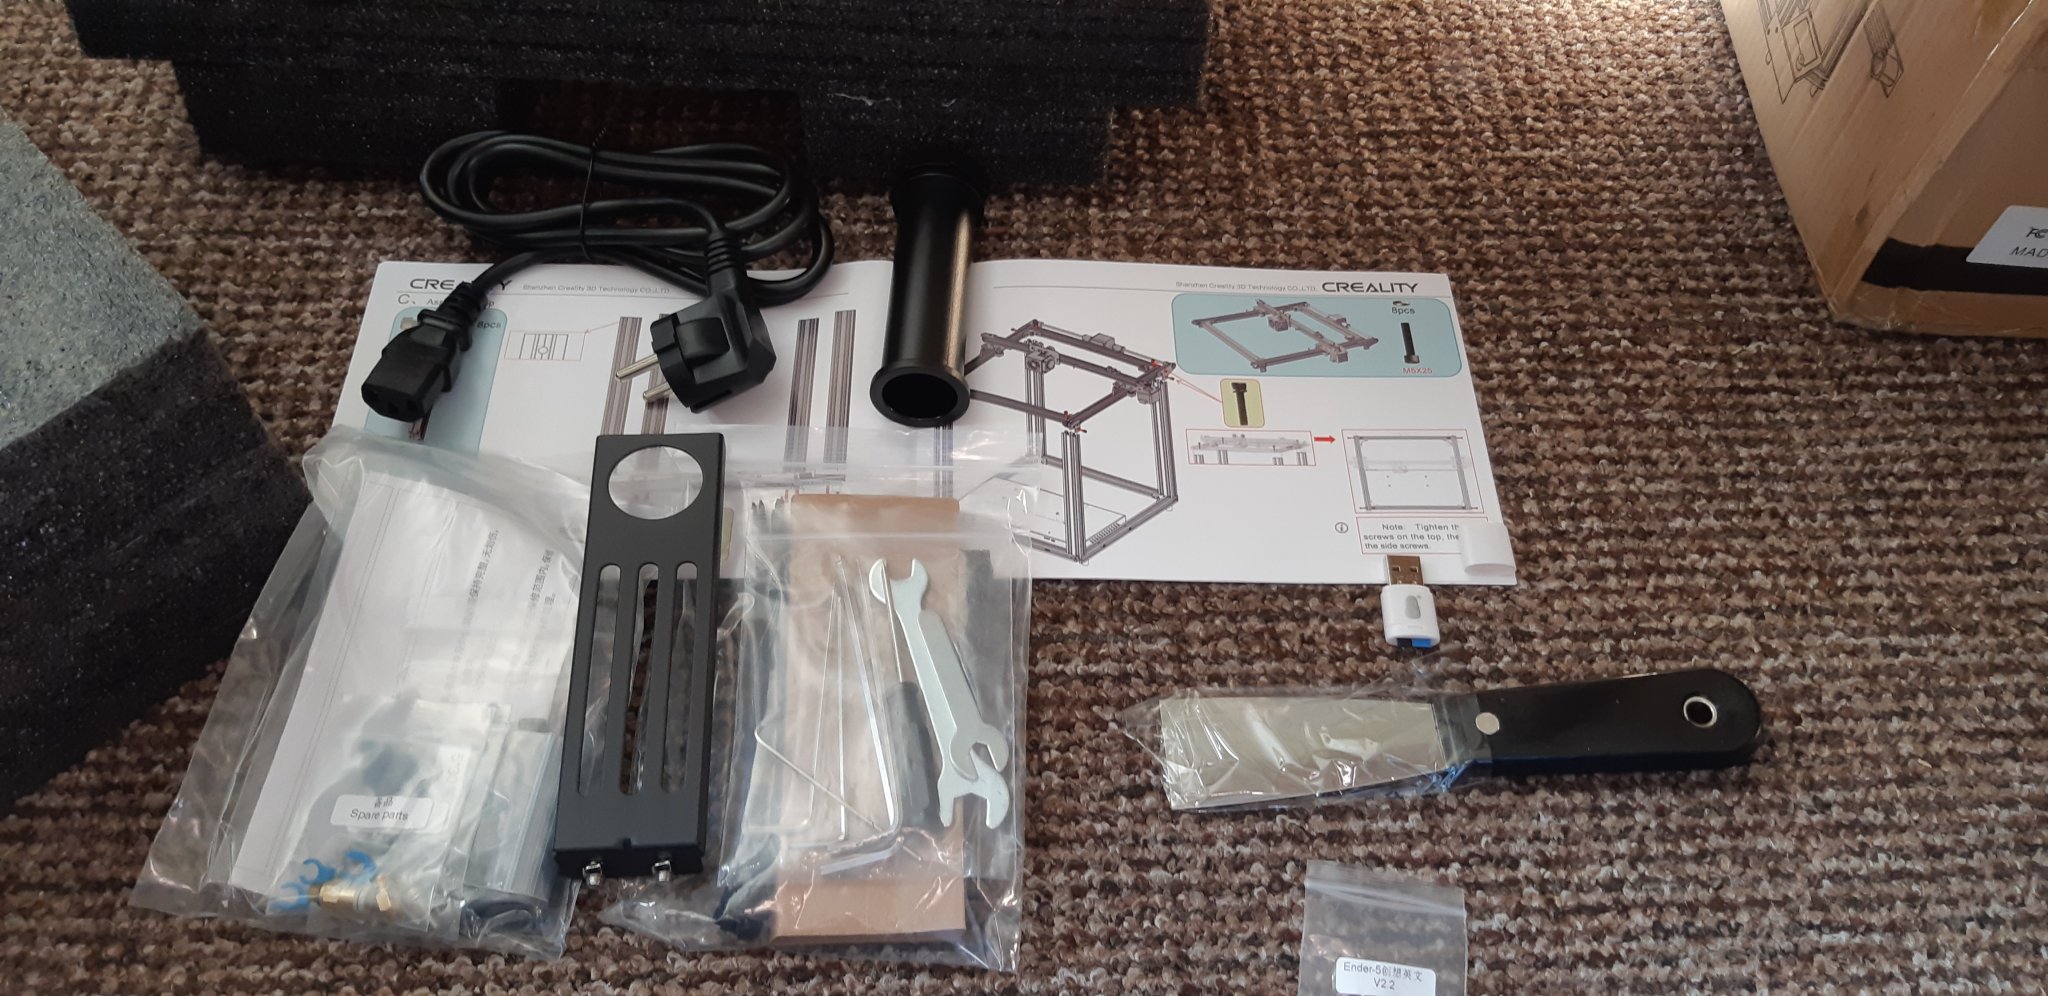
There was an instruction booklet that laid out everything clearly and in fairly decent English. Within an hour I had built the whole thing and was ready to start connecting up all of the wires. All the plugs come with tags for what axis they control. There are two per axis, one 4-pin, one 8-pin so it would be very difficult to connect any to the wrong places. The rest are colour coded and all on identical 2-pin plugs.
The building consists of screwing in the 4 vertical posts. The upper gantry with the extruder bolts on top of this. Finally the bed and Z gantry bolt between the upper and lower of the chassis. The control panel and the filament reel bolt to any of the 4 uprights. These don't need to be attached to the chassis, making things a little easier if you need to move things around if you build an enclosure. All the tools needed to disassemble every aspect of the printer are included (5 hex keys, 2 spanners and a screwdriver) as well as a scraper, a pair of end snips and a Micro SD card and a USB reader. The SD card has the Creality slicing and control software already loaded. As well as some parts for test printing.
.jpg")
.jpg")
.jpg")
.jpg")
I have placed it on the end of my work bench temporarily; my eventual plan being to upcycle an old cabinet into an enclosure. For this I plan I will need a couple of extra computer fans to control airflow in or out. I might be able to power these straight from the power supply for the Ender. I would also like to add lights and a thermometer for the airspace. If using computer case components I think it should be possible to power these from the power supply for the printer too.
As I ordered from a German warehouse the printer came with an EU 2-pin plug. However the PSU for the printer is a standard computer part so I could swap the cable straight out for a spare I had from an old recycled PC with the 3-pin PC socket on the end.
The bed levelling was simple enough, and the instructions explained how to feed in the filament easily. I'm testing using the PLA supplied with the printer but I have a roll of ABS from Amazon's 3D warehouse to replace it. Currently it is printing an Alpaca test piece for SWMBO.

.jpg")
.jpg")
.jpg")
.jpg")
.jpg")
.jpg")

 1
1
 1
1
 1
1