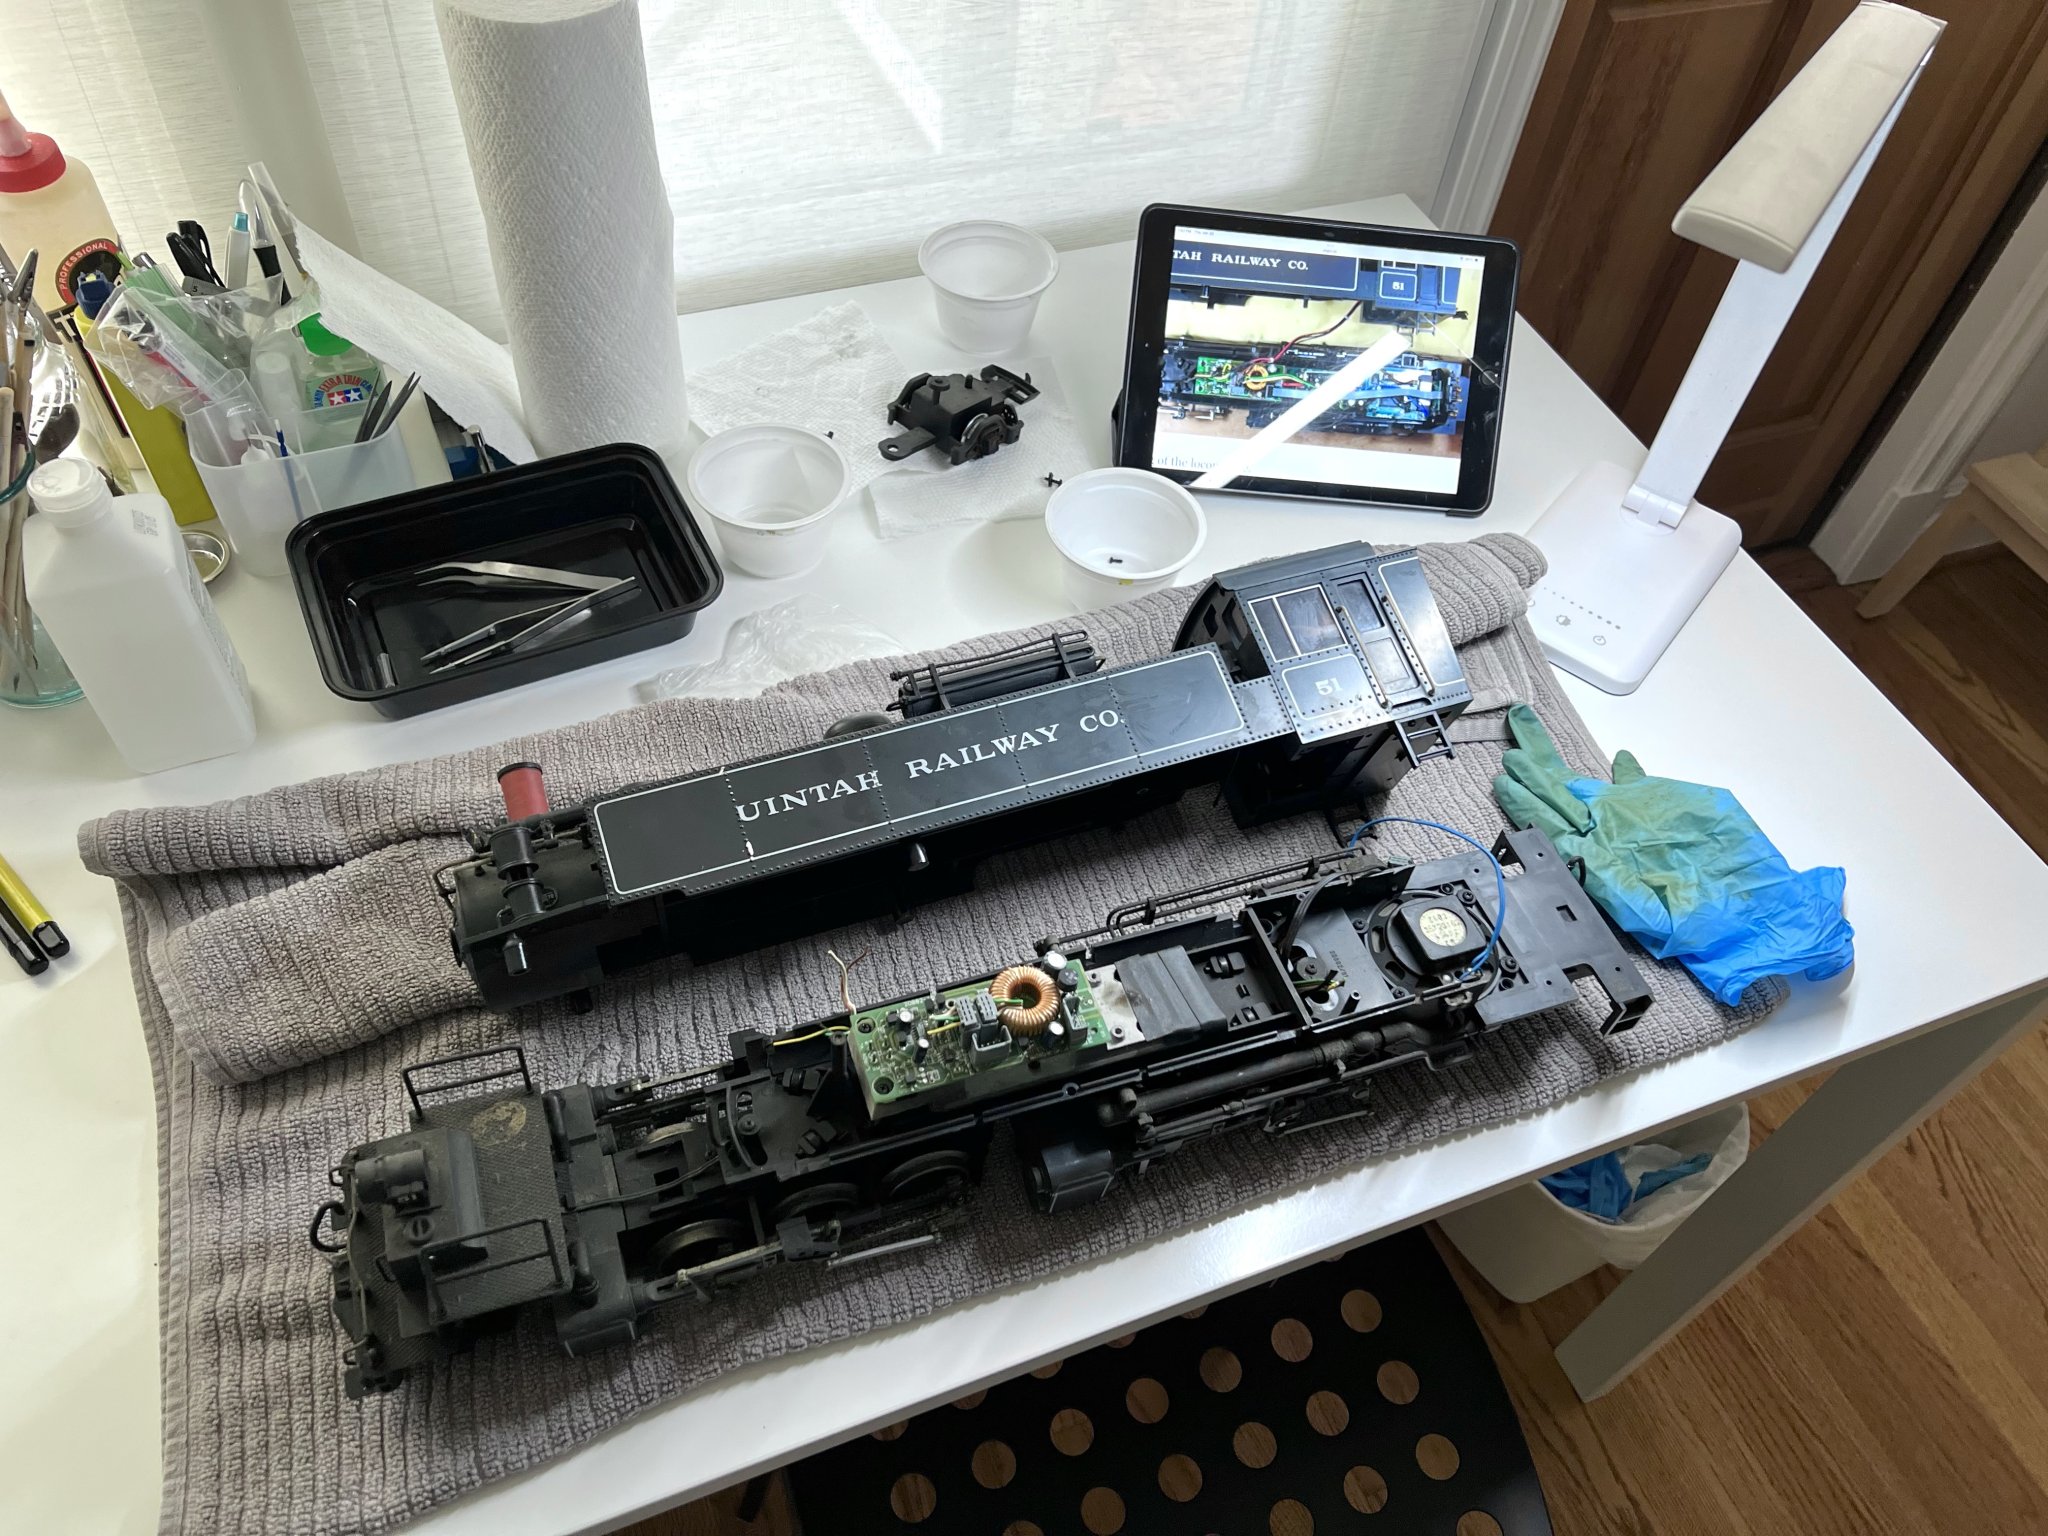
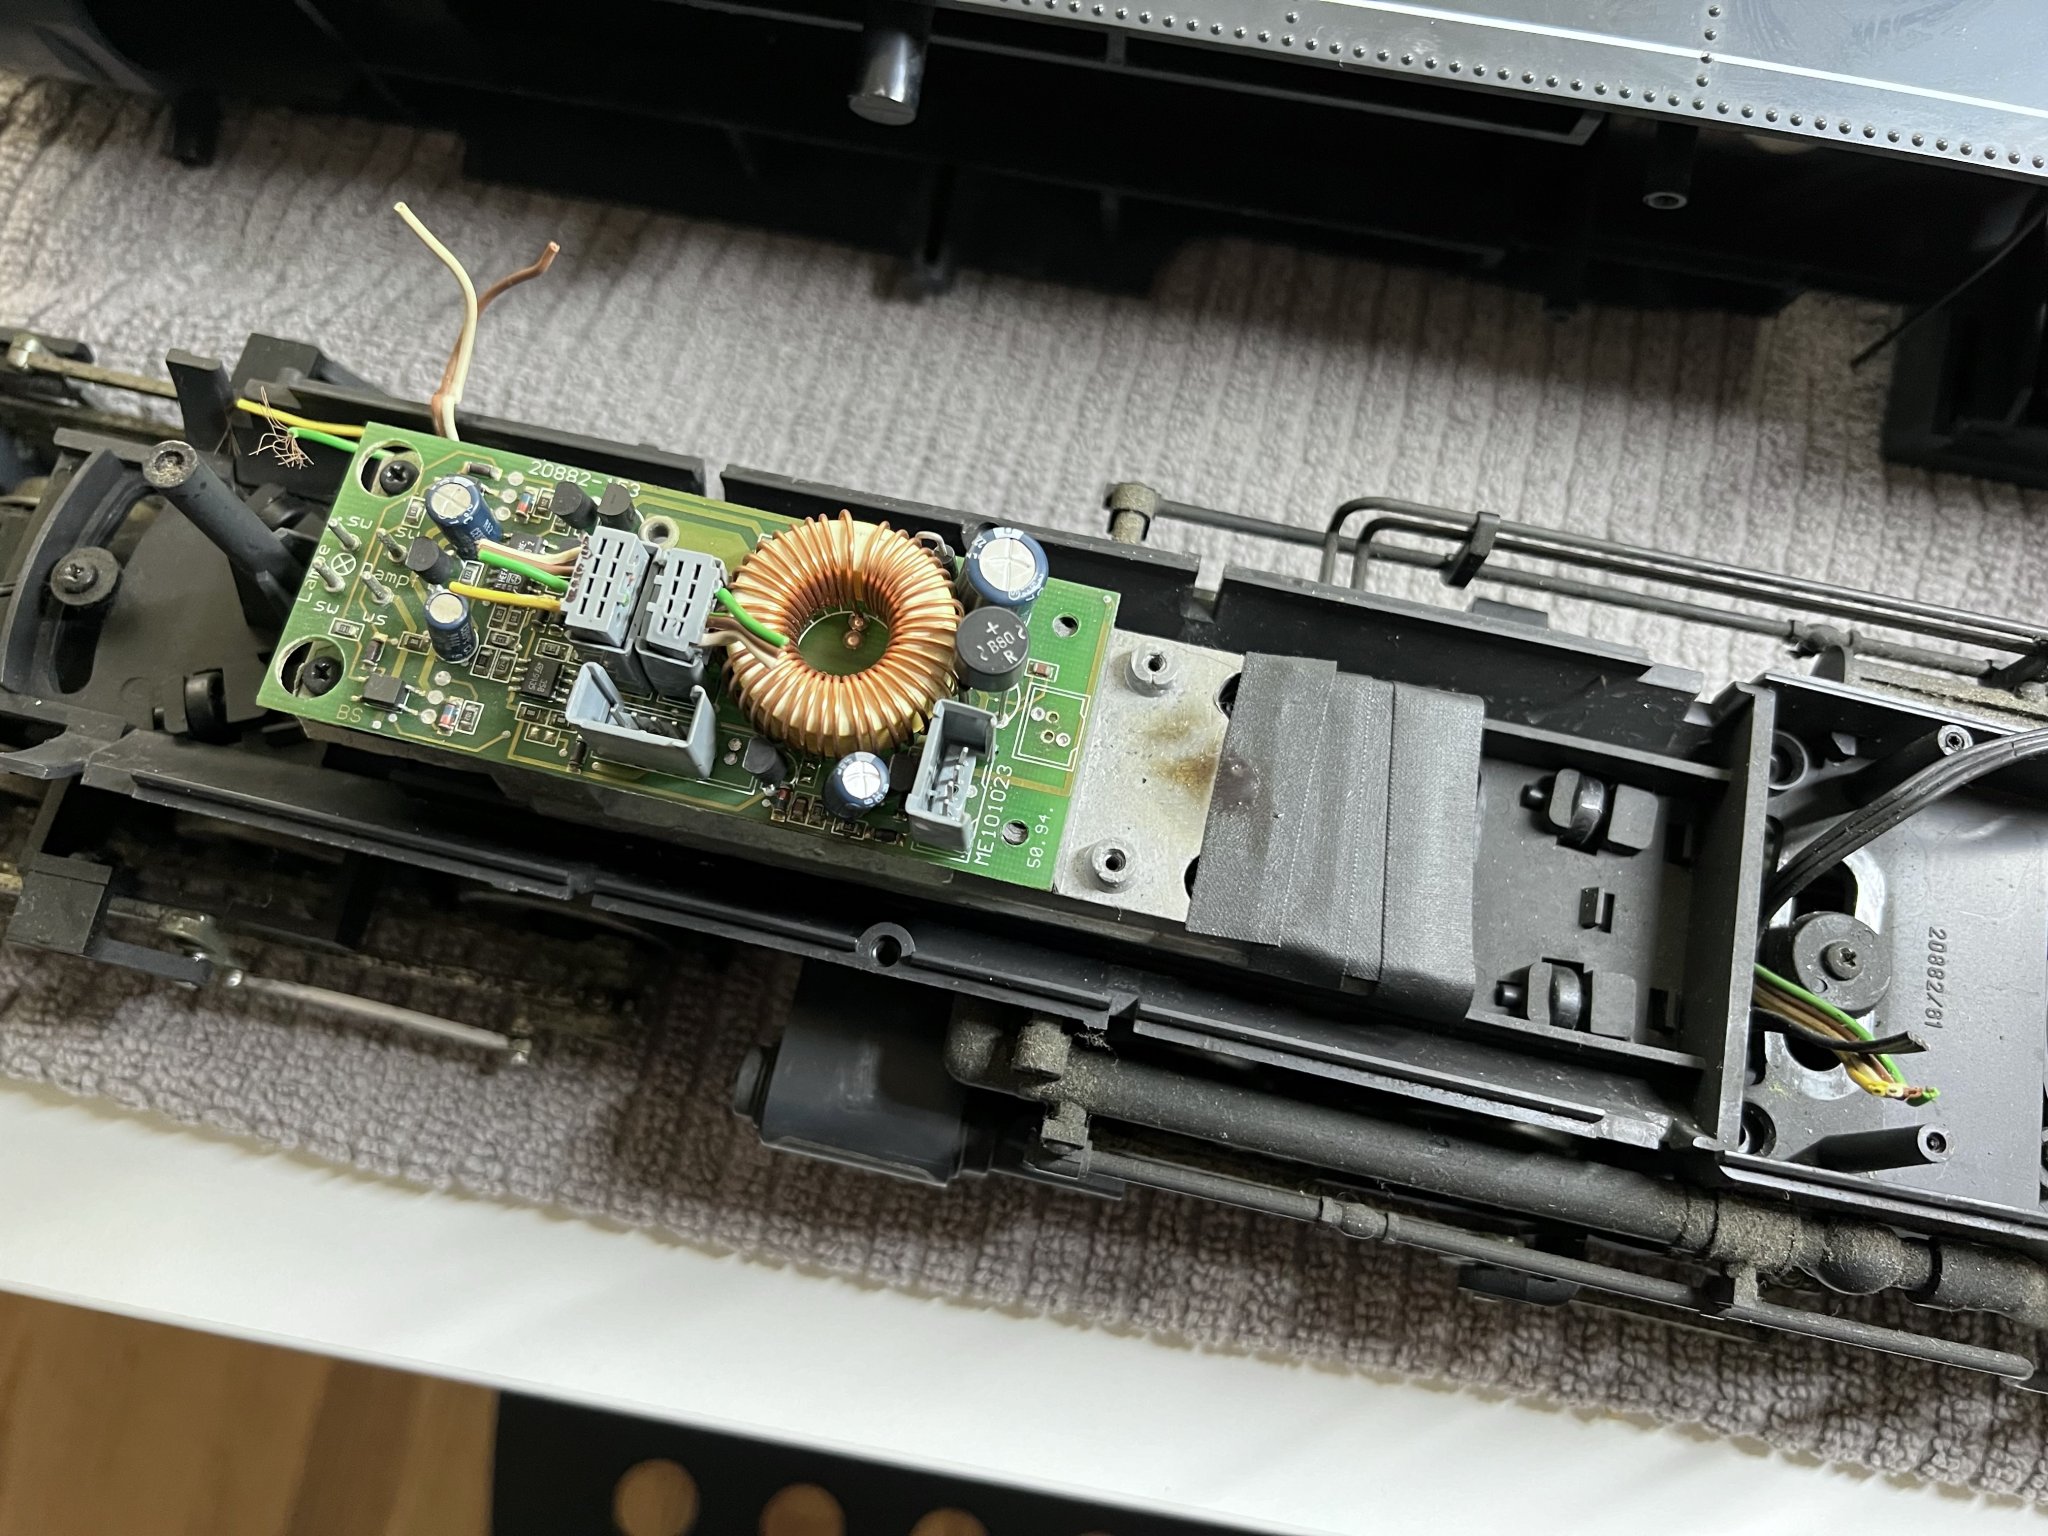
I have a Uintah Mallet 2-6-6-2 that is missing a sound circuit board, power switch and a traction tire rubber. The wires were snipped in almost every direction.
I tested both motor blocks (hooked up the yellow and green wires directly to the power pack) and to my surprise, it runs! I highly doubted it was operable since it looked like it’s been heavily modified.
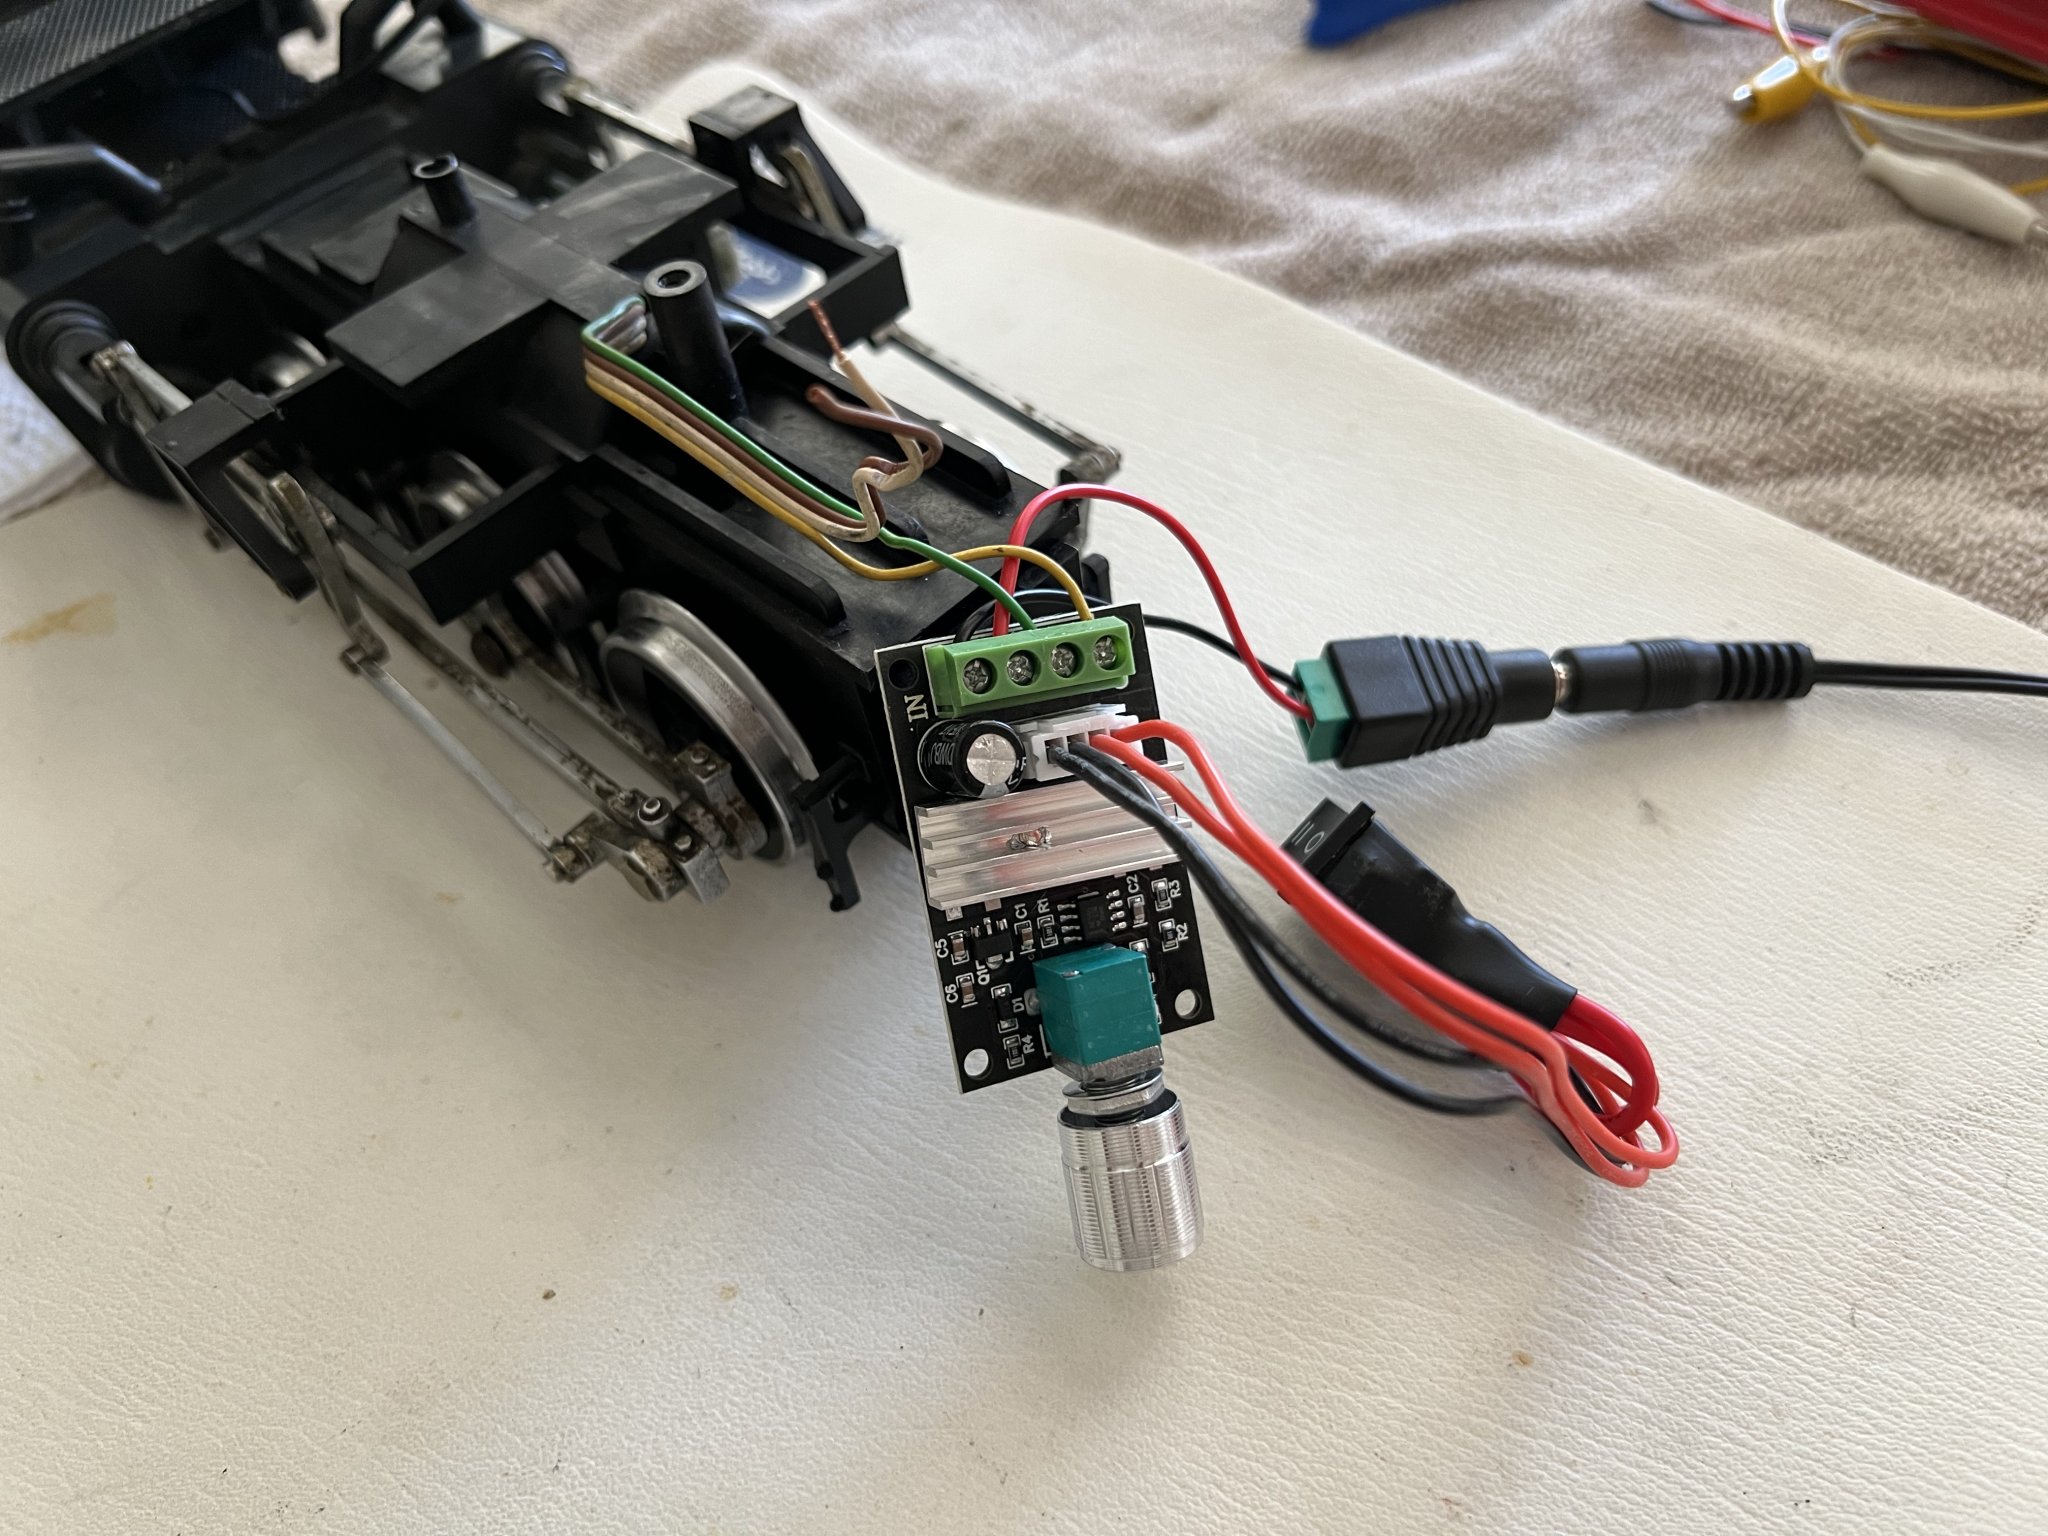
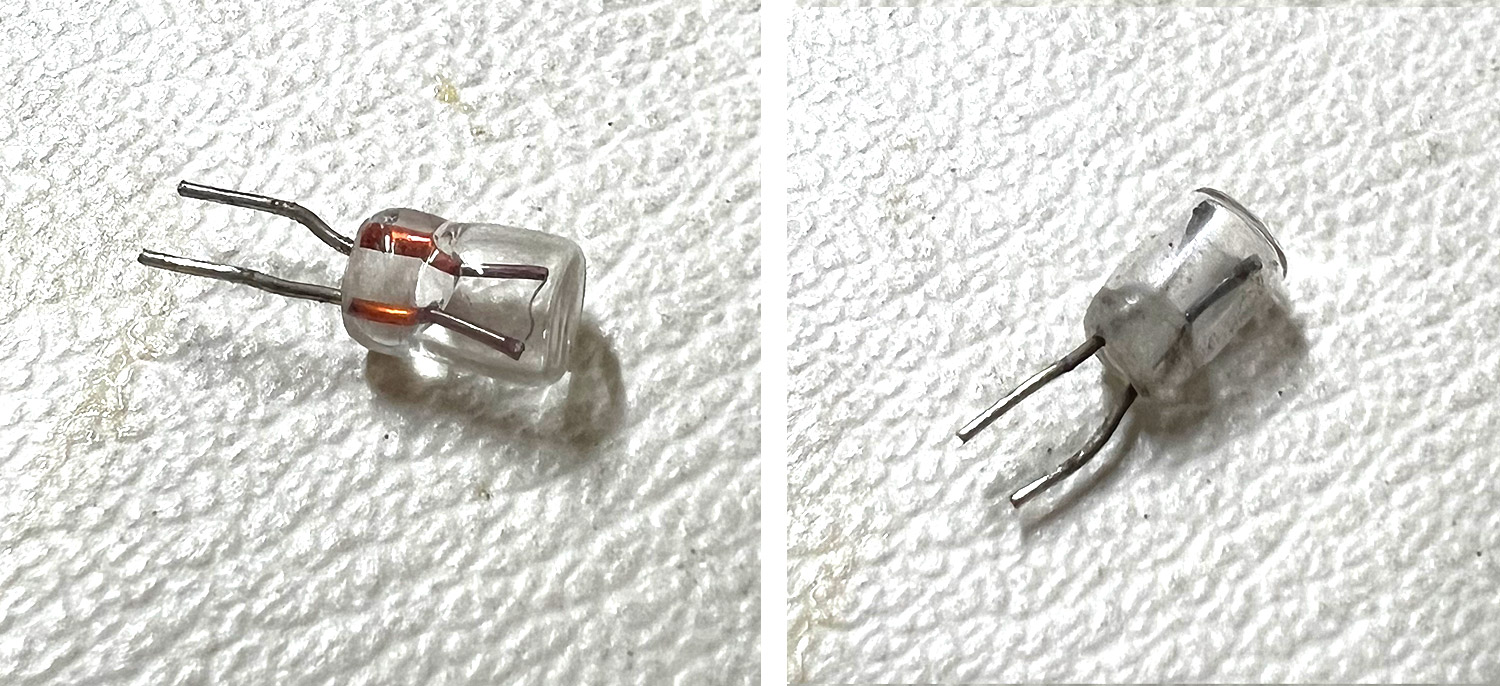
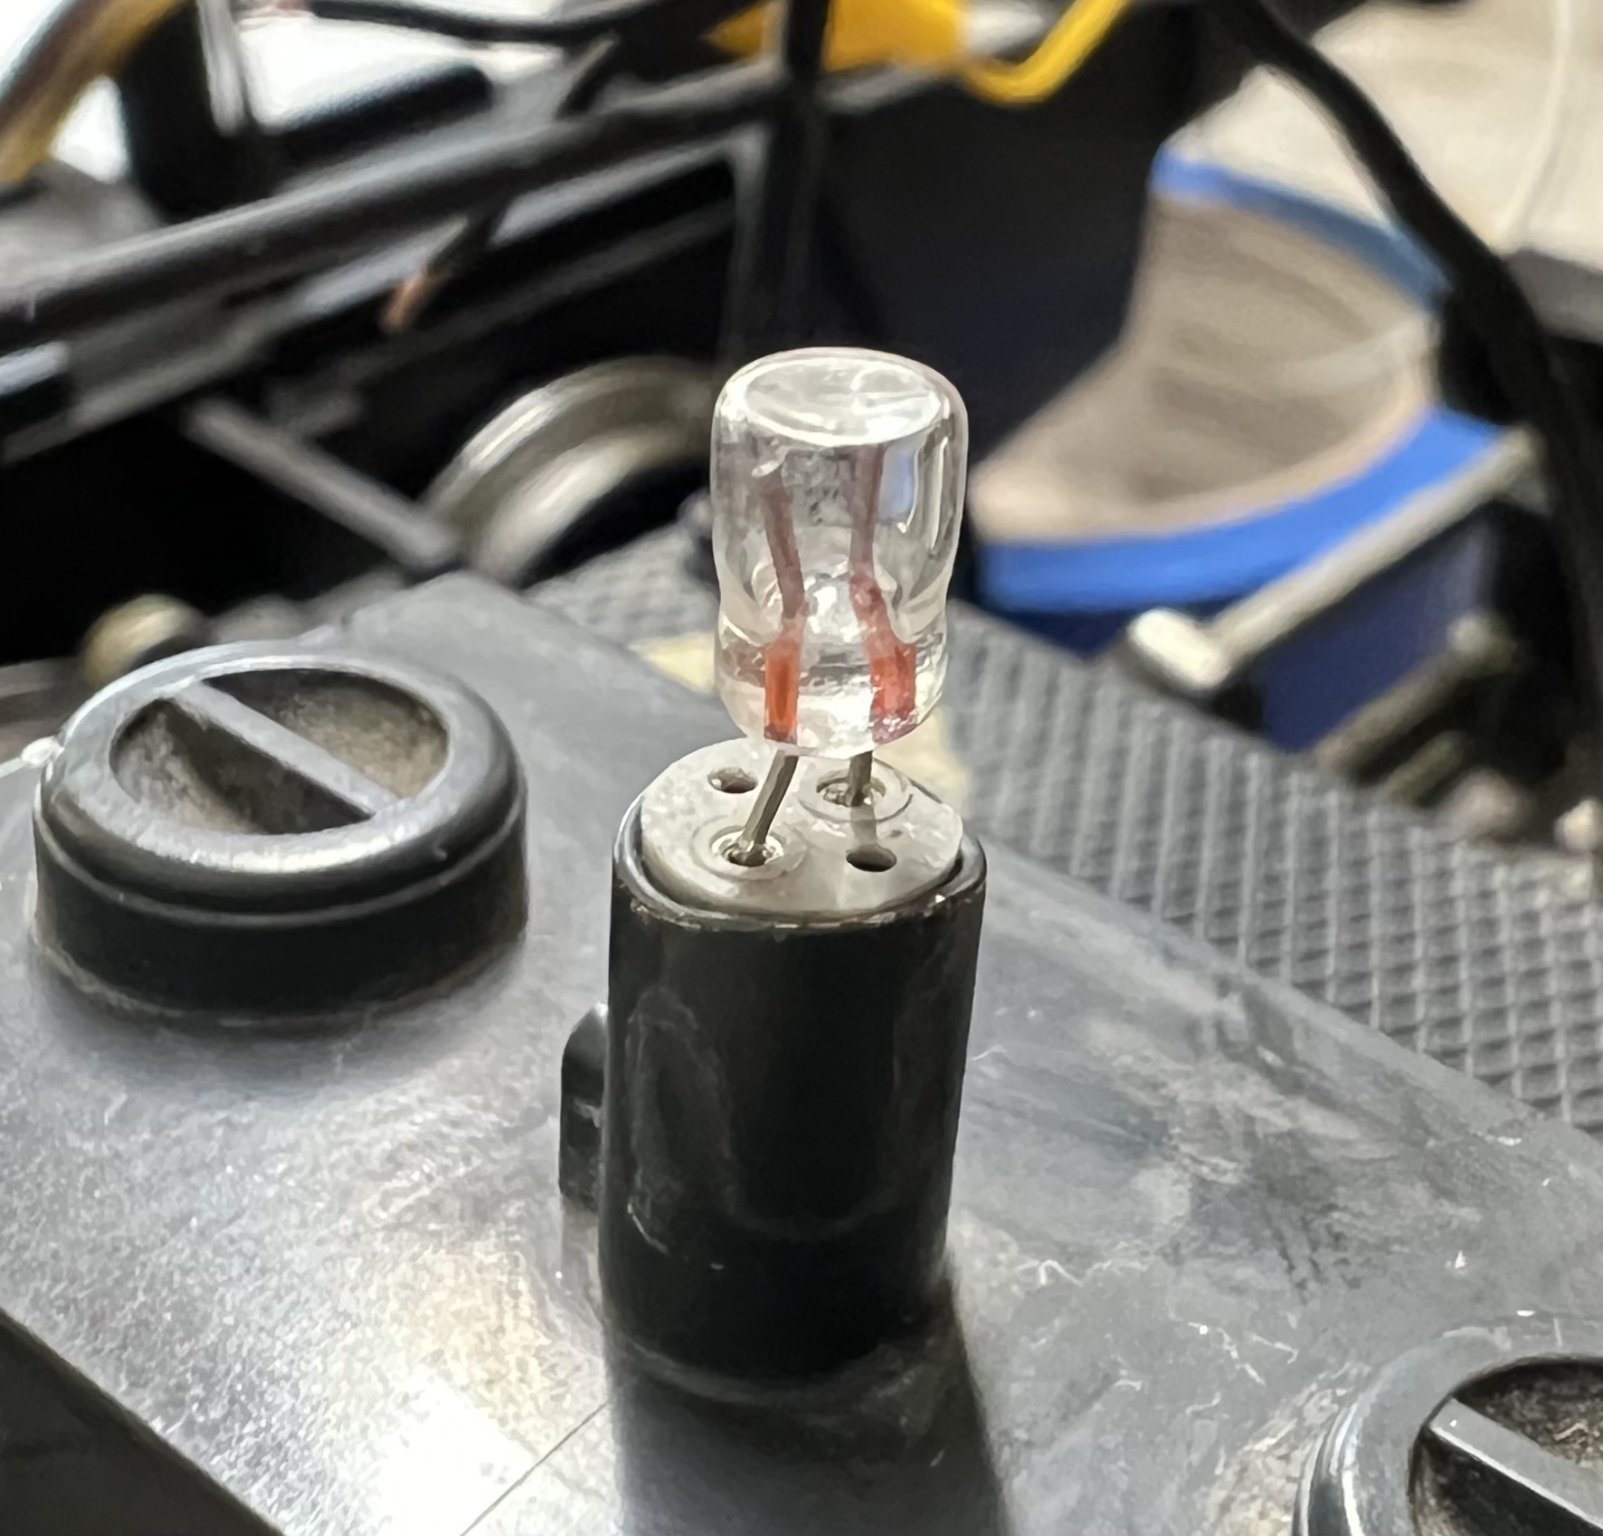
I have no interest in getting it to work on track power as some of the wheels are rusted. With the condition it’s in right now, I wanted to confirm it's possible to convert this to battery power and operate on a knob switch? For now, I don’t need light or smoke, my son would be happy with just seeing it run on the club's unpowered track. Can I hook up the light at a later time? I have very limited knowledge with electronics but if I have the correct parts, I can solder and assemble things together.
I did a bit of research and found the Simple Critter Control (Simple Critter Control). If I use this controller, what other parts will I need…a battery, charger, DPDT switch, power switch…? What is the cheapest battery that would allow 1-3 hours of run time? I can install the controller in the top cab hood and the battery pack can be placed in a trailing car of some sort. Is the Simple Critter Control the easiest route?
Thanks in advance!
I tested both motor blocks (hooked up the yellow and green wires directly to the power pack) and to my surprise, it runs! I highly doubted it was operable since it looked like it’s been heavily modified.
I have no interest in getting it to work on track power as some of the wheels are rusted. With the condition it’s in right now, I wanted to confirm it's possible to convert this to battery power and operate on a knob switch? For now, I don’t need light or smoke, my son would be happy with just seeing it run on the club's unpowered track. Can I hook up the light at a later time? I have very limited knowledge with electronics but if I have the correct parts, I can solder and assemble things together.
I did a bit of research and found the Simple Critter Control (Simple Critter Control). If I use this controller, what other parts will I need…a battery, charger, DPDT switch, power switch…? What is the cheapest battery that would allow 1-3 hours of run time? I can install the controller in the top cab hood and the battery pack can be placed in a trailing car of some sort. Is the Simple Critter Control the easiest route?
Thanks in advance!